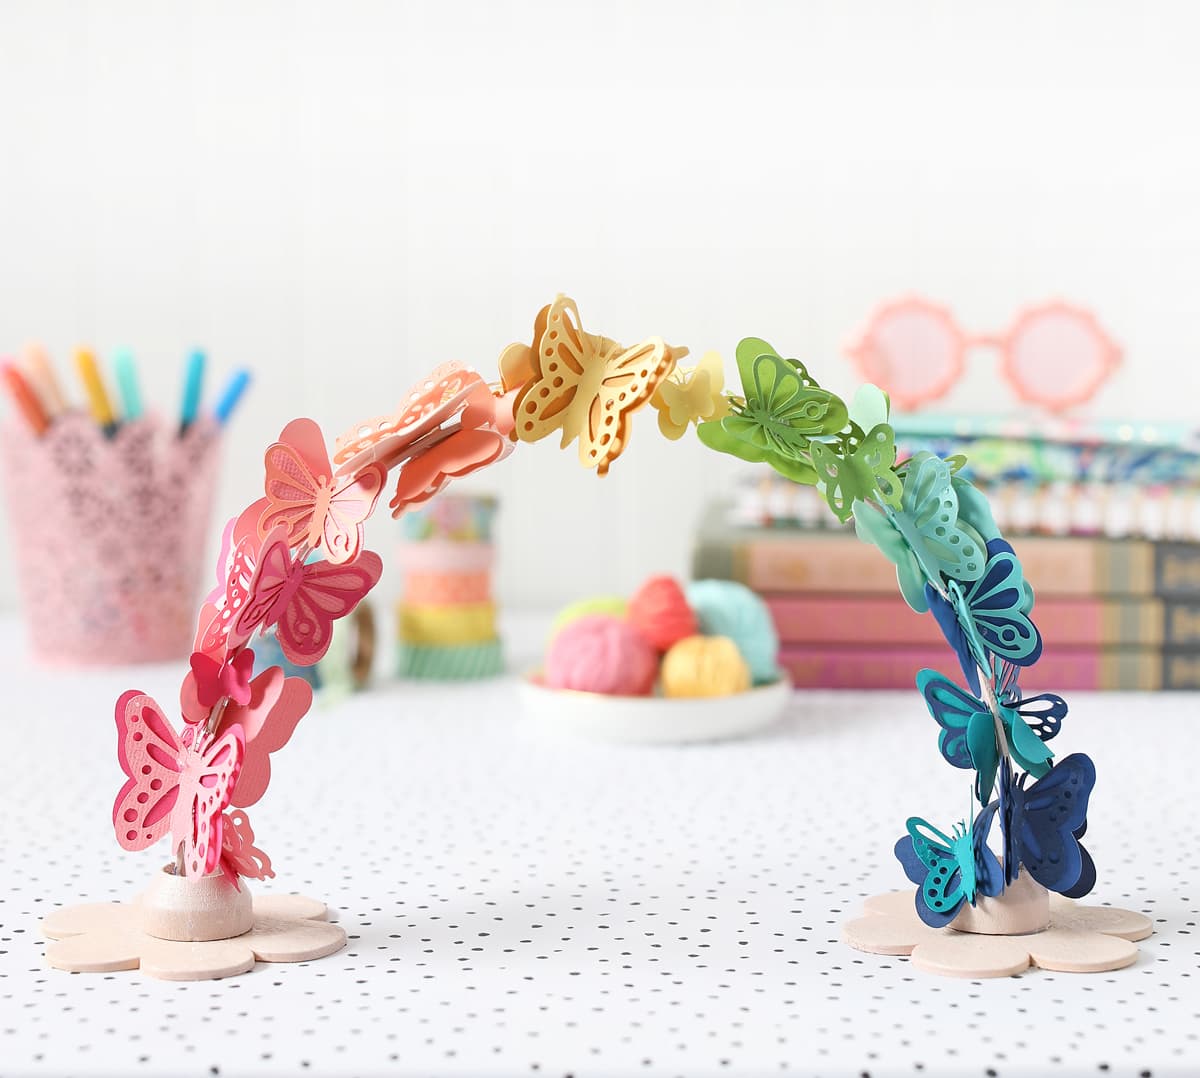
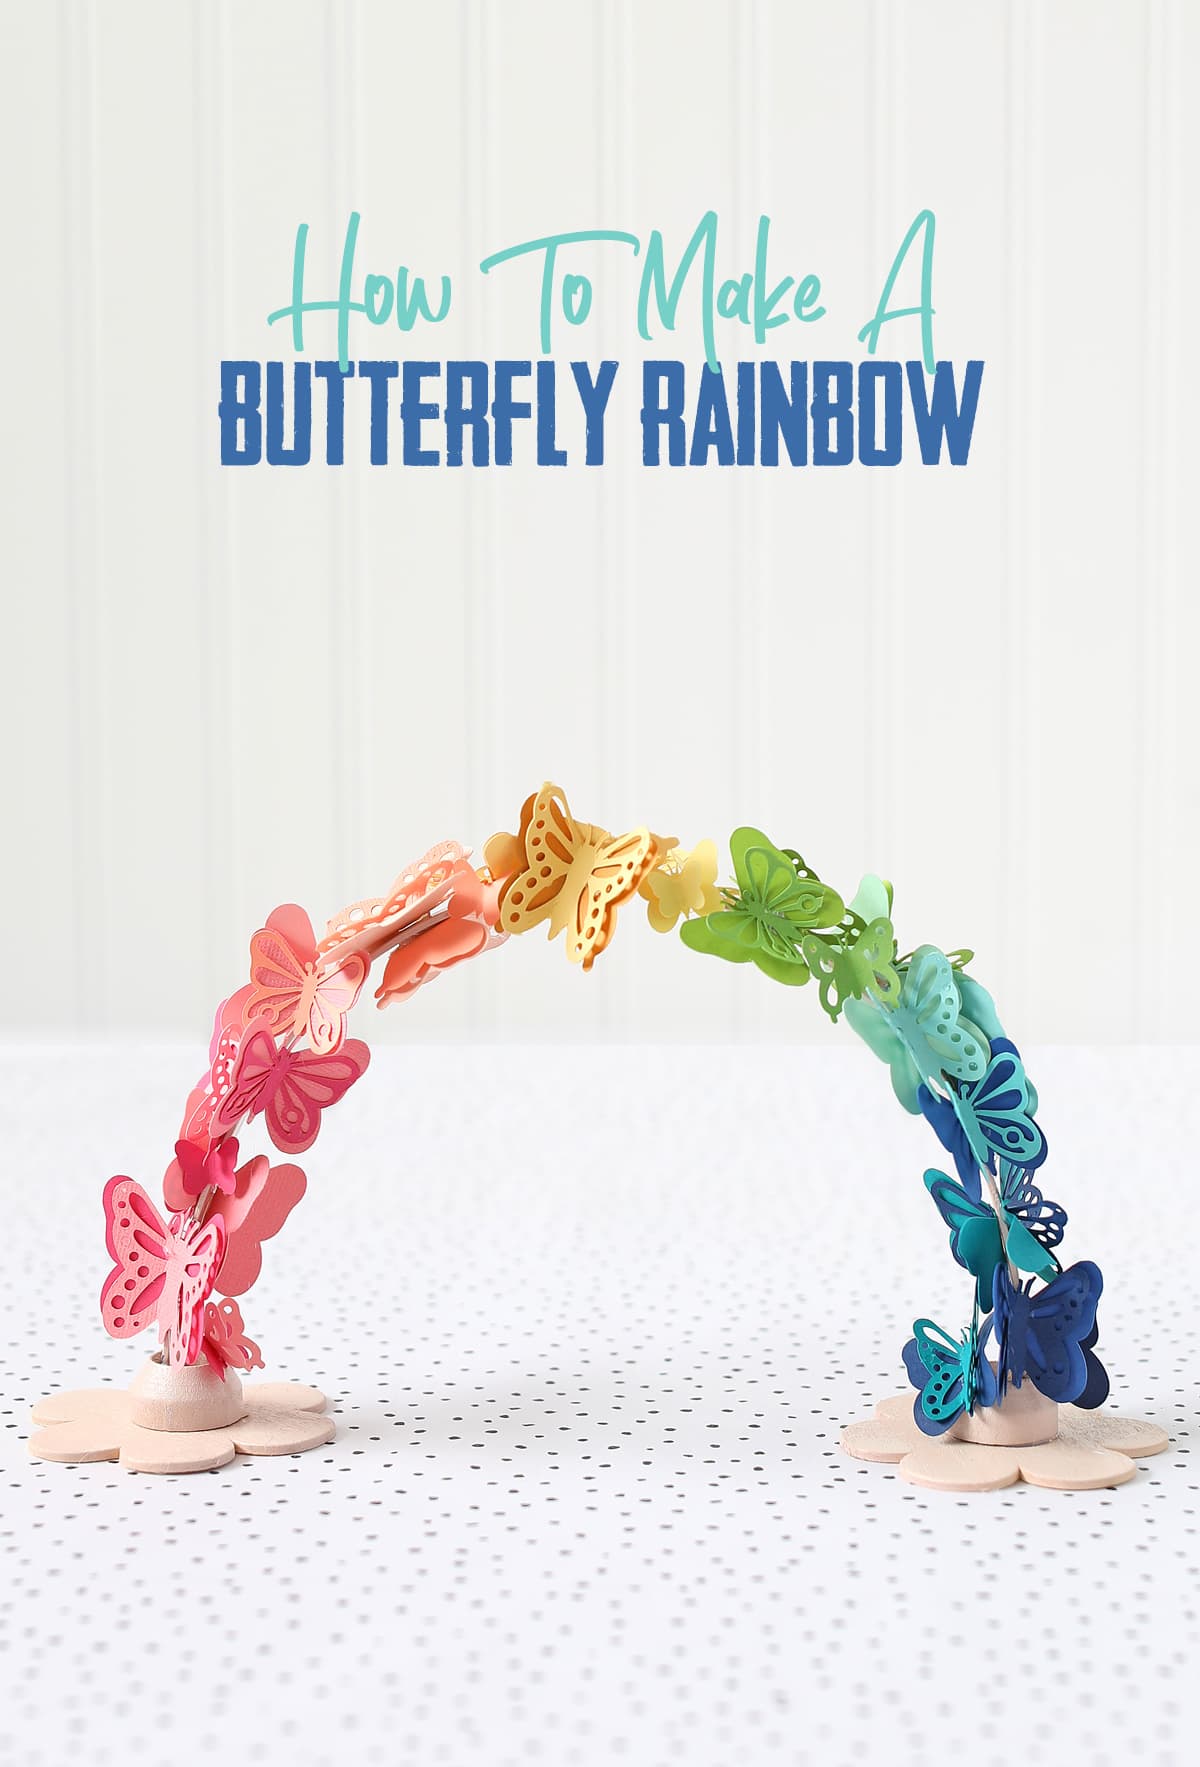
Learn how to make a beautiful rainbow out of paper butterflies. It’s such a cute and unique decoration for spring.

Sometimes I get a wild idea and just have to give it a go.
I had an old ice cream bucket sitting on my desk and the handle of the bucket sparked some part of my crazy brain and I decided that I immediately needed to make a craft out of it. And it turned out SO CUTE that I can’t wait to show you how to make one of your own because it’s just the happiest little decoration and it was really fun to make.
This post is sponsored by Creative Fabrica.
To make this craft, you will need the following supplies:

Materials Needed
- Ice Cream Bucket Handle
- Two Flat Wood Flower Shapes
- Two Clothespin Doll Stands
- Spray Paint
- Hot Glue Gun + Glue Sticks
- Silhouette or Cricut Machine + Cutting Mat
- Cardstock (in a rainbow of colors)
- 3D Butterfly Cut Files from Creative Fabrica
Instructions
Step 1- Remove the plastic handle from an ice cream bucket.
Step 2- Paint the wood pieces and the handle using any color spray paint. I chose a light pink color.
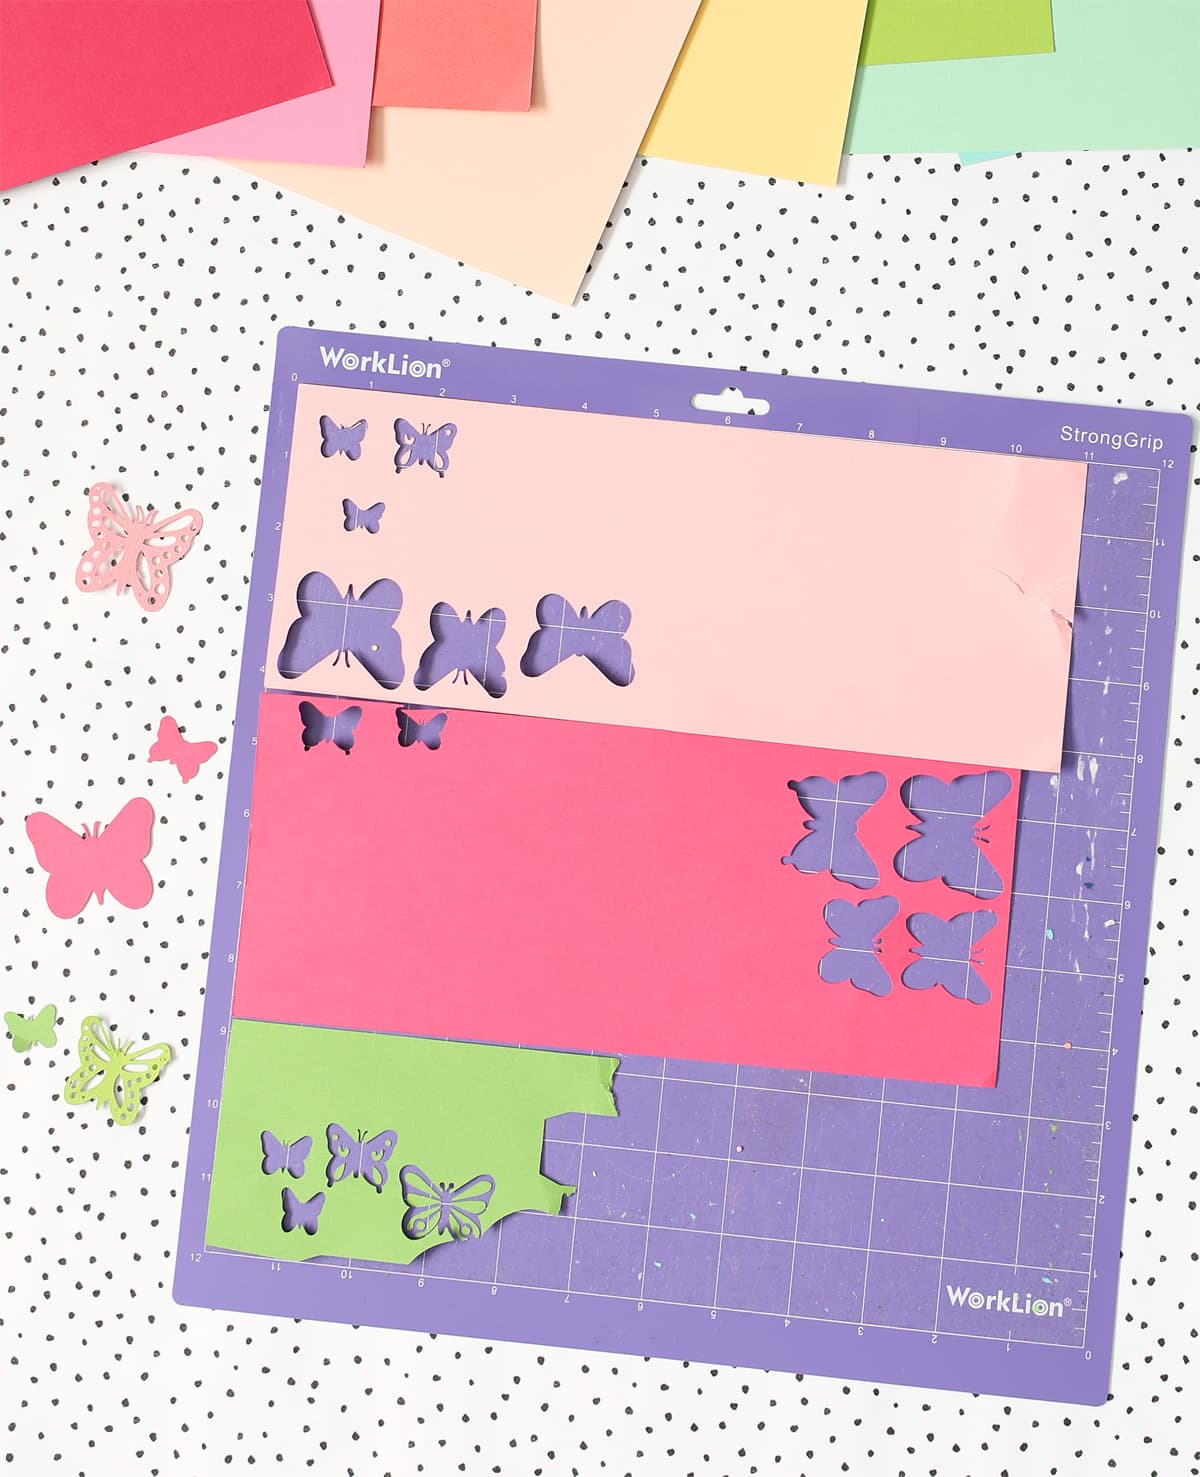
Step 3- While the paint is drying, it’s time to start cutting out butterflies. Like, A LOT of butterflies.
Timesaving Tip: you can load several smaller pieces of cardstock onto a cutting mat at the same time to cut out more than one color at a time. This is super helpful any time you’re doing a paper craft with lots of little pieces of different colors.

You’ll end up with something like this:

Gorgeous, right?! Layering a solid butterfly with one of the detailed cutouts adds so much dimension to this project. I gently bent the butterflies so the wings were at different angles to make them more realistic.
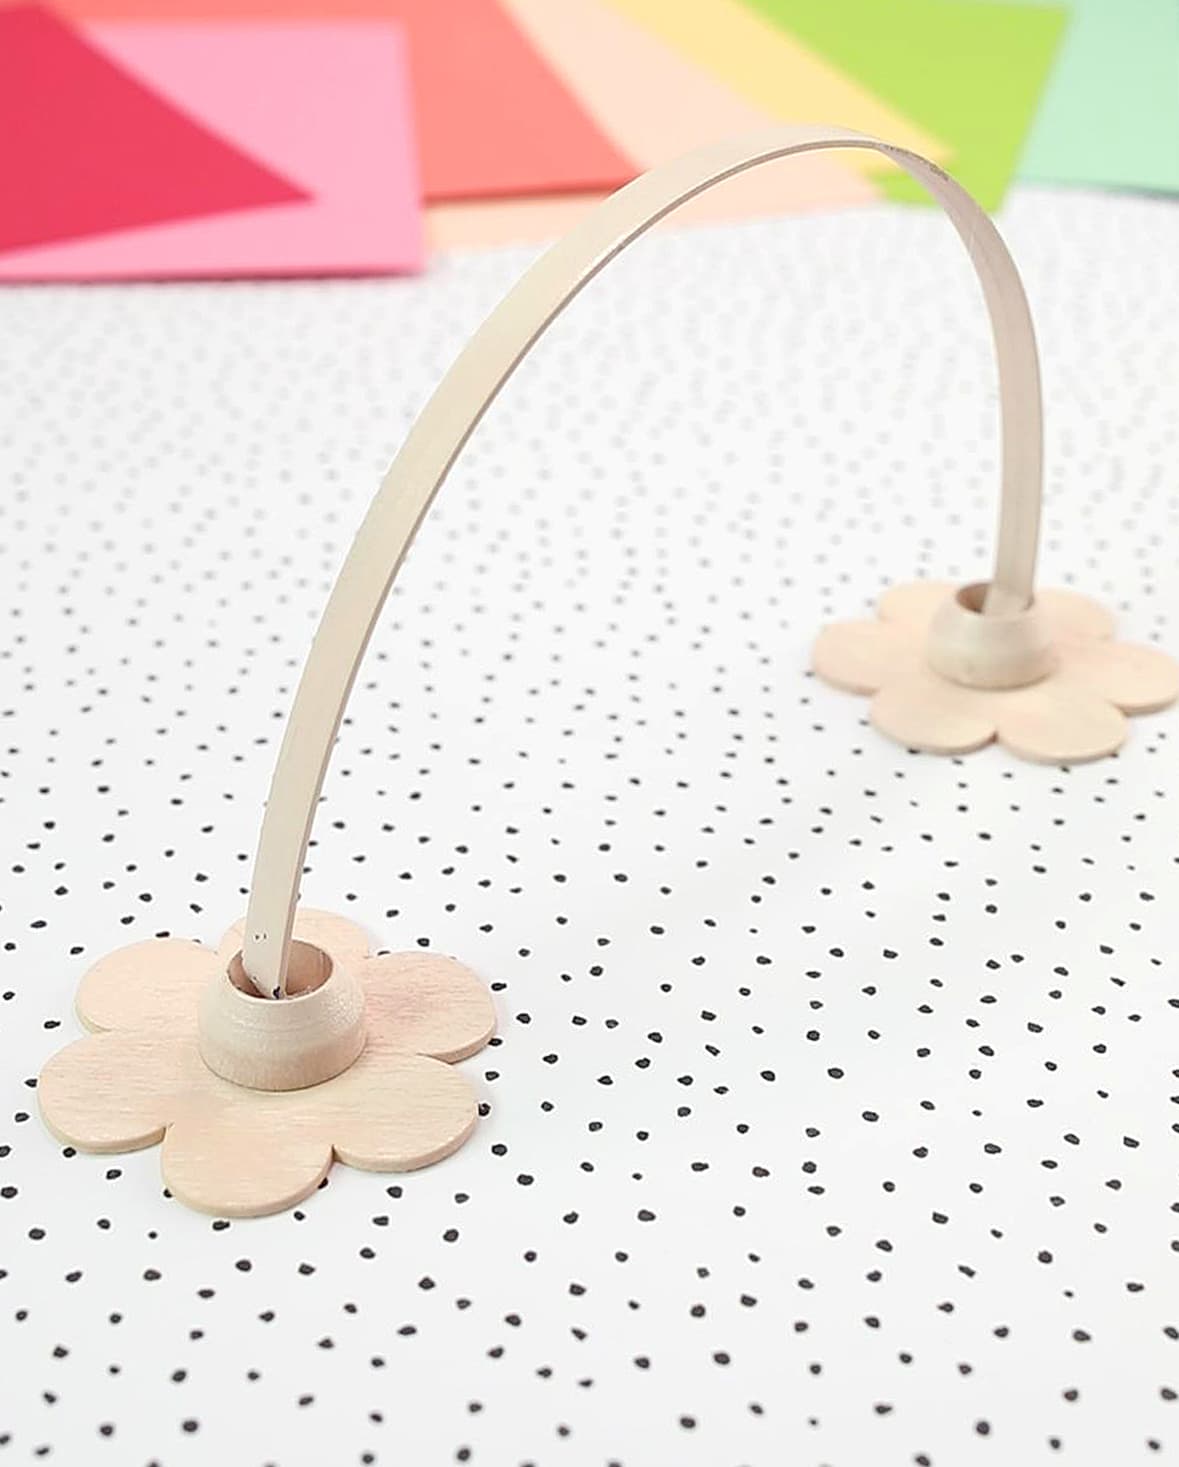
Step 4- Once the paint is dry on your base pieces, it’s time to assemble them. Glue the clothespin doll stands into the centers of the flowers. Then glue one end of the bucket handle inside the hole of the first flower and the other end of the bucket handle into the other flower. This forms the arch shape that we’ll use to make the rainbow of butterflies.

Step 5- Start gluing butterflies onto the arch. You want to completely cover the bucket handle with butterflies and gradually fade through all the colors of the rainbow.
And you’ll be left with this pretty gal:

Butterfly Rainbow Craft Video
I can’t believe my crazy, random idea actually worked out! I really love how this turned out and it’s going to bring a smile to my face every time I see it on my craft room shelf.
I couldn’t have done it without the awesome cut files from Creative Fabrica.
Have you used Creative Fabrica before? It’s an amazing site full of creative assets for crafters. They have a super fun section of 3D SVG crafts. They have really cute projects AND video tutorials to show you how to put them together once you buy them. Look at these darling 3D cards I made with files I got on Creative Fabrica. I die from the cuteness!

My kids are going to love making some of the 3D projects I found on Creative Fabrica. It’s the perfect activity for moms and kids to do together!
Good news! If you’d like to give Creative Fabrica a try, they’re offering my readers a one month free trial subscription. You can download up to ten fonts, SVG’s or whatever crafty goodies your heart desires. Cancel at no cost at the end of your trial or keep it going afterwards… it’s up to you.
That’s all for today. I hope you enjoyed this hare-brained craft idea of mine. Happy crafting!

The post Butterfly Rainbow Craft appeared first on The Craft Patch.
