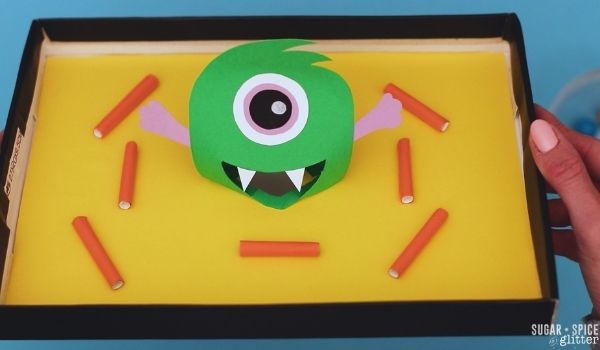
A fun homemade Halloween Game for Kids, this Monster Ball Game can be made with a few everyday craft supplies for a fun twist on a pinball game that lets kids feed gumballs to the hungry monster!
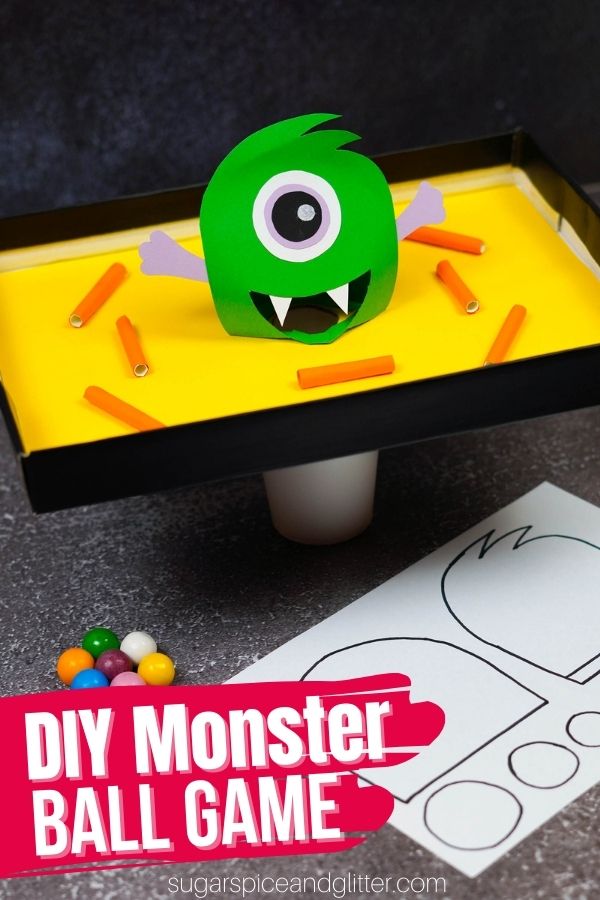
DIY Halloween Monster Ball Game
Craft supplies can get expensive so I love figuring out ways to repurpose recycled or everyday materials into cheap (or free) craft supplies – empty glass food jars, egg cartons, and definitely small cardboard boxes!
- We’ve used a shoebox to make our Mermaid Puppet Theatre;
- an empty cereal box to make our Chinese Dragon Dance Craft;
- empty milk and juice cartons to make Chalkboard Haunted Houses;
- and we’ve gathered 20 Tissue Box crafts here.
Today’s fun Halloween craft uses a recycled shoebox lid, a paper cup and paper straws to make a DIY Pinball Game that kids can make using our free printable template and then enjoy playing with for hours.
There are so many ways to play with this Monster Ball Game:
As a fun independent game for one child.
If you just make one and have multiple kids, kids can time each other to see how many balls then can sink in a minute, or time themselves to see how long it takes to sink all of the balls. They can then take turns and compete. Or just take turns each trying to sink a single ball.
Or, make more than one and have the kids play against each other – either one or one or in teams.
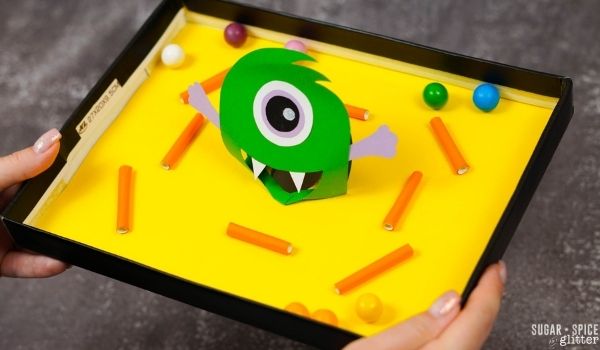
Our Monster is semi-inspired by Mike Wazowski from Monsters Inc, making this a great craft for a Disney Movie Night. It doesn’t need to just be enjoyed at Halloween only!
You can also make this craft for any Monster-loving kid, especially after reading a Monster Picture Book. (You can even alter our printable template to better match the monster in your book.)
I don’t have a lot of Monster book recommendations for older kids but some fun Monster-themed Picture Books are:
- Where the Wild Things Are by Maurice Sendak
- Monsters Don’t Eat Broccoli by Barbara Jean Hicks
- The Very Worst Monster by Pat Hutchins
- Leonardo the Terrible Monster by Mo Willems
Be sure to check out our quick video to see how to play and make this easy Halloween game for kids – and then don’t forget to scroll down to get your free printable template and printable instructions:
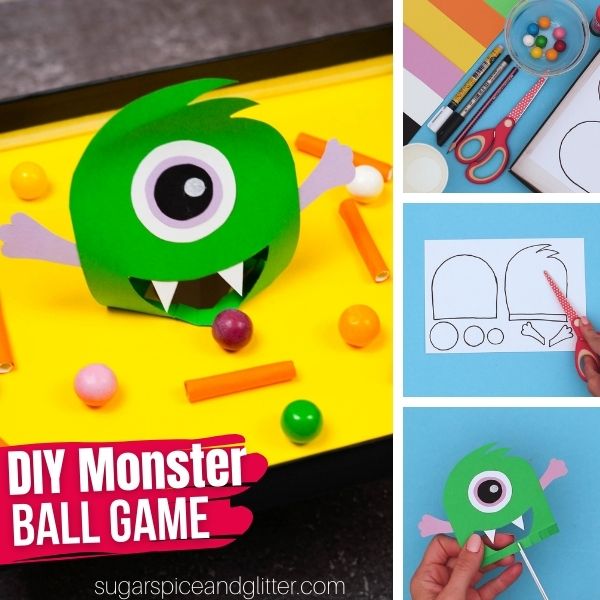
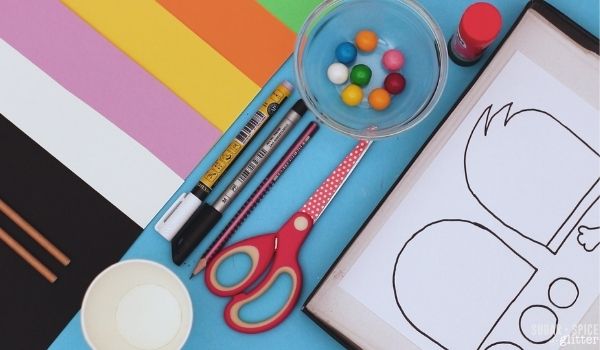
Halloween Game Materials
- Shoebox Top
- Straws
- Scissors
- Glue Stick
- Candy Balls or Small Game Balls like this
- Pencil
- Black and White Markers
- Paper Cup
- Cardstock or Construction Paper (we used black, white, pink, yellow, orange, green)
- Printable Monster Game Template
Tip: you can draw your own template for this game to better match your favorite monster – or even design your own!
How to Make a Monster Ball Game
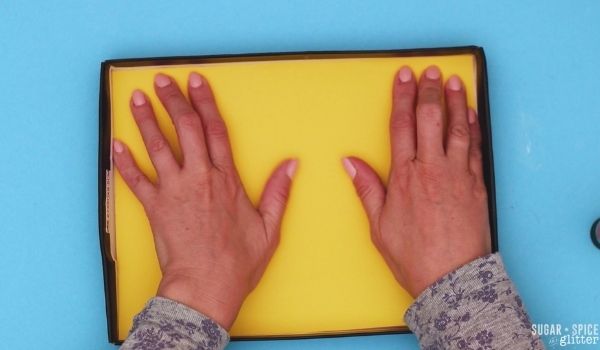
Cut out a rectangle of paper the same size as the inside lid of your shoebox (we used yellow paper for this), then glue it securely to line the shoebox lid. Set aside.
Print out your monster template and then cut out the individual shapes.
Trace the monster body shapes on to the color that you’d like your monster to be (we used green), then trace the eyeball shapes onto additional paper based on whatever colors you’d like the monster’s eyes to be. (Alternatively, you can use a large googly eye.)
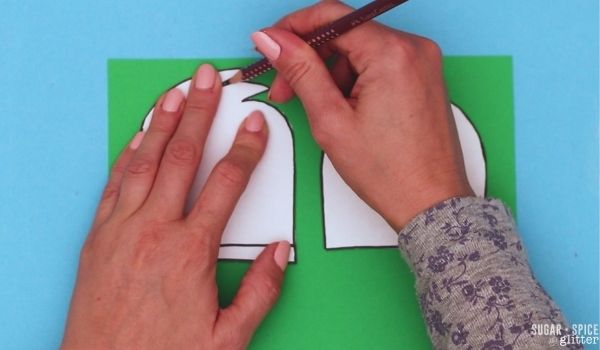
Cut out all of the traced shapes. Cut a mouth hole in one of the monster body’s that is big enough to easily fit your game balls through.
Glue the circles of the monster’s eye together and glue to the body of the monster. Attach the monster’s arms and fangs with glue.
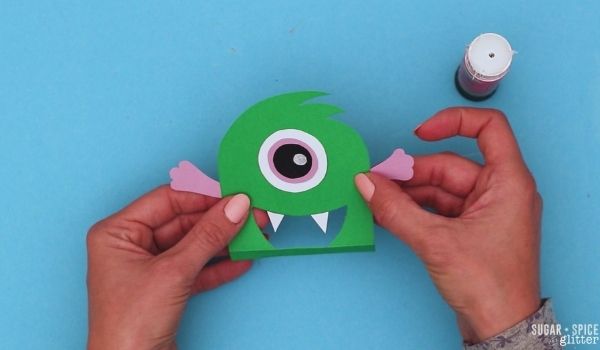
Fold the bottom part of the monster’s body back to form a crease (as indicated on the template and in the video). Cut the flap into a fringe – this will make it easier to glue the monster securely around the hole for the game.
Cut a hole in the middle of the box top and glue the monster’s body around the hole.
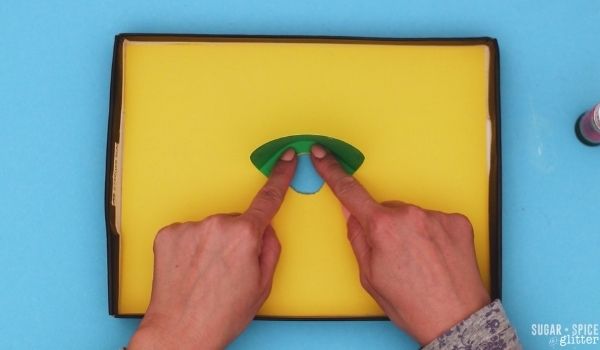
Check to make sure that a game ball can easily go through the monster’s mouth and then into the hole, making adjustments as needed, then glue to secure the edges of the monster’s body (back and front) together.
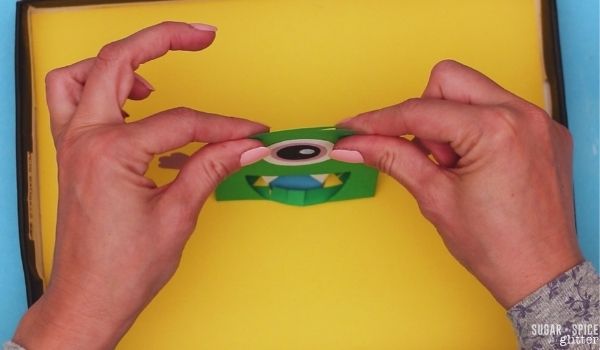
Cut the paper straw into several pieces to form the bumpers on the game.
Glue the straws down on to the shoe box lid, ensuring that any gap between two spaces can allow for one of the game balls to fit through.
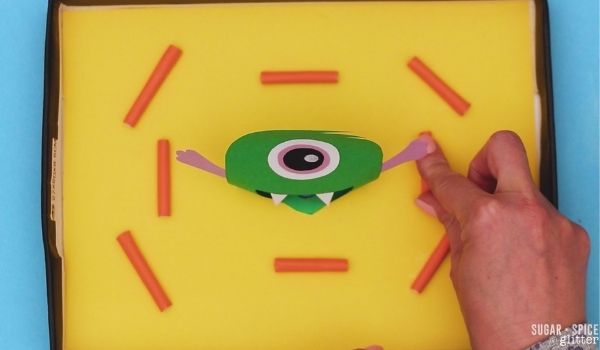
Securely glue a paper cup to the bottom of the shoe box, encompassing the hole in the box top.
Allow the glue on all parts of the game to set before playing.
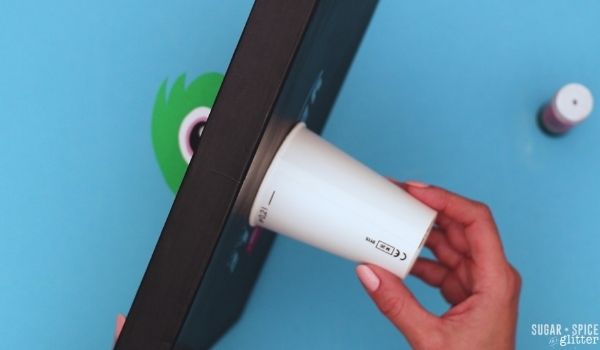
Place your game balls in the shoe box and play!
Tilt the shoe box back to maneuver the balls into the monster’s mouth.
Pin this Easy Shoebox Craft that Doubles as a Fun Screen-free Game for Kids:
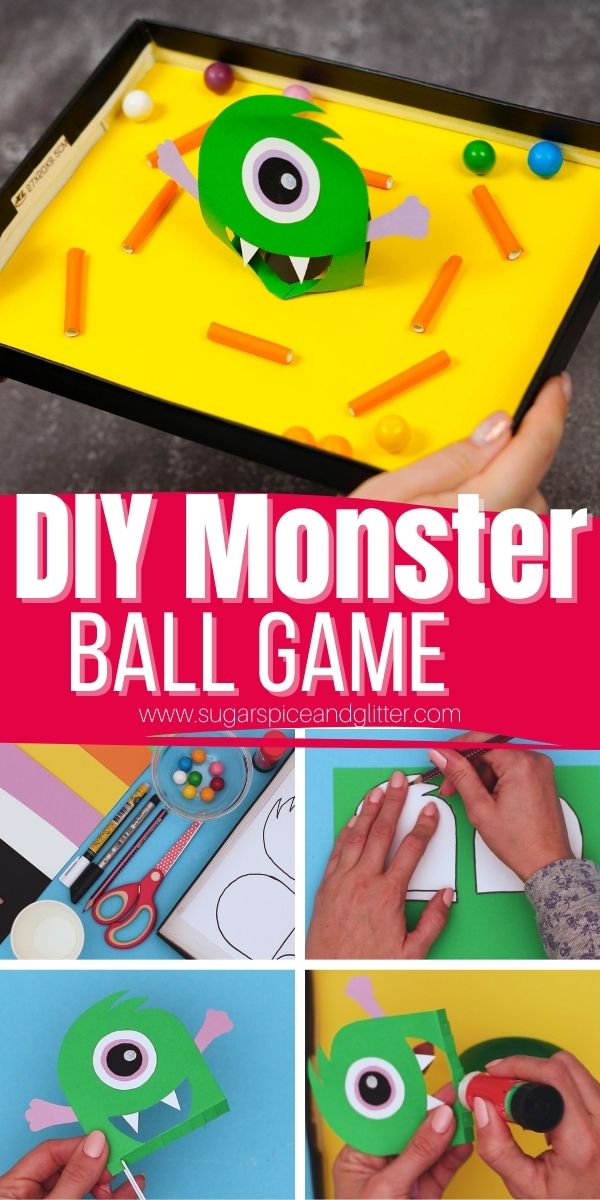
Grab your free printable instructions for how to make your own monster ball game and grab the printable template here:
DIY Halloween Game for Kids

How to make a DIY Halloween Game out of everyday household materials. This simple monster ball game is perfect for a rainy day craft, Halloween activity or a Monsters Inc Disney craft.
Materials
- Shoebox Top
- Straws
- Candy Balls or Small Game Balls like this
- Paper Cup
- Cardstock or Construction Paper (we used black, white, pink, yellow, orange, green)
- Printable Monster Game Template
Tools
- Scissors
- Glue Stick
- Pencil
- Black and White Markers
Instructions
- Cut out a rectangle of paper the same size as the inside lid of your shoebox (we used yellow paper for this), then glue it securely to line the shoebox lid. Set aside.
- Print out your monster template and then cut out the individual shapes.
- Trace the monster body shapes on to the color that you'd like your monster to be (we used green), then trace the eyeball shapes onto additional paper based on whatever colors you'd like the monster's eyes to be. (Alternatively, you can use a large googly eye.)
- Cut out all of the traced shapes. Cut a mouth hole in one of the monster body's that is big enough to easily fit your game balls through.
- Glue the circles of the monster's eye together and glue to the body of the monster. Attach the monster's arms and fangs with glue.
- Fold the bottom part of the monster's body back to form a crease (as indicated on the template and in the video). Cut the flap into a fringe - this will make it easier to glue the monster securely around the hole for the game.
- Cut a hole in the middle of the box top and glue the monster's body around the hole.
- Check to make sure that a game ball can easily go through the monster's mouth and then into the hole, making adjustments as needed, then glue to secure the edges of the monster's body (back and front) together.
- Cut the paper straw into several pieces to form the bumpers on the game.
- Glue the straws down on to the shoe box lid, ensuring that any gap between two spaces can allow for one of the game balls to fit through.
- Securely glue a paper cup to the bottom of the shoe box, encompassing the hole in the box top.
- Allow the glue on all parts of the game to set before playing.
- Place your game balls in the shoe box and play!
- Tilt the shoe box back to maneuver the balls into the monster's mouth.
Recommended Products
As an Amazon Associate and member of other affiliate programs, I earn from qualifying purchases.
Pin this Project for Later
Please leave a comment on the blog or share a photo on Pinterest
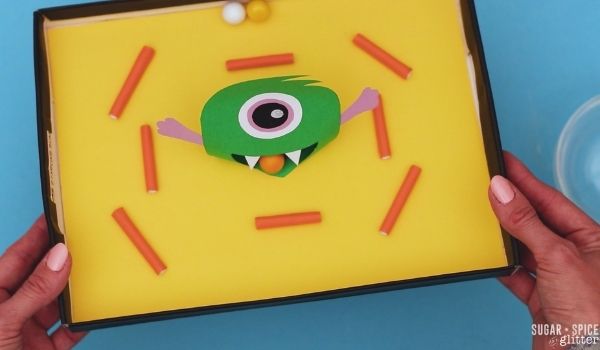
I hope your kids love getting to make and play with their own Monster Ball Games as much as we did!
For more fun Halloween games for kids, check out our collection of 20+ Halloween Games:
The post DIY Halloween Game for Kids (with Video) appeared first on Sugar, Spice and Glitter.


