Originally published August 3, 2017. Updated April 6, 2020.
This shop has been compensated by Collective Bias, Inc. and its advertiser. All opinions are mine alone. #SoftsoapTouch #OurCaringHands #CollectiveBias
Looking for an easy craft to make with your children? These DIY tie dye shoes are perfect for ages 7 through 20-somethings. Who am I kidding, these shoes are perfect for ages 7 through 99. And you don’t have to use messy traditional tie dye with this simple hack!
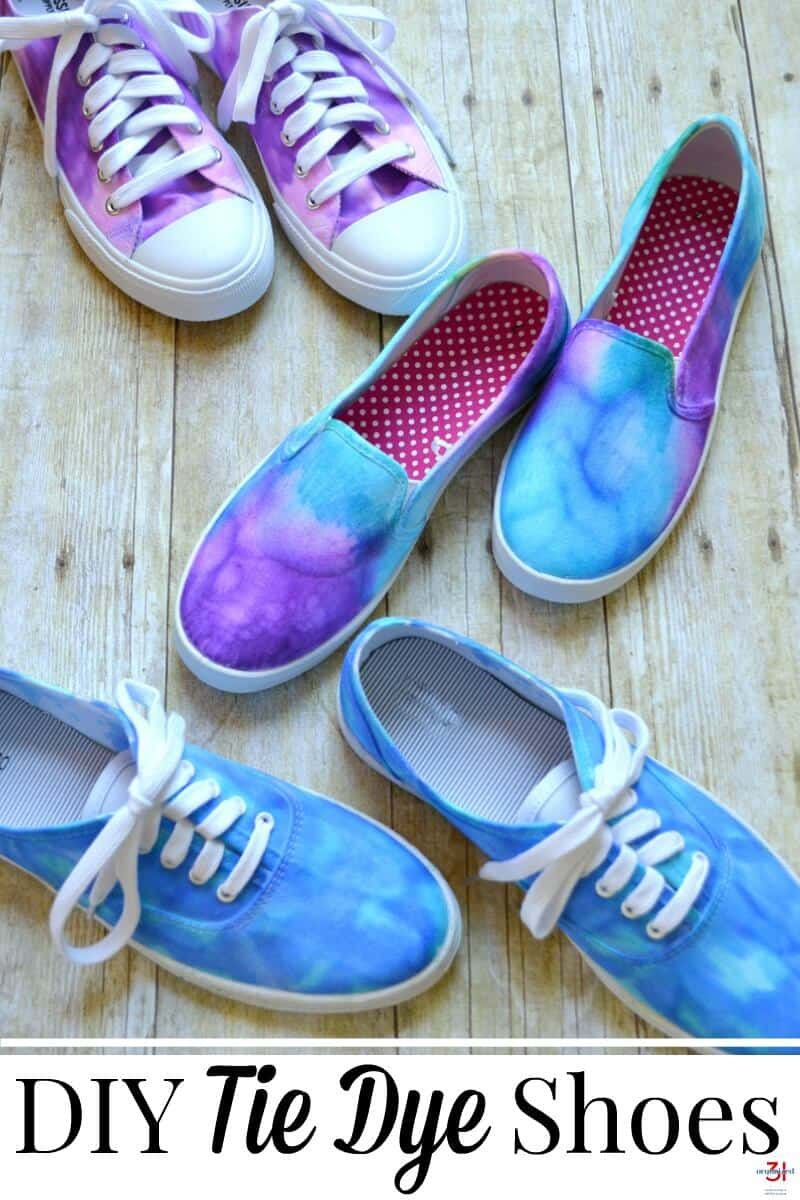
I look forward to crafting with my children whenever I can. I look for crafts that are easy to do and will make my kids excited about creating.
When I originally make this craft, my children were in the tween and teen years. Clothes and fashion were important to them. When I suggested that we make DIY tie dye shoes together, everyone was excited to get started right. (Satisfied mom smile.)
DIY Tie Dye Shoes
I love to craft, but I’m a super busy mom, so I need my crafts to be easy to do. Really easy to do. This hack fortie dyed shoes fit the bill.
It’s a craft that’s easy enough that you can make them with elementary school aged children, but cool enough that you’ll even hook a teen’s interest. And you can make a pair of tie dye shoes for $10 or less.
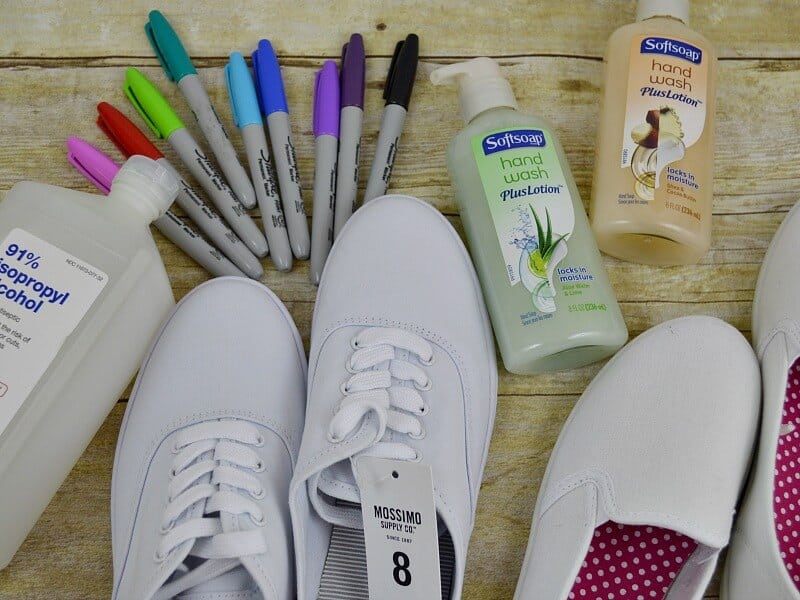
Supplies for Faux Tie Dyed Shoes
- White Canvas Shoes – We used three different styles of canvas shoes and they all turned out great. Find the canvas shoe style you prefer.
- Permanent Markers – We used medium and fine tipped markers. You need a minimum of two colors but can use as many different colors as you’d like.
- Painter’s Tape – We used duct tape, but that left adhesive on the shoe soles. Next time we’ll try painter’s tape.
- Rubbing Alcohol 90% or above – We used 91% alcohol and it worked well with the permanent marker ink.
- Eye Dropper – We couldn’t find our eye dropper, so we used coffee stirrer straws and they worked just fine.
- Vinyl Tablecloth or Trash Bags – I made sure to cover my table well so I didn’t end up with a tie dyed table to match my shoes.
- Paper Towels – I wanted to have them handy, just in case.
-
Hand Soap – We washed our hands numerous times during the tie dying process. We used Softsoap® Hand Wash Plus Lotion
 for clean hands that also feel soft . The alcohol was drying, so having the only hand wash made with a touch of lotion really made a difference for us. The unique, non-greasy formula was perfect for craft project handwashing.
Tie Dyed Shoes Hack Tutorial
Step 1
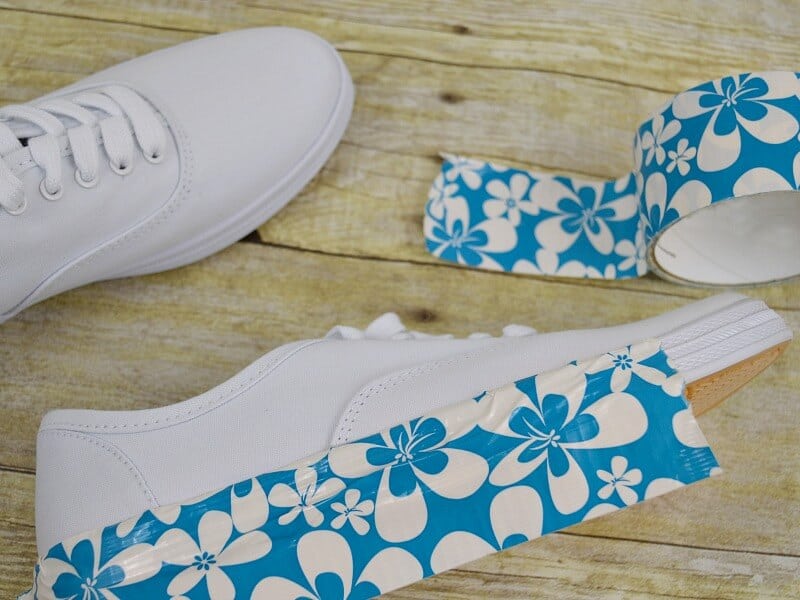
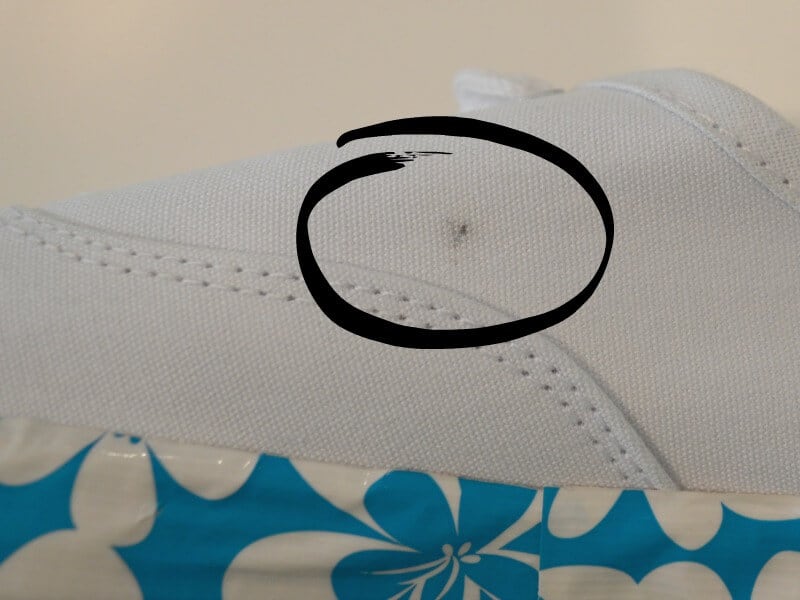
Remove laces and tape off rubber areas. We used duct tape because I had it handy in my craft room. The duct tape left sticky residue on the soles of the shoes. Next time I’ll use painter’s tape.
I taped the rubber areas so that they didn’t get stained when the permanent ink ran. The tape didn’t want to stick to some areas. That was ok. We simply pressed the tape down well just before we dripped the alcohol near the taped area. Since the alcohol dries quickly, the tape only needs to stay in place for a short time (and you can keep pressing it down for that time if you need to.)
Step 2
Color on the shoe with the permanent markers. It’s really that easy.
You can plan out a design on a paper towel, but we just freehand drew our designs. It is important to place lighter colors next to darker colors if you want more contrast.
You’ll get different tie dye looks depending on:
- the canvas – Each of the shoes had slightly different textures of canvas and that seemed to impact how the color spread.
- the marker – We used the same brand of marker, but different colors spread more readily than others, Through trial and error we figured out the colors that spread more.
- the technique – The color didn’t spread as much when we colored with the tip of the marker. Next we tried coloring with the side of the marker and that seemed to help the color disperse better. Use the tip of the marker if you want more concentrated color and the side if you want color that will spread more.
- the design – The colors will spread more if you leave some white space between the colors. If you want more saturated color, don’t leave any white canvas showing.
- other mysterious factors – We call this the art factor. We did exactly the same thing on the same shoe and yet the color spread differently. This is an adventurous craft, no precise planning or execution here.
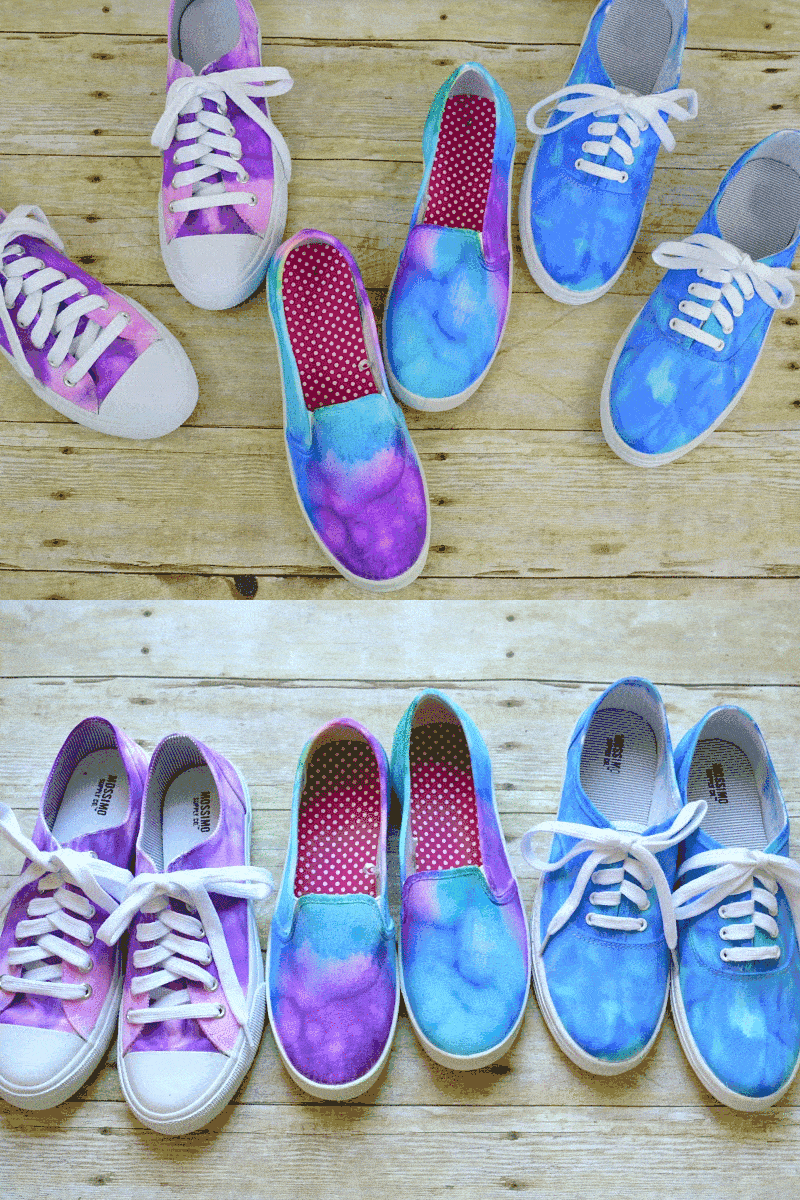
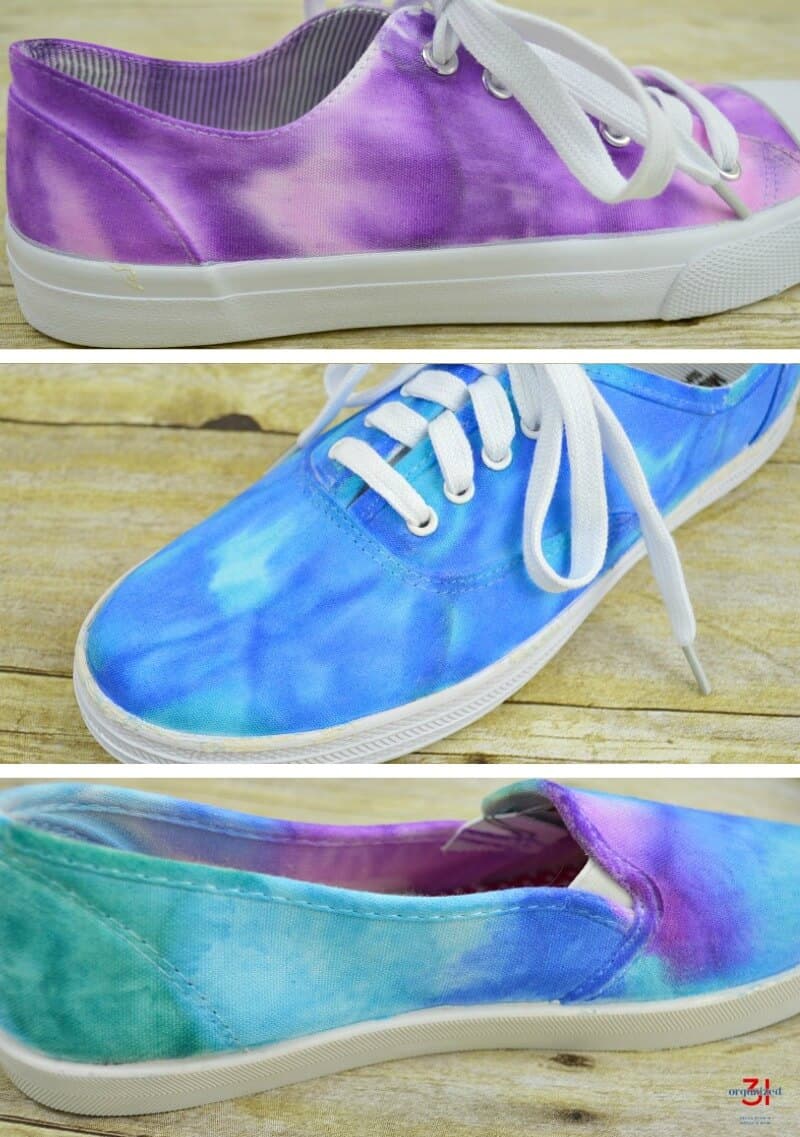
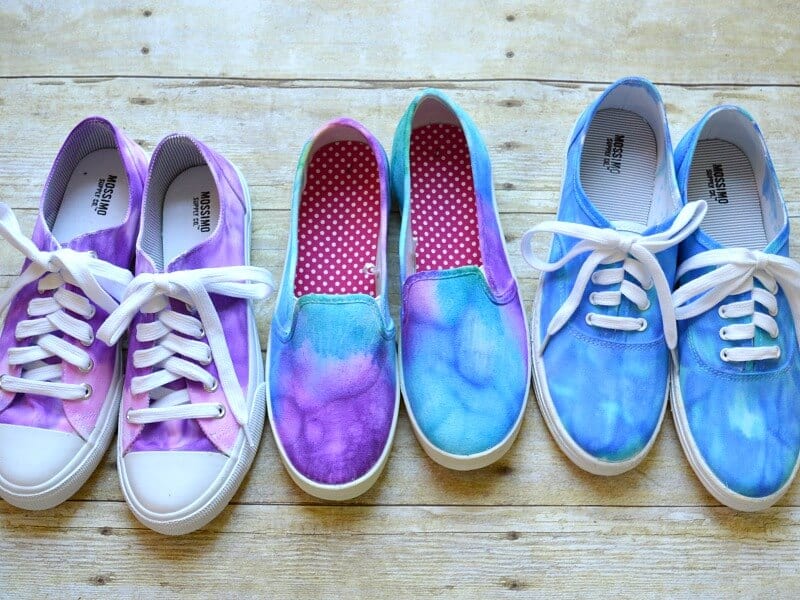
Three different crafters created three different tie dyed shoe looks.
Step 3
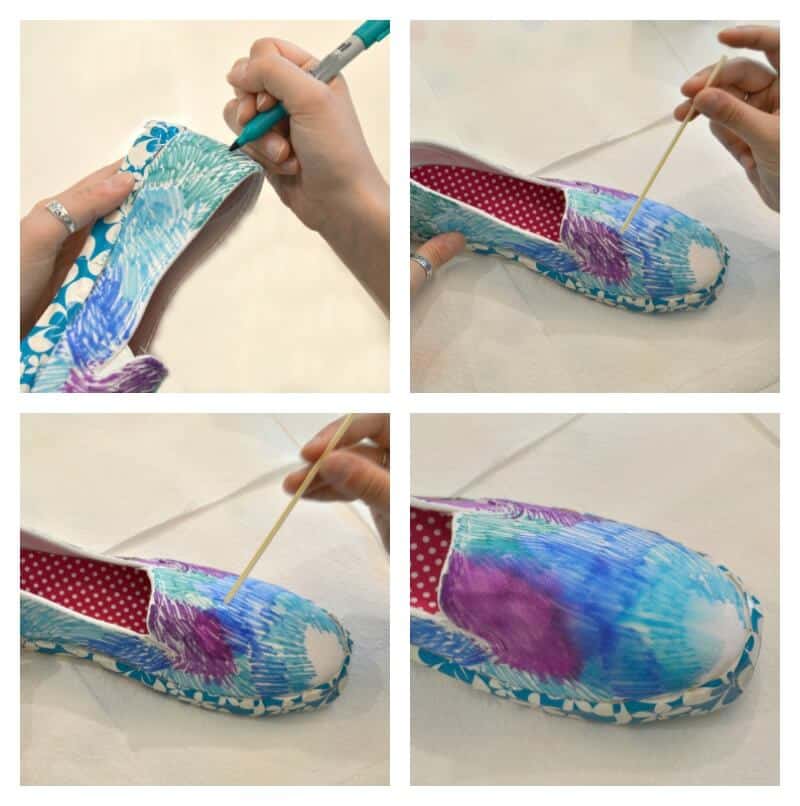
Fill your eye dropper or straw with alcohol and drip it onto the ink on the shoe. We started with the darker colors so that they bled into the lighter colors. We also tilted the shoe so that the alcohol and color ran (just a bit) in the direction we wanted.
Step 4
The kids had a great time watching the colors spread. It was magical. We found that it’s better to start with just one or two drops of alcohol until you see how the colors run. You can always add more alcohol (but you can’t reverse the effect of too much alcohol).
Step 5
The alcohol dries pretty quickly so we were able to go back and touch up areas that we wanted to. We found that working on one section of a shoe at a time worked well.
We simply moved onto another section or the shoe while we waited for an area to dry.
Tips
- Wash your hands even before you start. (Ask me how we know.)
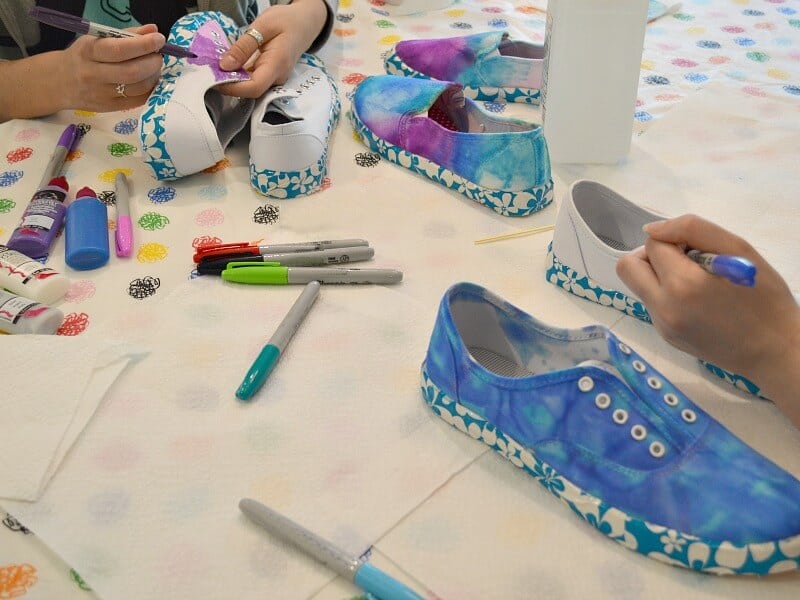
- Having pump soap available while tie dye crafting is an important mom tip. With the drying effects of the alcohol used in this craft project, using Softsoap Hand Wash Plus Lotion made perfect sense. And since it has a non-greasy formula, we could get right back to crafting.

- Start on the inside back of the shoe. Use that less visible area to practice and learn how your tie dyeing will turn out.
- Start with more white canvas space between color lines. You can always come back and fill it it if you want more color (but you can’t remove color if you wish that you had less).
- You can add fabric paint embellishments to make your design 3D or give it a more bling.
- Use a hair dryer to help set the color. The colors may stain socks or feet if the shoes get wet. Heat setting the ink will help reduce the chance of colors running. But be aware that staining may happen if the shoes get wet. You can find canvas shoes for $5-$10. That means this is a fun and frugal craft for families, classes and kids’ groups. We had a great time together crafting and creating wearable art. If we’d had more shoes, we’d have kept on going and going and going.
When I was at Target picking up the supplies for our crafting adventure, I found Softsoap Hand Wash Plus Lotion in the soap aisle of the personal care area. It provides a caring clean that’s proven to hydrate. The Shea & Cocoa Butter is an indulgent treat for my hands (I quickly rushed it up to mom’s bathroom sink so I don’t have to share!). The Aloe Water & Lime is a refreshing way to clean and soften hands. You can learn more about Softsoap Hand Wash Plus Lotion on YouTube.

Aren’t these just the happiest, coolest shoes around?! And they cost us less than $10 each. Wowza!
What are you doing this weekend? How about making DIY tie dye shoes? And why not pamper your hands each time you wash them while creating your tie dyed shoes masterpiece.
Be sure to pin for later so you can always find this crafting gym when you want to spend creative time crafting.

The post DIY Tie Dye Shoes appeared first on Organized 31.
