

This tutorial shows how to make a DIY night light with your xTool laser. This project is easy to make, looks great as room decor, and can even help kids sleep! If you make a purchase using any affiliate links below, we may earn a commission.
Are you looking for a creative way to add some light to a room in the middle of the night?
Whether it is for a bedside, the living room, or the bathroom, a DIY night light might be just the thing you need! It is a fun way to provide a soft glow, and can also serve as a decorative piece that showcases your personality.
In this tutorial, we'll show you how to make a DIY nightlight using a shadow box frame and an xTool laser. No special skills are required.
This DIY project is so much fun, and with these simple steps, you can create a one-of-a-kind night light that suits your style. It also makes a great gift!
Say goodbye to boring, store-bought night lights and hello to a unique and easy project that will brighten up your space in a great way.
Craft Tutorial Video:
Like videos? I have a video tutorial for you! Subscribe to my YouTube Channel so you don't miss out on any future video tutorials.

Feel free to use a different size shadow box frame, but make sure that the front glass piece removes completely.
I chose not to use hot glue for this project because I didn't want the strings, but hot glue would work if you don't want to buy a different adhesive.
The 5x5 inch size is great for small rooms and makes a little nightlight. If you would like to light a larger area, start with a larger shadow box frame.
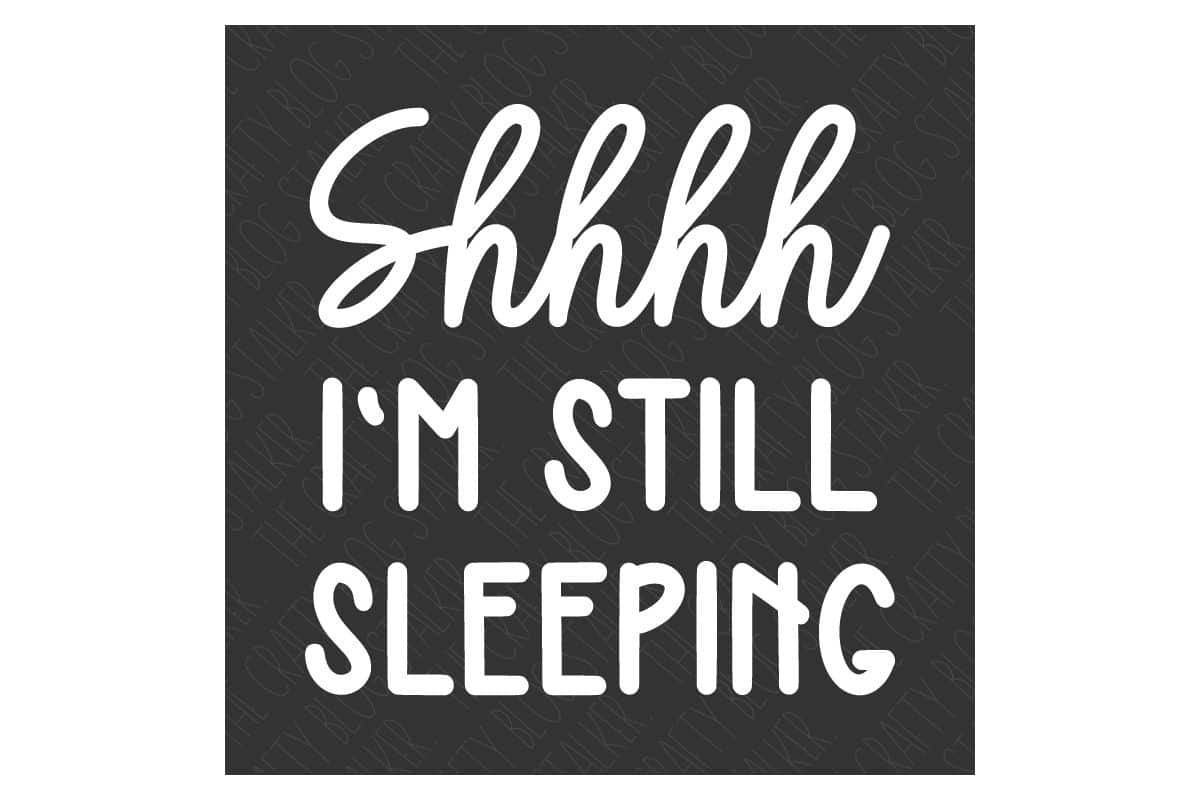
Grab the Shhhh I'm Still Sleeping SVG Laser File:
The first thing to do is to grab this Free unique design SVG Laser File.
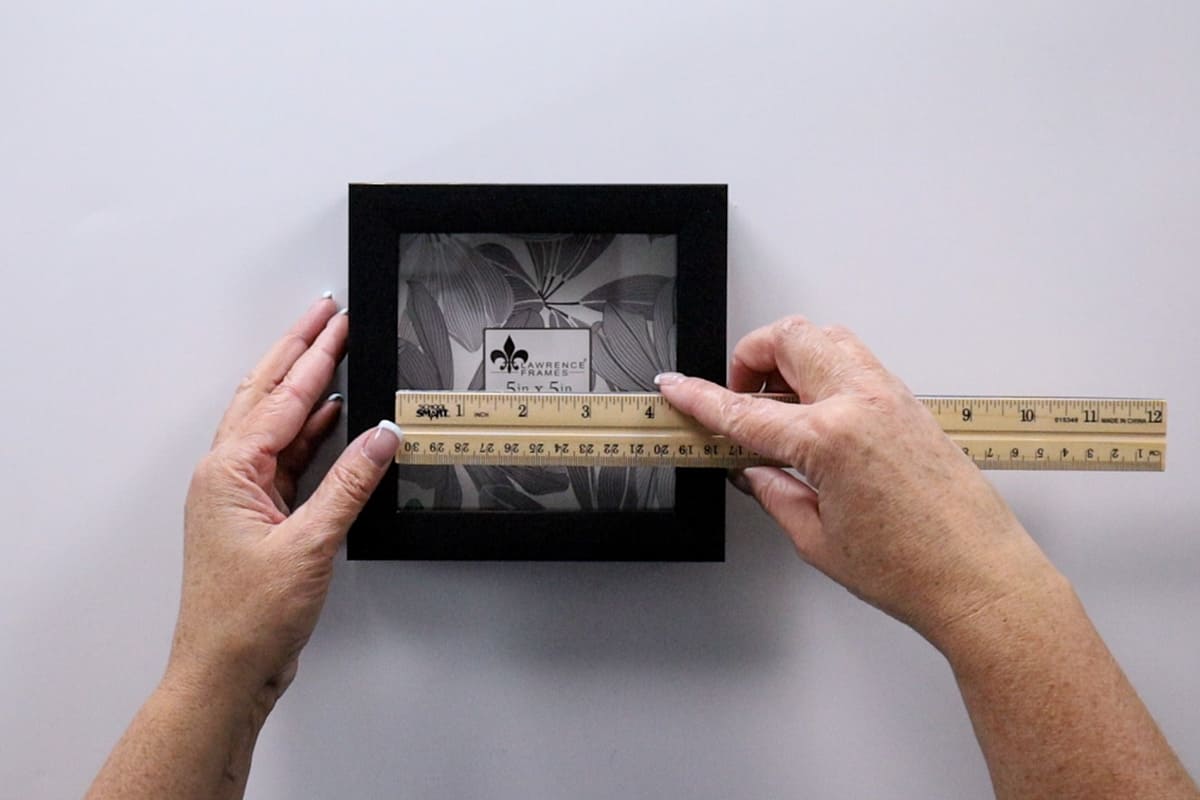
Measure:
First things first, measure the inside opening of your shadow box frame. For me, this was 4 ⅜ inches.
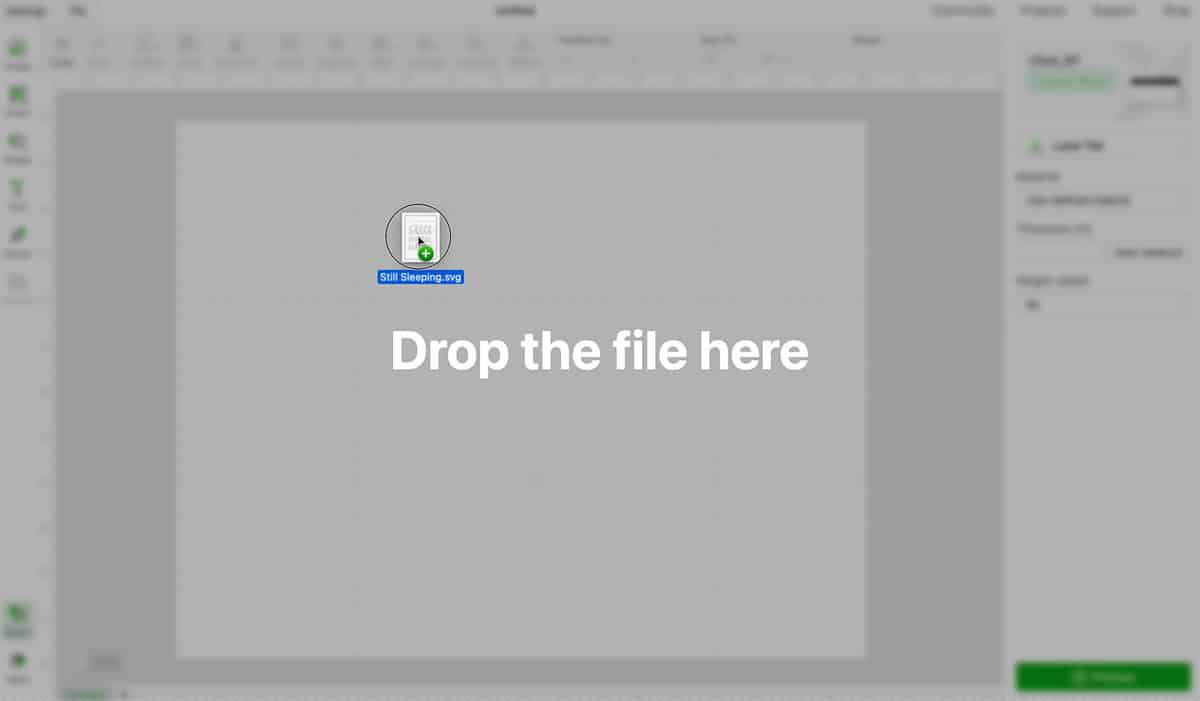
xTool Creative Space:
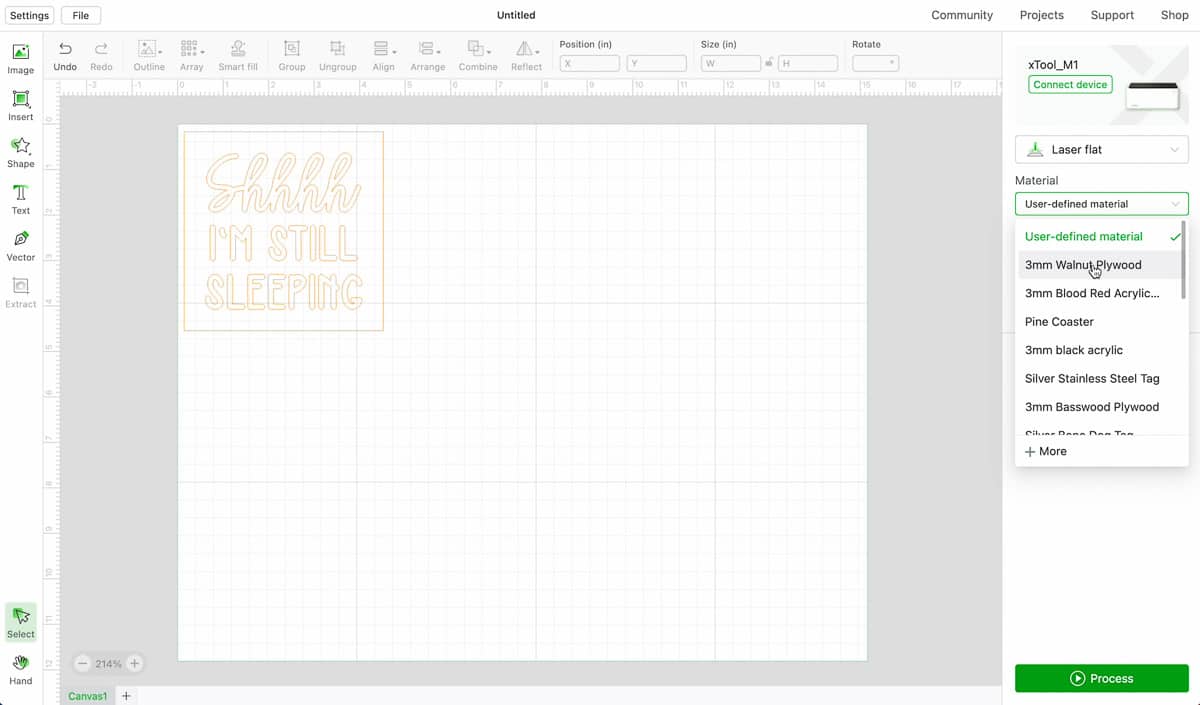
In Creative Space, drag and drop the SVG file.
Make sure that Laser Flat is selected, and then choose the material setting. 3mm MDF isn't in the choices so instead, I chose 3mm Walnut Plywood.
Plywood is a harder material than MDF so I figured this setting would work just fine.
Under Height Raised, select Triangular Prism, and place the prisms on the bottom of the machine.
Place the MDF on top of the prisms and shut the lid.

Back in Creative Space, you should now be able to see the placement of the MDF on the screen.
Drag the design so it is on top of the piece of MDF, and change the design to Cut.
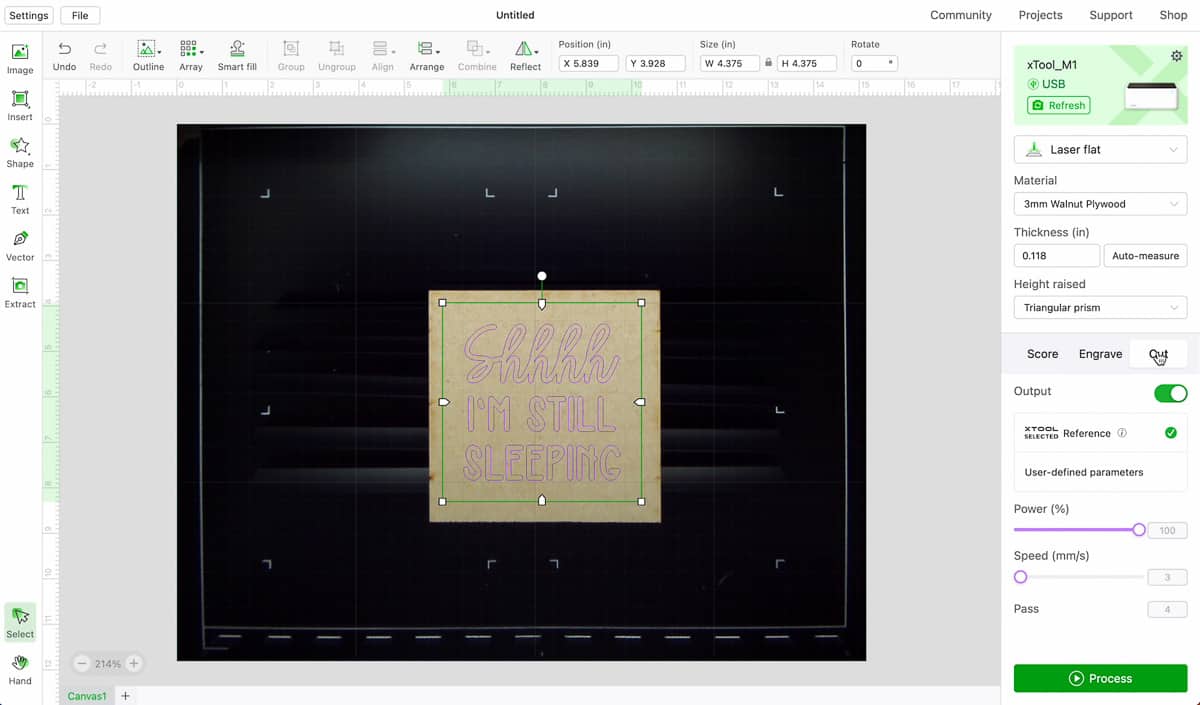
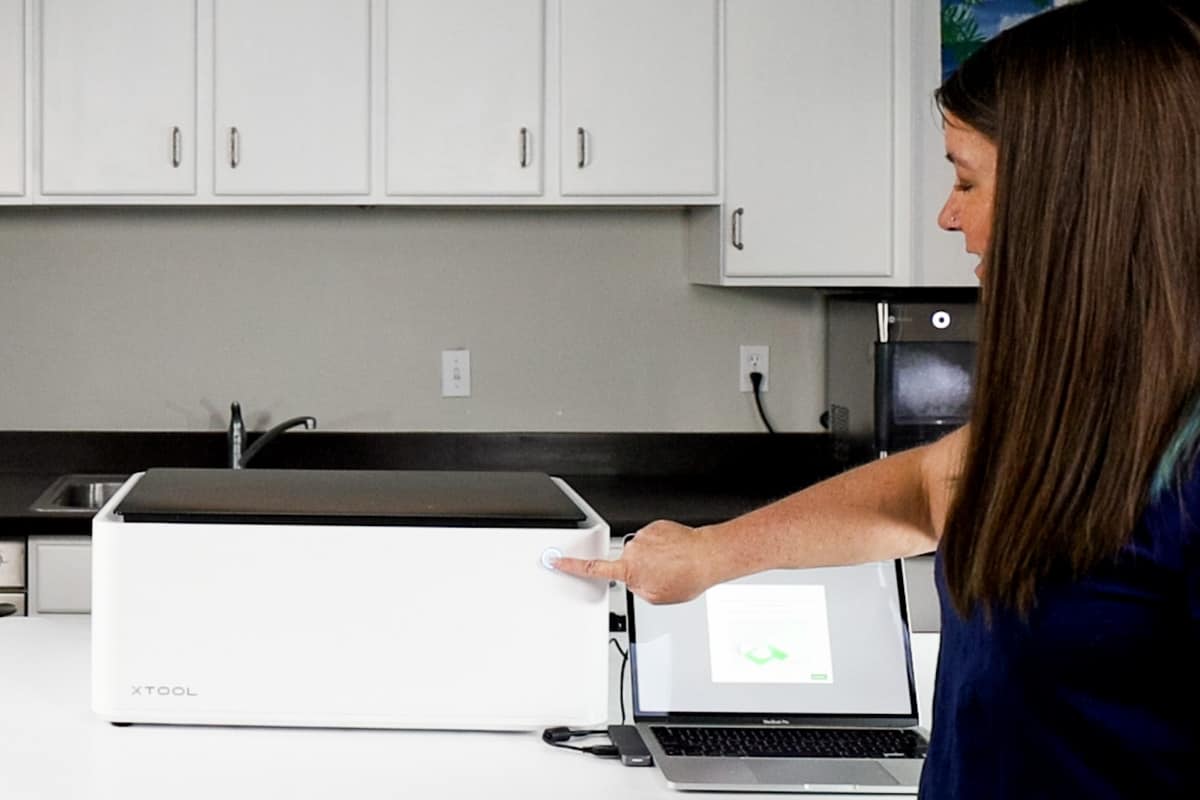
Select Process, Framing, and Start. Then press the Start Button on the front of the machine.
My patience was being put to the test. Cut time was about 1 hour and 15 minutes, and I was so excited to make this fun project. But the wait was worth it.

Painting:
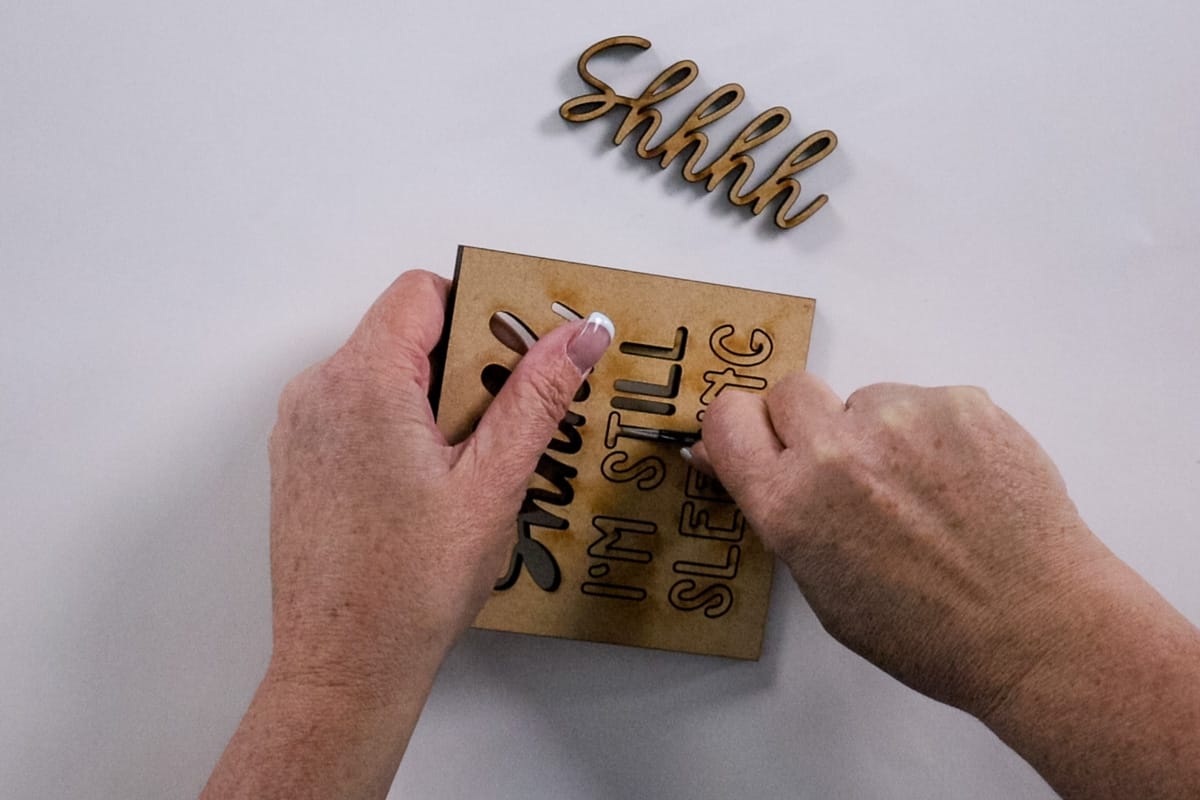
Here is what the MDF looks like once it is finished cutting.
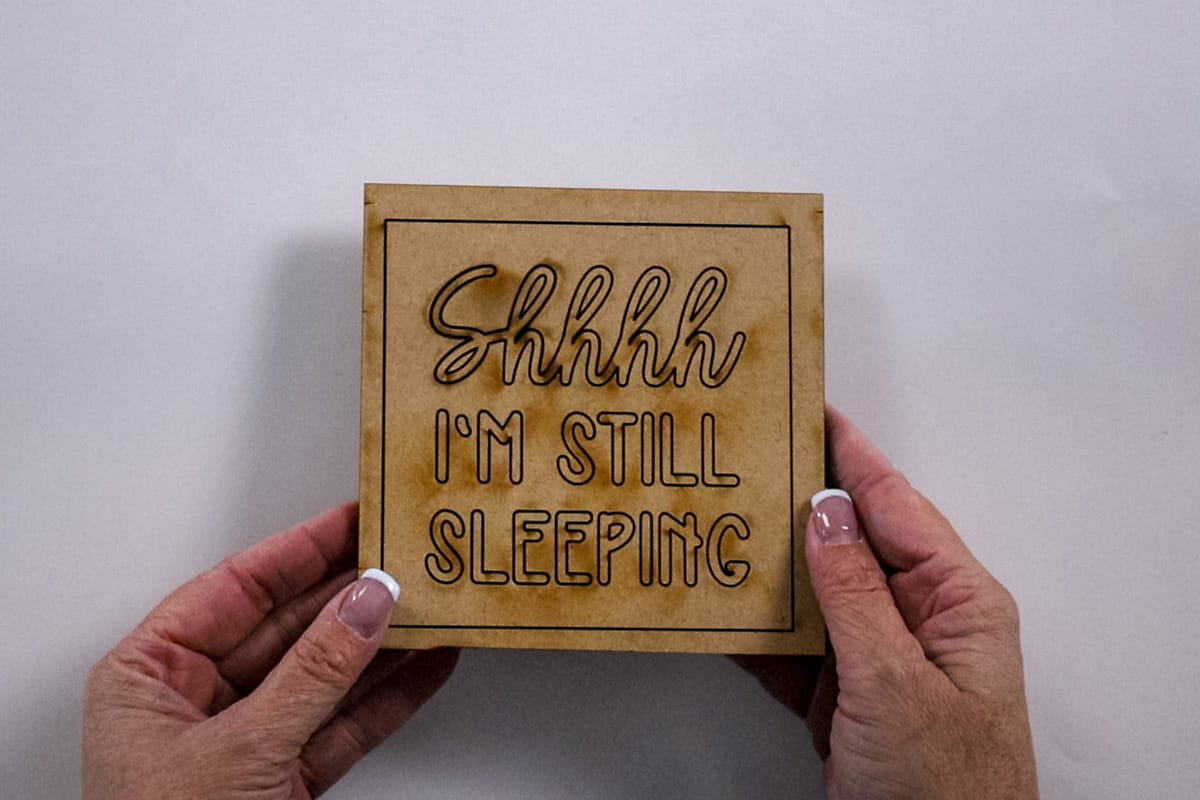
The first step is to push the letters out, I used some craft tweezers.
I rolled out some white paper to protect my surface from paint.
Then took long strips of masking tape, folded them over on themselves to make a loop, and stuck that to the paper.

These loops of tape can now hold my letter pieces while I paint and I won't get dark paint on my fingers.
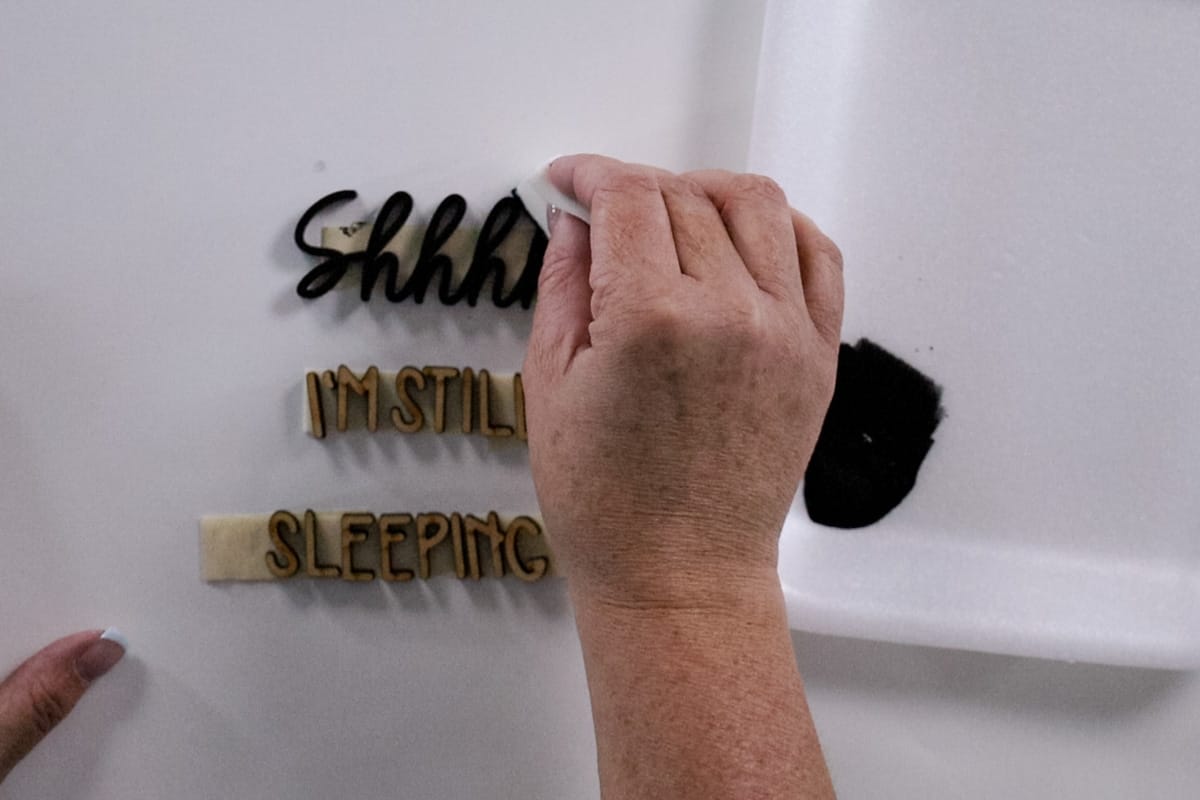
Craft Tip: I love painting small pieces with makeup sponges. They are super inexpensive and easy to use!
Applying Vinyl to Glass:
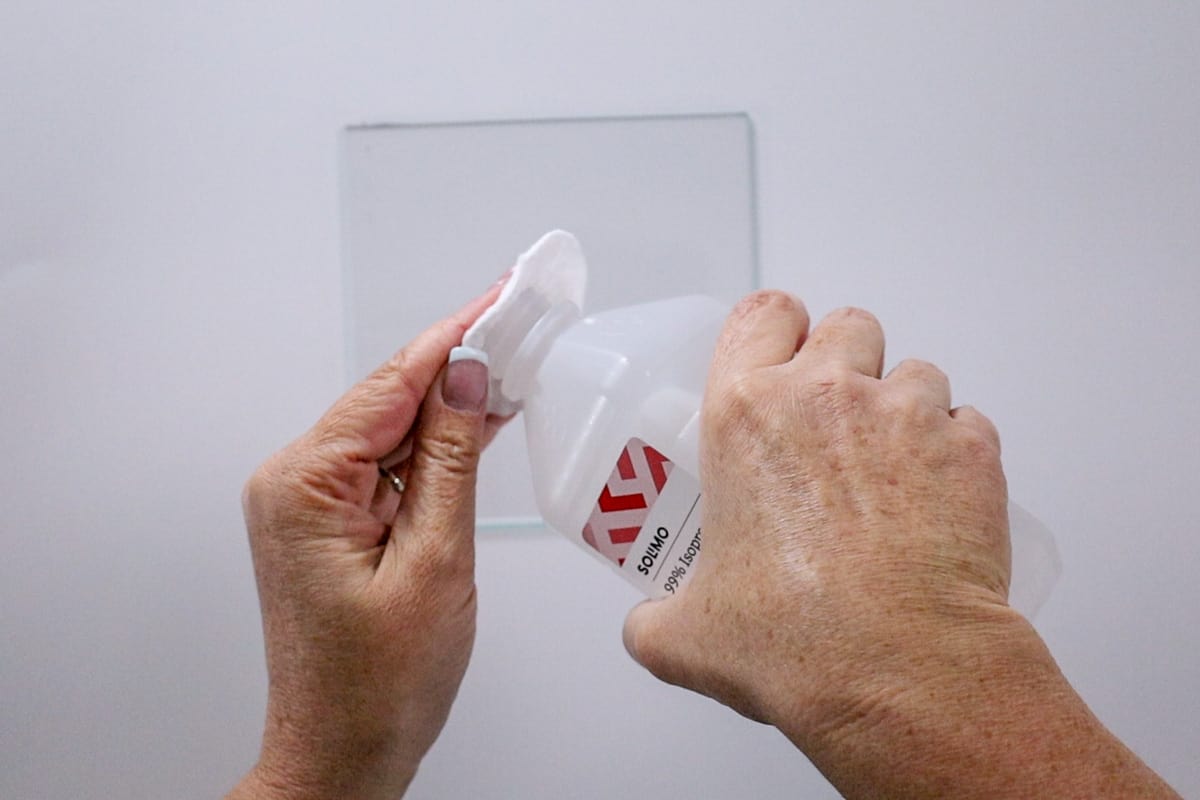
Remove the backing to the frame and take out the glass front.
Clean the glass piece with some Isopropyl Alcohol. This will remove any fingerprints, dirt, or smudges.
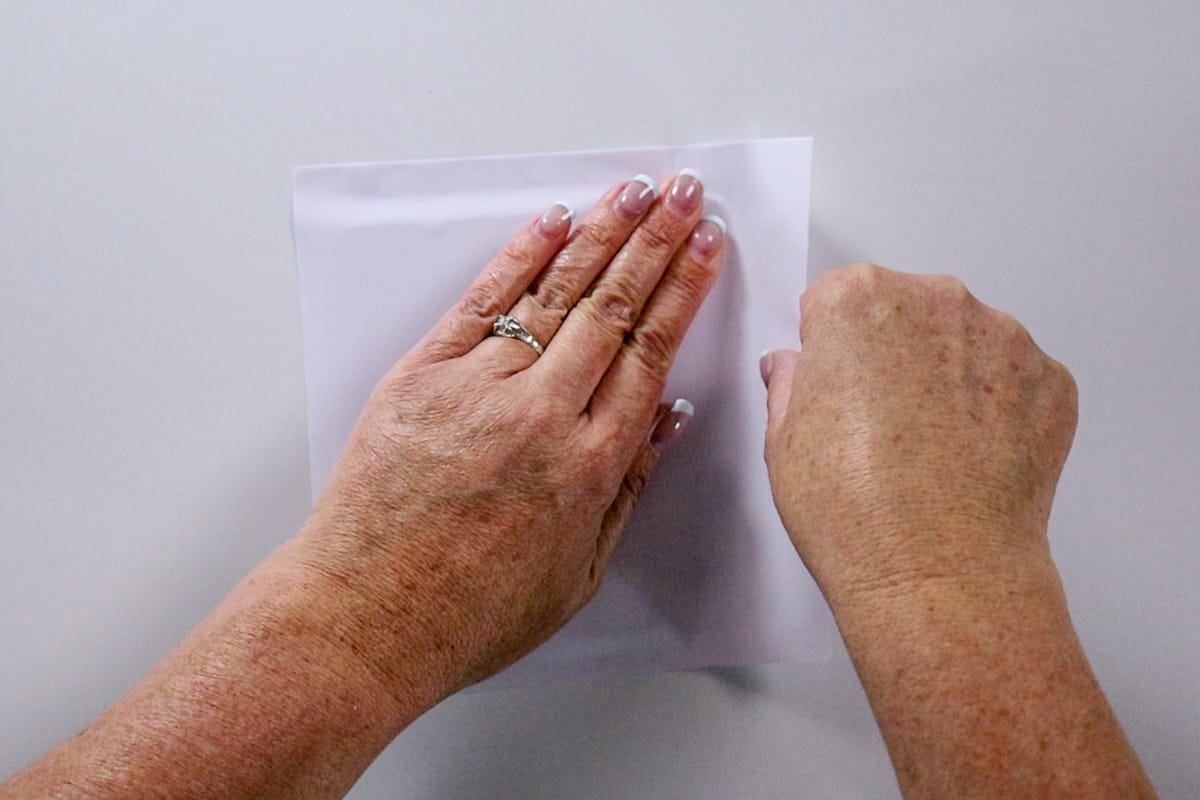
Cut a piece of white vinyl that is just slightly larger than the piece of glass.
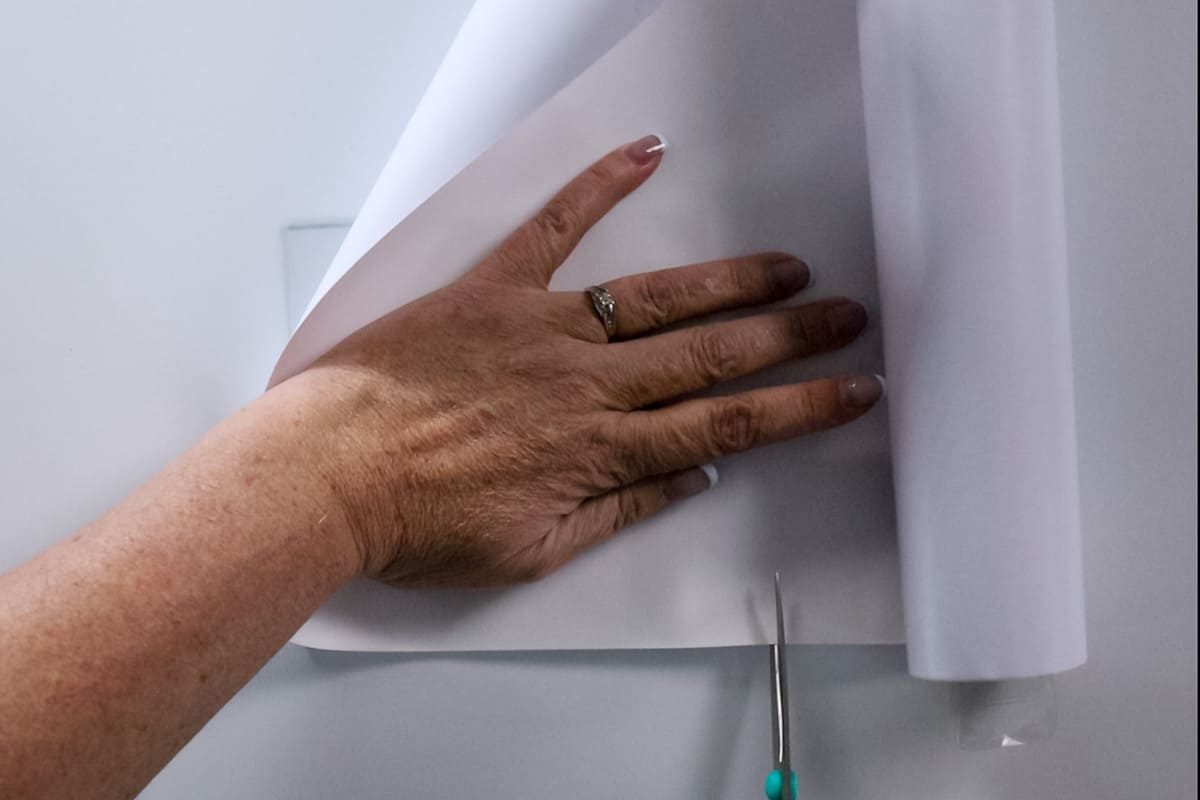
Remove the backing paper and roll the vinyl onto the glass.
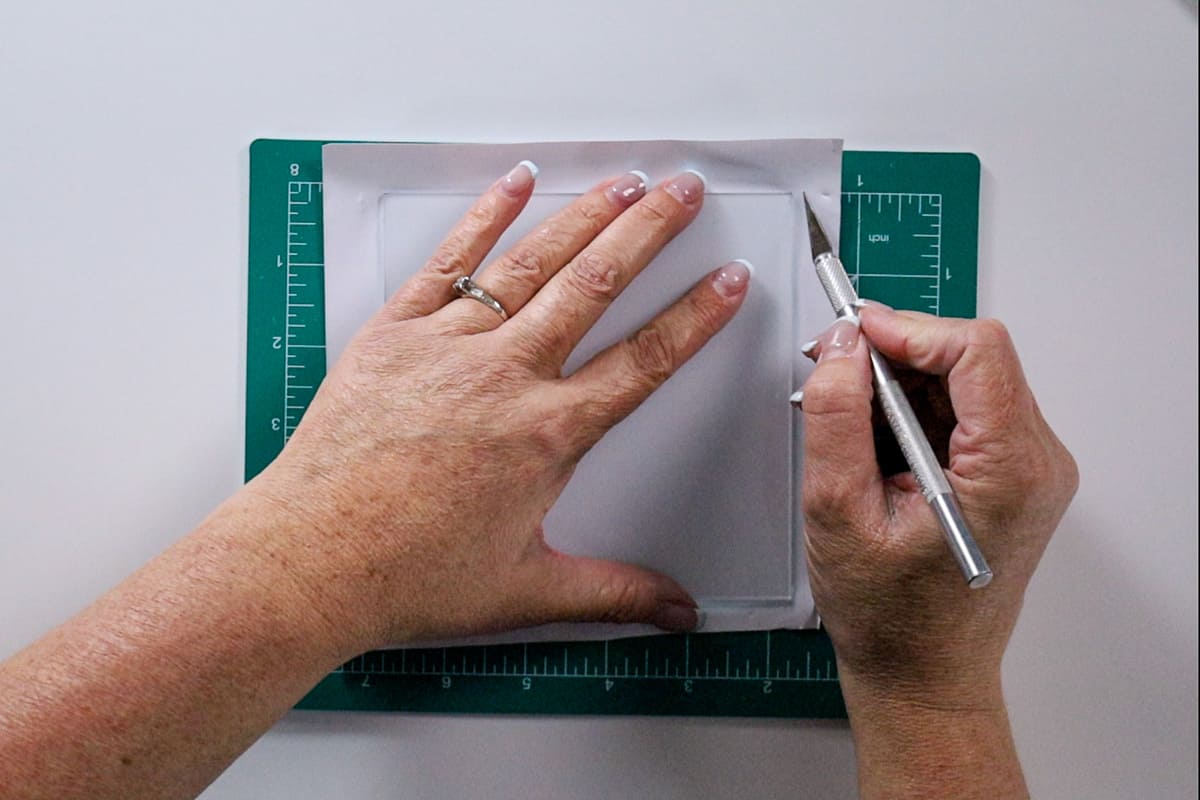
Turn the piece of glass vinyl side down onto a self-healing mat, and cut around the edges with a craft knife to remove the excess vinyl.
Gluing:
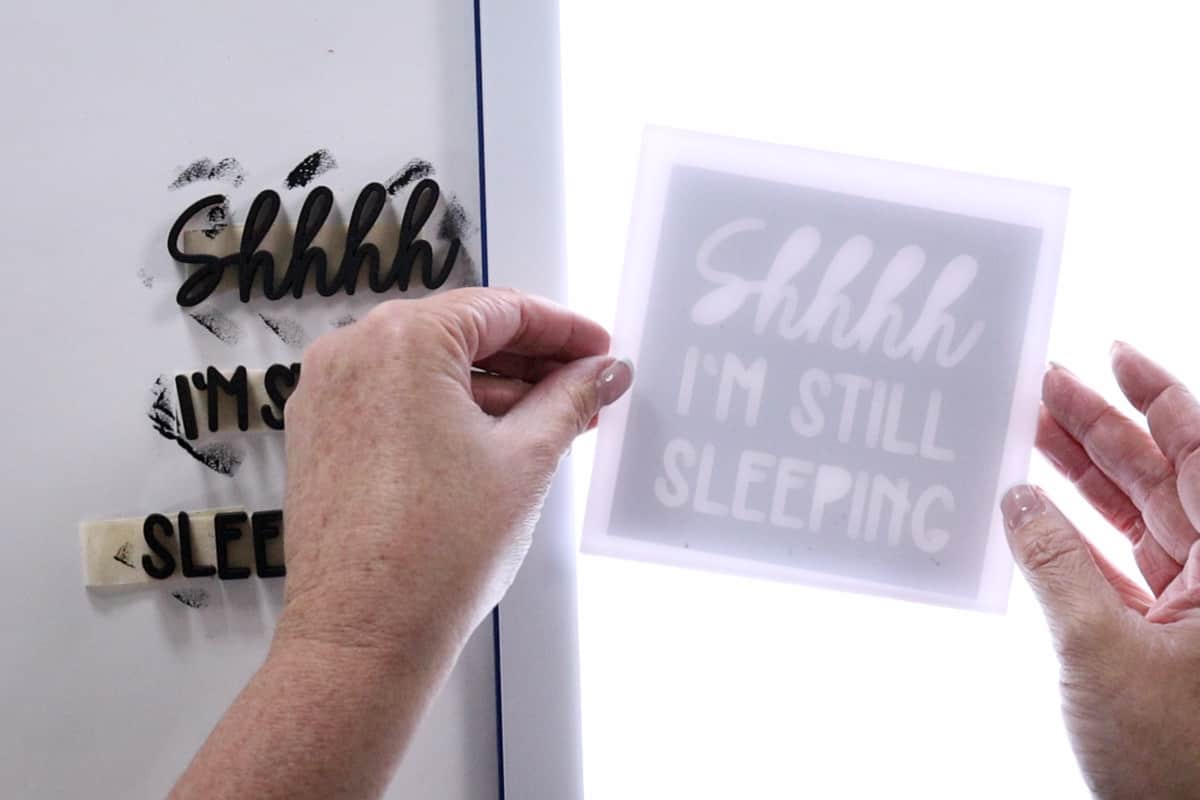
A light pad comes in handy for this step but is an optional supply.
Place the original MDF cut-out on the light pad and center the glass piece on top with the vinyl side down. The light underneath lets you see exactly where to adhere the letters.
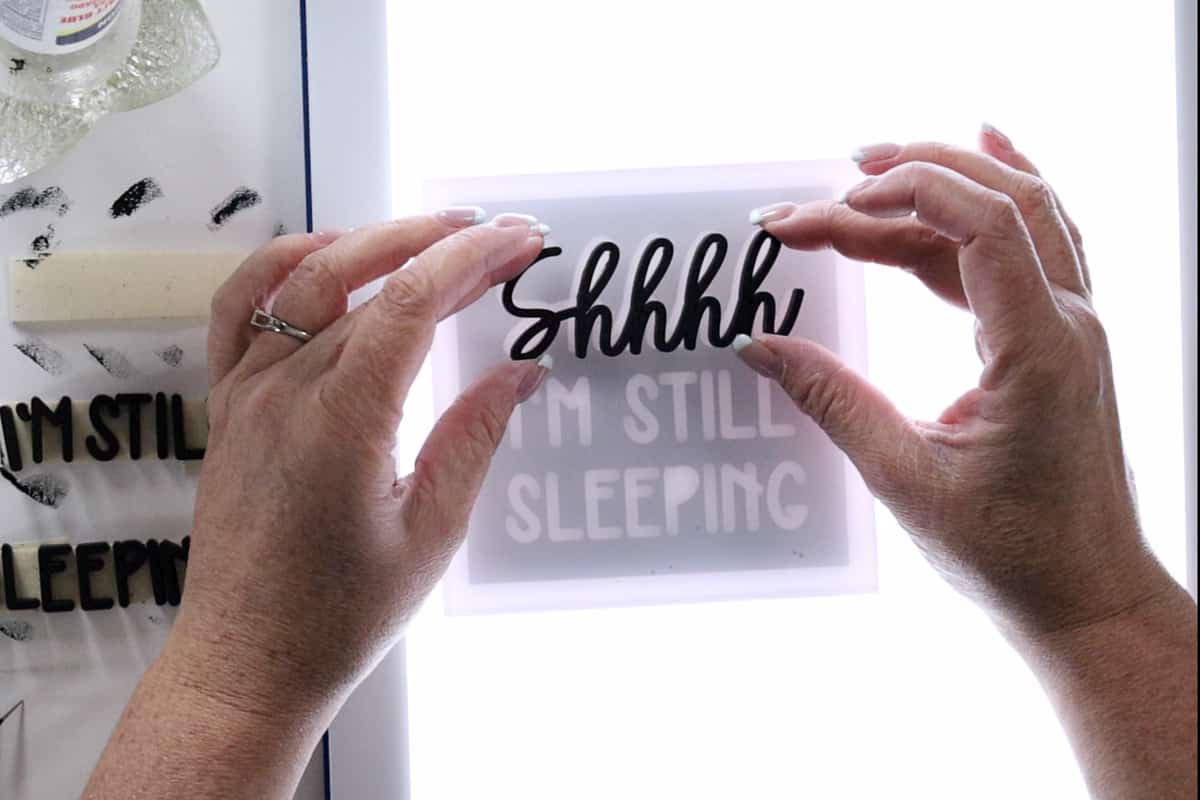
Apply a little bit of glue to the back of the letters and use the craft tweezers to place each letter. Try to avoid glue pooling around the letters. The glue will dry clear but you will still be able to see it.
Final Assembly:
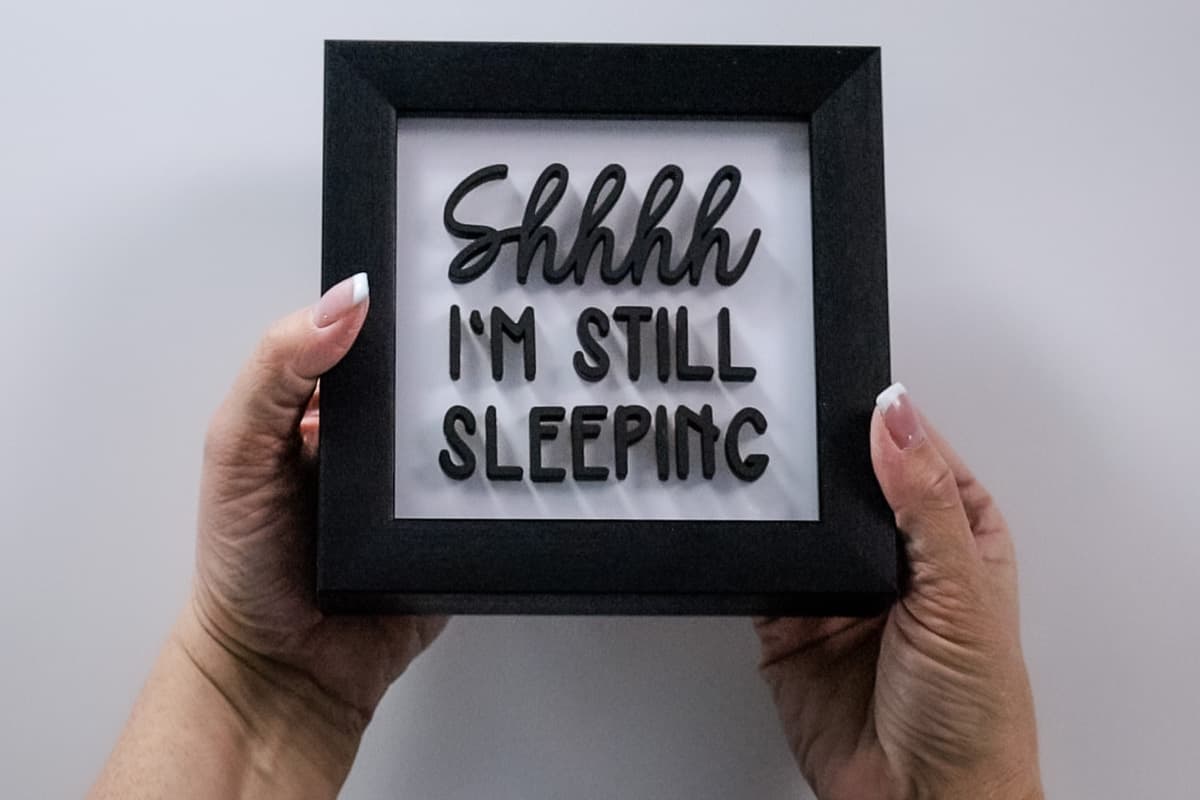
Place the glass front back into the shadow frame with the words facing outward.
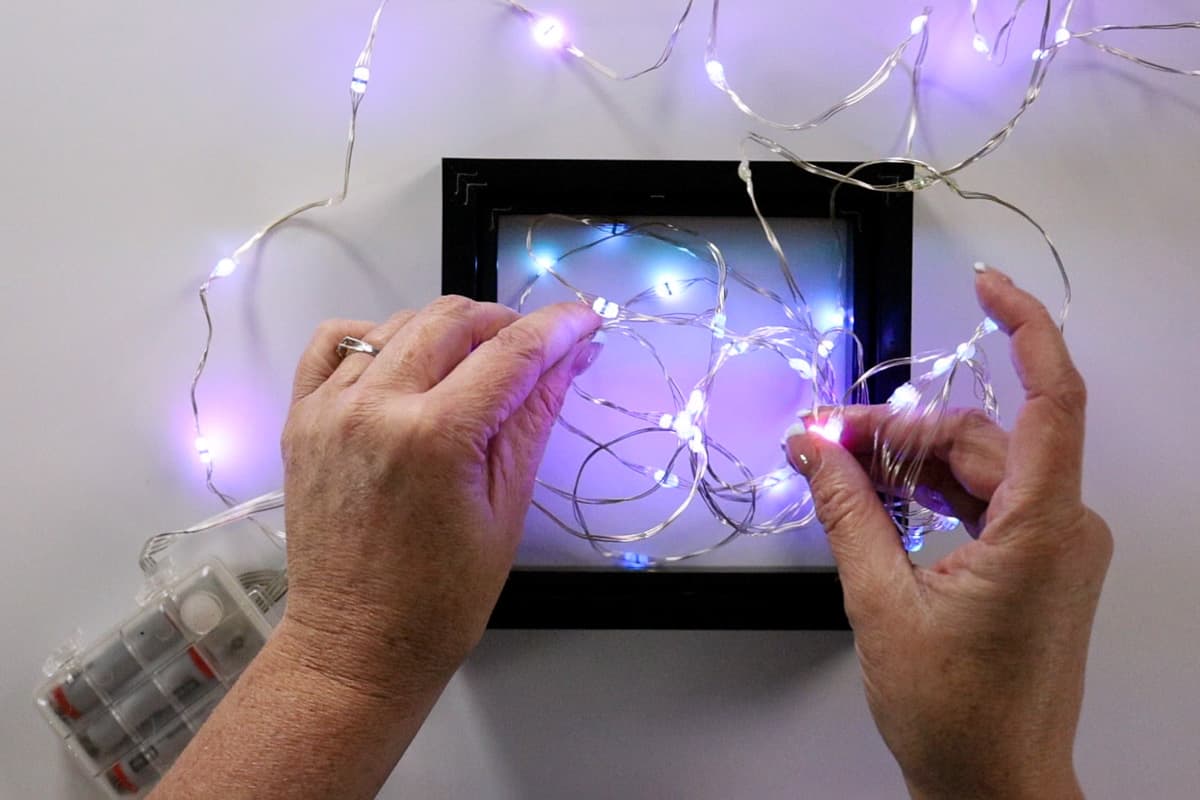
Place the batteries inside the light battery pack, and turn the lights on to make sure they work.
Unwind the string of lights and randomly push the wire into the back of the frame.
The good news is it is okay if it looks messy, but try to evenly distribute the lights.
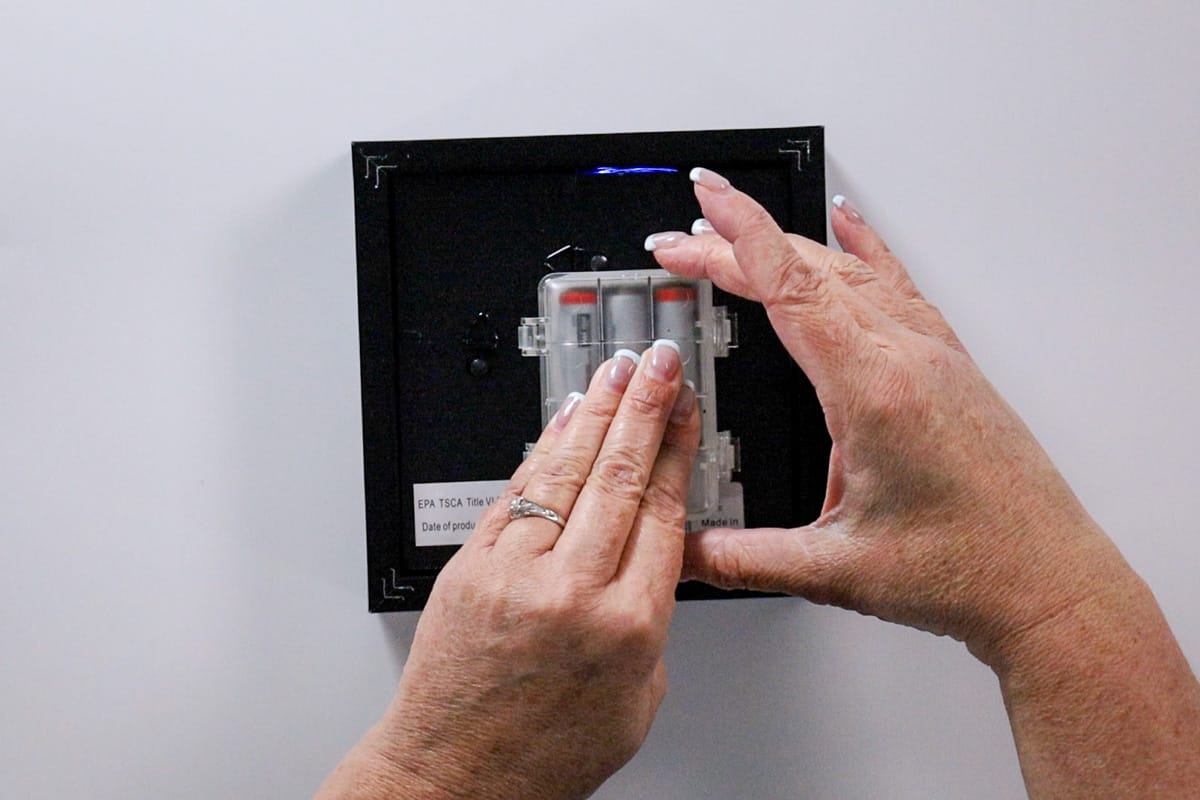
Glue the battery pack or power source onto the back of the frame.
The important thing to remember is to make sure the glue has dried before you place the frame upright otherwise the battery pack may fall off.
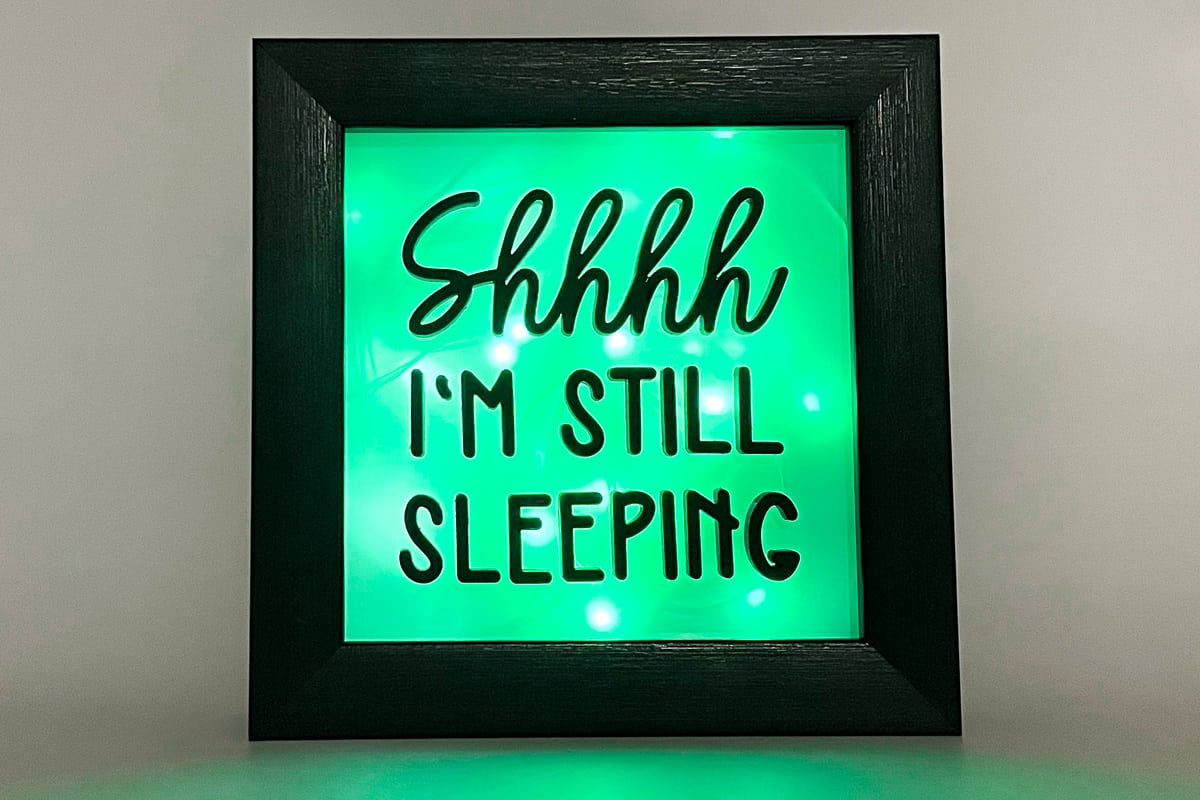
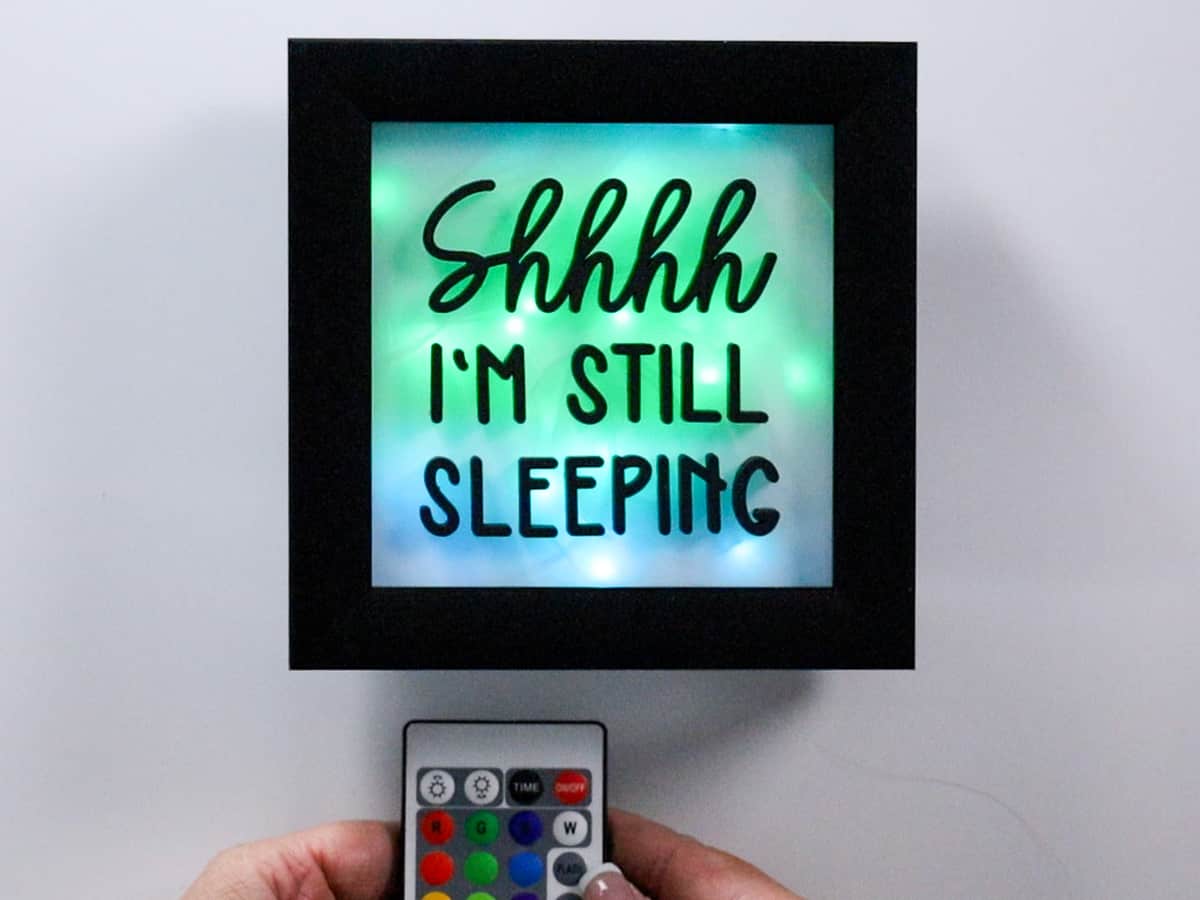
I absolutely love how this fun light turned out. All of the different colors can really set the mood, and the remote is super handy. This simple project turned into such a cute night light!
Who will you make this simple DIY night lamp for? This fun project would make a wonderful gift. It's great for baby rooms, kids' rooms, or any age. In fact, my 19-year-old daughter has already claimed this little light! 🤣
Sweet Dreams!
More Laser Tutorials:
Crafting and DIY are what we are all about here at The Crafty Blog Stalker, and we have several tutorials to show you how! Like Unboxing the xTool M1 Laser, Make Money From Home with a Laser, and a Heart Puzzle Keychain.
Be sure to look around the blog for more fun Laser Cut Tutorials!
Substitutions:
Here are some easy substitutions you can use for items in the supply list.
- Different Size Shadow Box Frame - just make sure to measure that inside area before you cut.
- Glue - You can use really any type of glue here that works with paper and glass, like hot glue, E6000, and super glue.
- Lights - The small "seed lights" work best for smaller frames but you can use any color variation or length less than 30 feet.
- Paint - Choose different colors or use spray paint instead of craft paint.
Variations:
Want to customize your project? Here are a few DIY Night Light Ideas.
- Different Designs - Change up the saying or design to make custom night lights.
- Size - Try making a 12x12 shadow box frame night light.
- Concept - Instead of a night light for a kids room, make a party-themed light!
Equipment:
To learn more about the xTool M1 laser, visit my unboxing post where I share all of the steps to getting set up and ready to cut.

Frequently Asked Questions:
For a night light that won't put out too much light, try a darker-colored vinyl over the glass instead of the white vinyl I used.
I would suggest testing it out before applying the words with glue.
You can also look for dimmable fairy lights.
As long as you follow the manufacturer's directions, LED light are safe to use as night lights.
Our Laser Essentials List:
- I would highly suggest the xTool M1! This machine is super easy to learn and helps you create beautiful projects!
- Craft Closet is my favorite shop for all of my laser materials. Their materials are high quality and with the lowest price, I can find anywhere!
- But if you really want to get into lasers, I highly suggest you learn how to create your own files. Pen & Posh has a great course for this.
Follow TCBS
The post How to Make a DIY Night Light with a Shadow Box Frame appeared first on The Crafty Blog Stalker.