


Are you tired of your old worn out Christmas stockings? Or maybe your son or husband would love to have something more ‘manly’ for their stockings. Are you looking for something completely different this year? Maybe you just really love duct tape like us. Whatever the reason is, here is an awesome little tutorial on how to make a duct tape Christmas stocking!
Since duct tape now comes in several different colors and patterns, feel free to get as creative and custom as you want for you duct tape choices. This stocking is pretty easy, you just need some time and some duct tape!
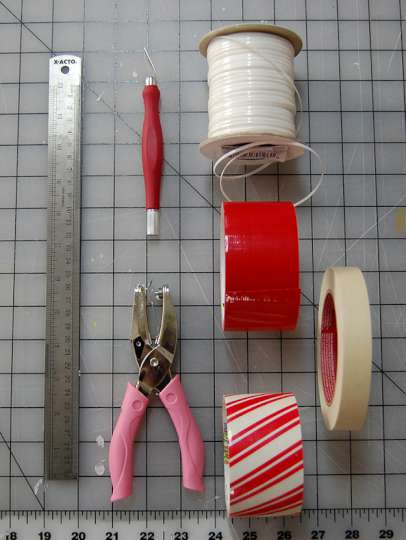
Supplies You Need:
- Cutting matte
- Exacto knife
- Hole punch
- 2 or more rolls of colored and patterned duct tape
- Scotch tape
- Permanent marker
- Plastic craft lacing
- Stocking for a pattern (use one you have or get one from a dollar store)
How To Make a Duct Tape Stocking:
Step one:
Create your duct tape sheets.
You are going to need 2 duct tape sheets for the main part of this stocking. And if you decide to do a weave like we did, you will need 2 more sheets of your choice colors.
For the first two sheets, take your pattern stocking, measure it and create your sheets a little bigger than your stocking. (Mine were 12 x 15 inches)
If you do not know how to make duct tape sheets, see our article with step by step instructions
Step two:
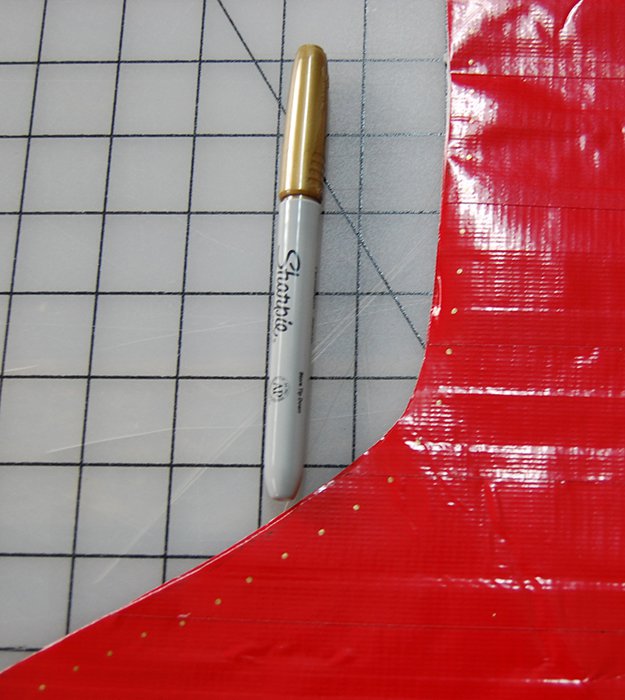
Trace and cut your stocking.
Take your dollar store stocking and place it onto one of your duct tape sheets. Trace with your permanent marker. Cut out. Place your fresh cut duct tape sheet onto the second one and trace. Then cut.
Step three:
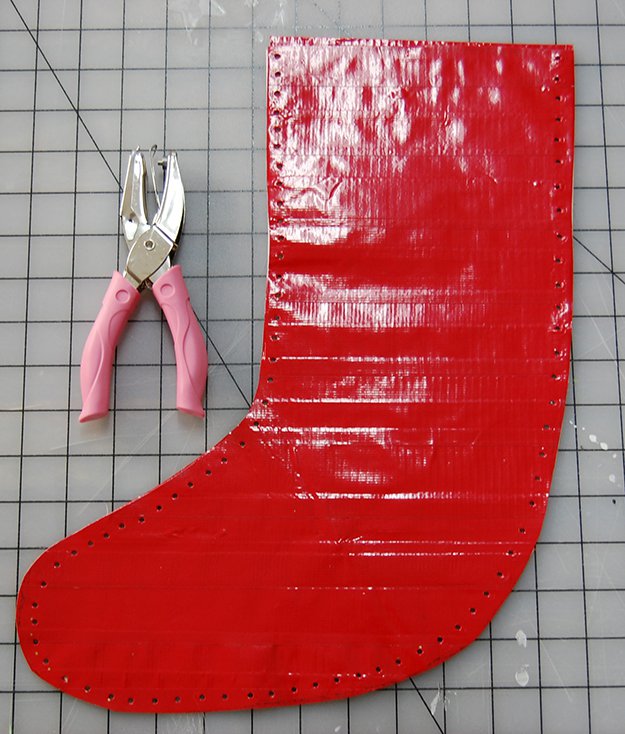
Tape and hole punch.
Place your two stocking pieces together with some tape to keep them aligned. Once you’ve taped them, take your marker and place evenly spaced dots along the edge of your stocking. This is what you are going to be hole punching, so be sure to leave enough space in between the dots so that your holes do not over lap. Hole punch all the way around your stocking, except for the top part that opens.

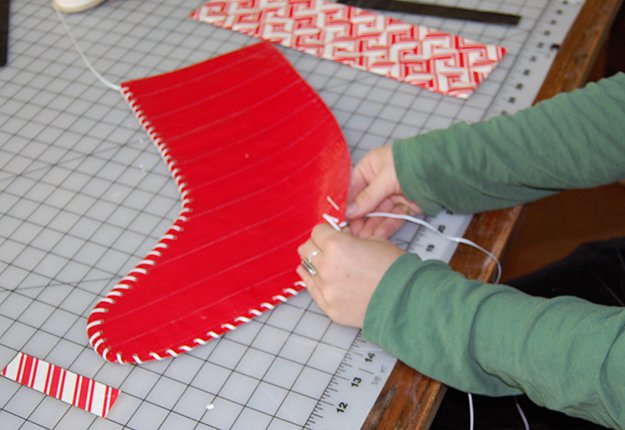
Step four:
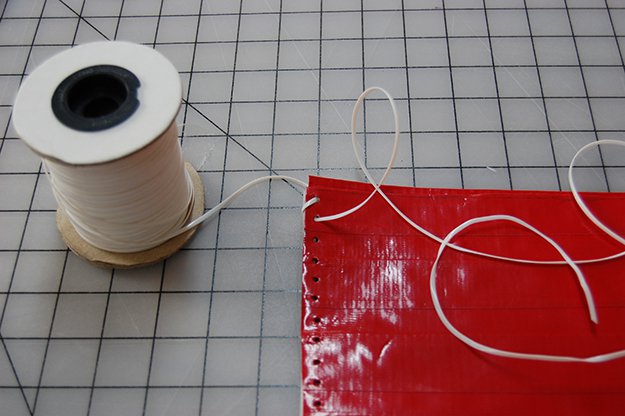
Lace your stocking together.
Once you have all of your holes punched, take a really long piece of your plastic craft lacing and start lacing your holes. We wrapped them so the went along the outside of the stocking, but feel free to play with the way you want to lace it!
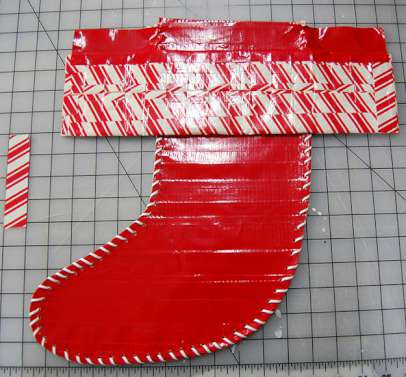
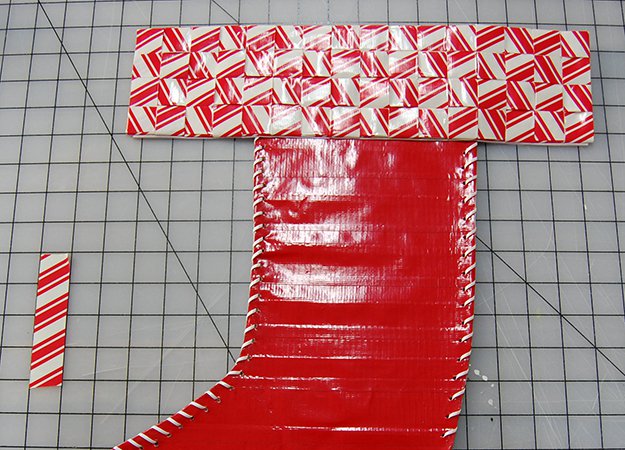
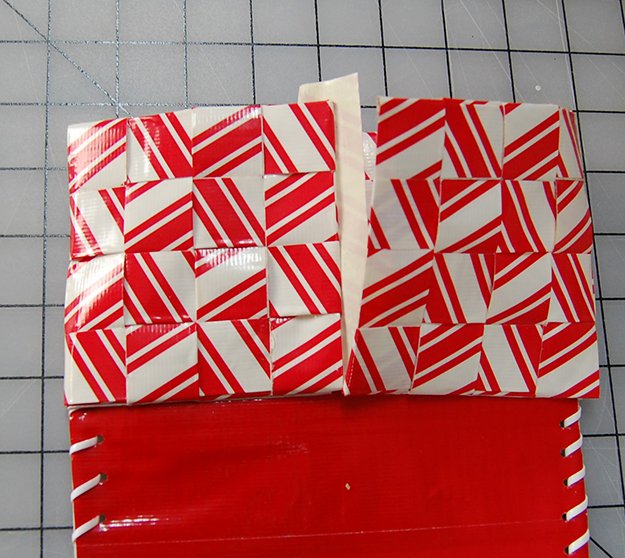
Step five: Create the cuff to your stocking.
We decided to add a little flair to ours, and created a weave for our stocking cuff. You can choose to just do a very simple one if you’d like, or weave a multicolored rainbow!
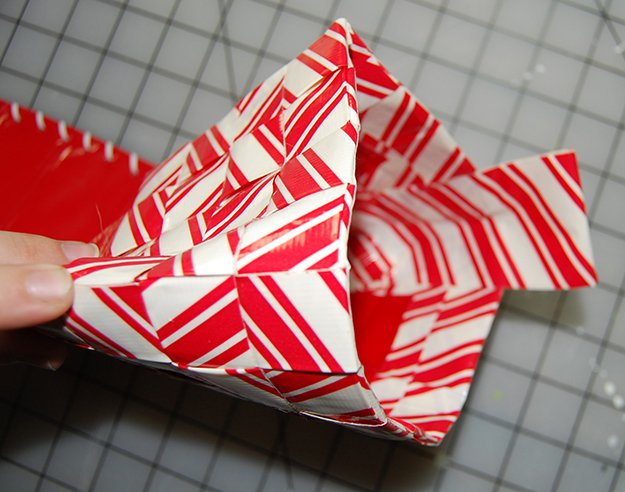
Measure out how tall you would like it to be and how wide it need to be to fit around the stocking. Once you have done this, flip it down and place tape on the back side, half on the stocking and half on the cuff. Once you add the tape, flip up the cuff and tape on the back side of the stocking where the cuff connects.

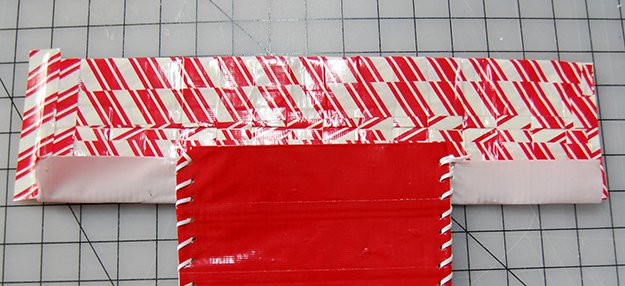
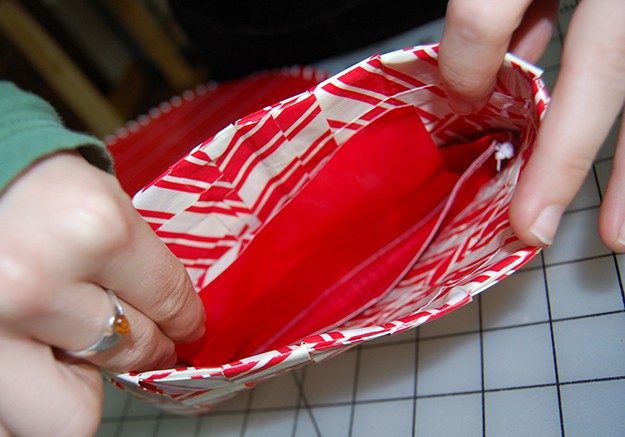
You will need to tape the inside of the cuff too. Open the top of the cuff and tape the edge of the top of the stocking to the inside of the cuff.

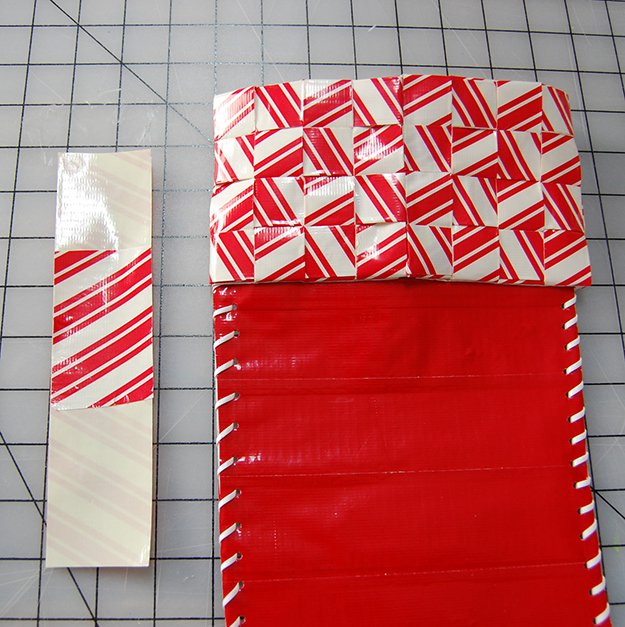
Step six: Add your hook loop.
Once you have the cuff attached, you will need to create the loop you will be using to hang your stocking up. Take a good sized piece of duct tape and then one that is a third of the size of the long piece. Place the smaller piece directly in the middle of the long piece, sticky sides together. Once you have this piece made, you are going to place the sticky side of the long piece of tape left exposed on the inside and outside of the stocking cuff. The loop will wrap from the outside of the cuff to the inside of the cuff.

Step seven: Stuff your stocking and hang it up!
You have now create your very own duct tape stocking! Whether its for you, your son/daughter, your husband/wife, or even your grandparents, you can now hang it on the mantle and stuff it with whatever goodies your heart desires.

We hope you enjoy your creation and have some great holiday fun.