

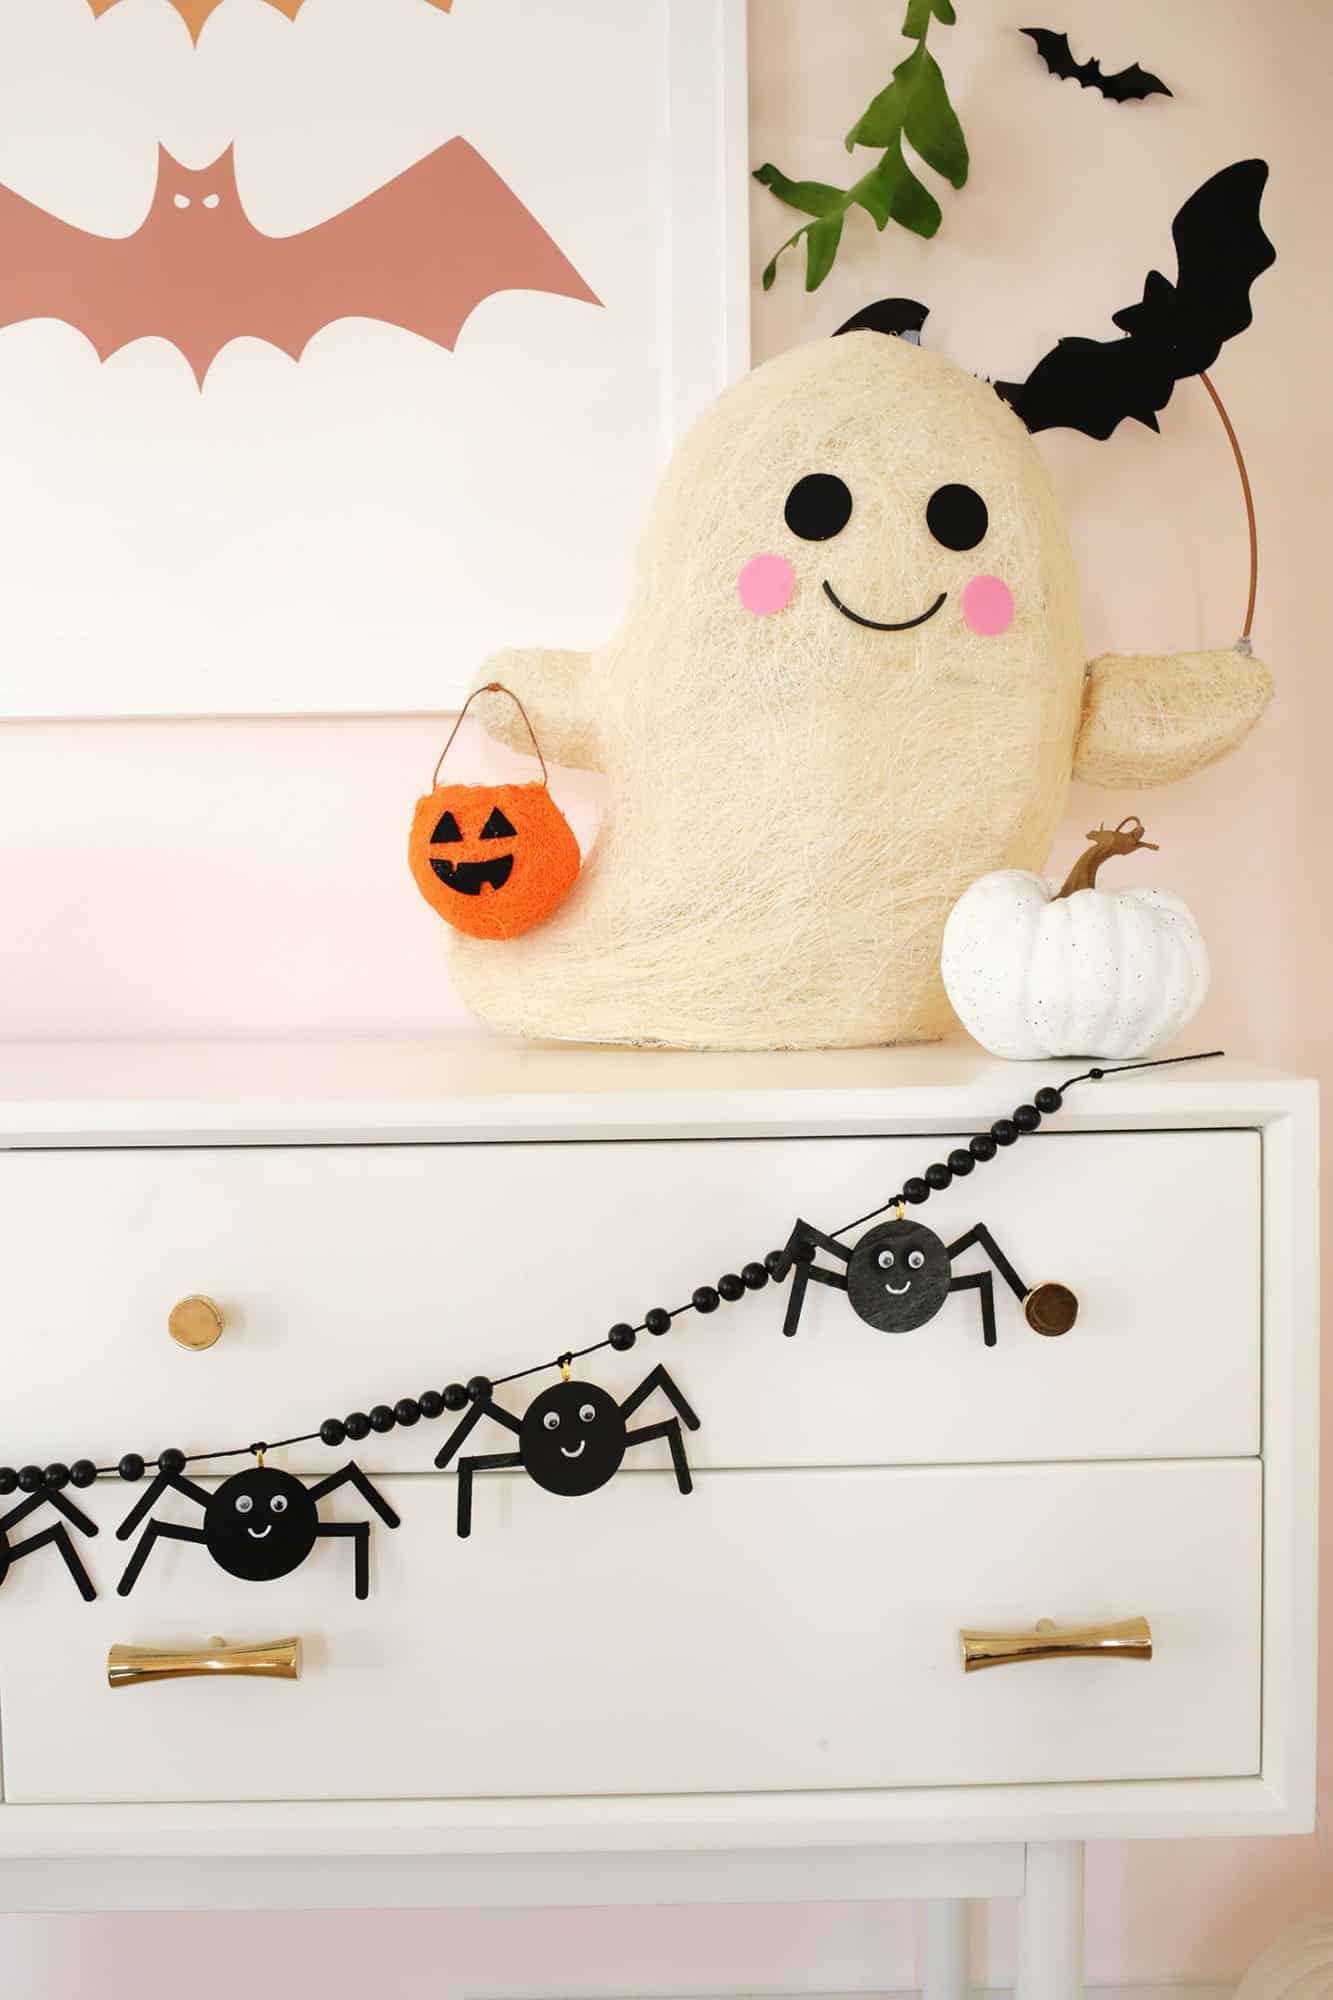
If you ask me, Halloween and DIY decorations go together like trick-or-treaters and candy. I love seeing the wooden spider and bat garlands in the stores, and I thought it would be fun to make my own wooden spider garland so I could customize it a bit. This is a great craft to make with kids that are glue gun age, as well.
Garlands are one of my favorite holiday decorations to use because they are so fast to put up and you can use them year after year as well! String them under a mantle, across a doorway, or over some art—they can go just about anywhere!
Love Halloween Garlands? Check Out These Posts!
- Easy Yarn Tassel Ghost Garland
- Easy Spider Garland DIY (With Pipe Cleaners!)
- Yarn Pumpkin Garland DIY
- Candy Corn Garland DIY
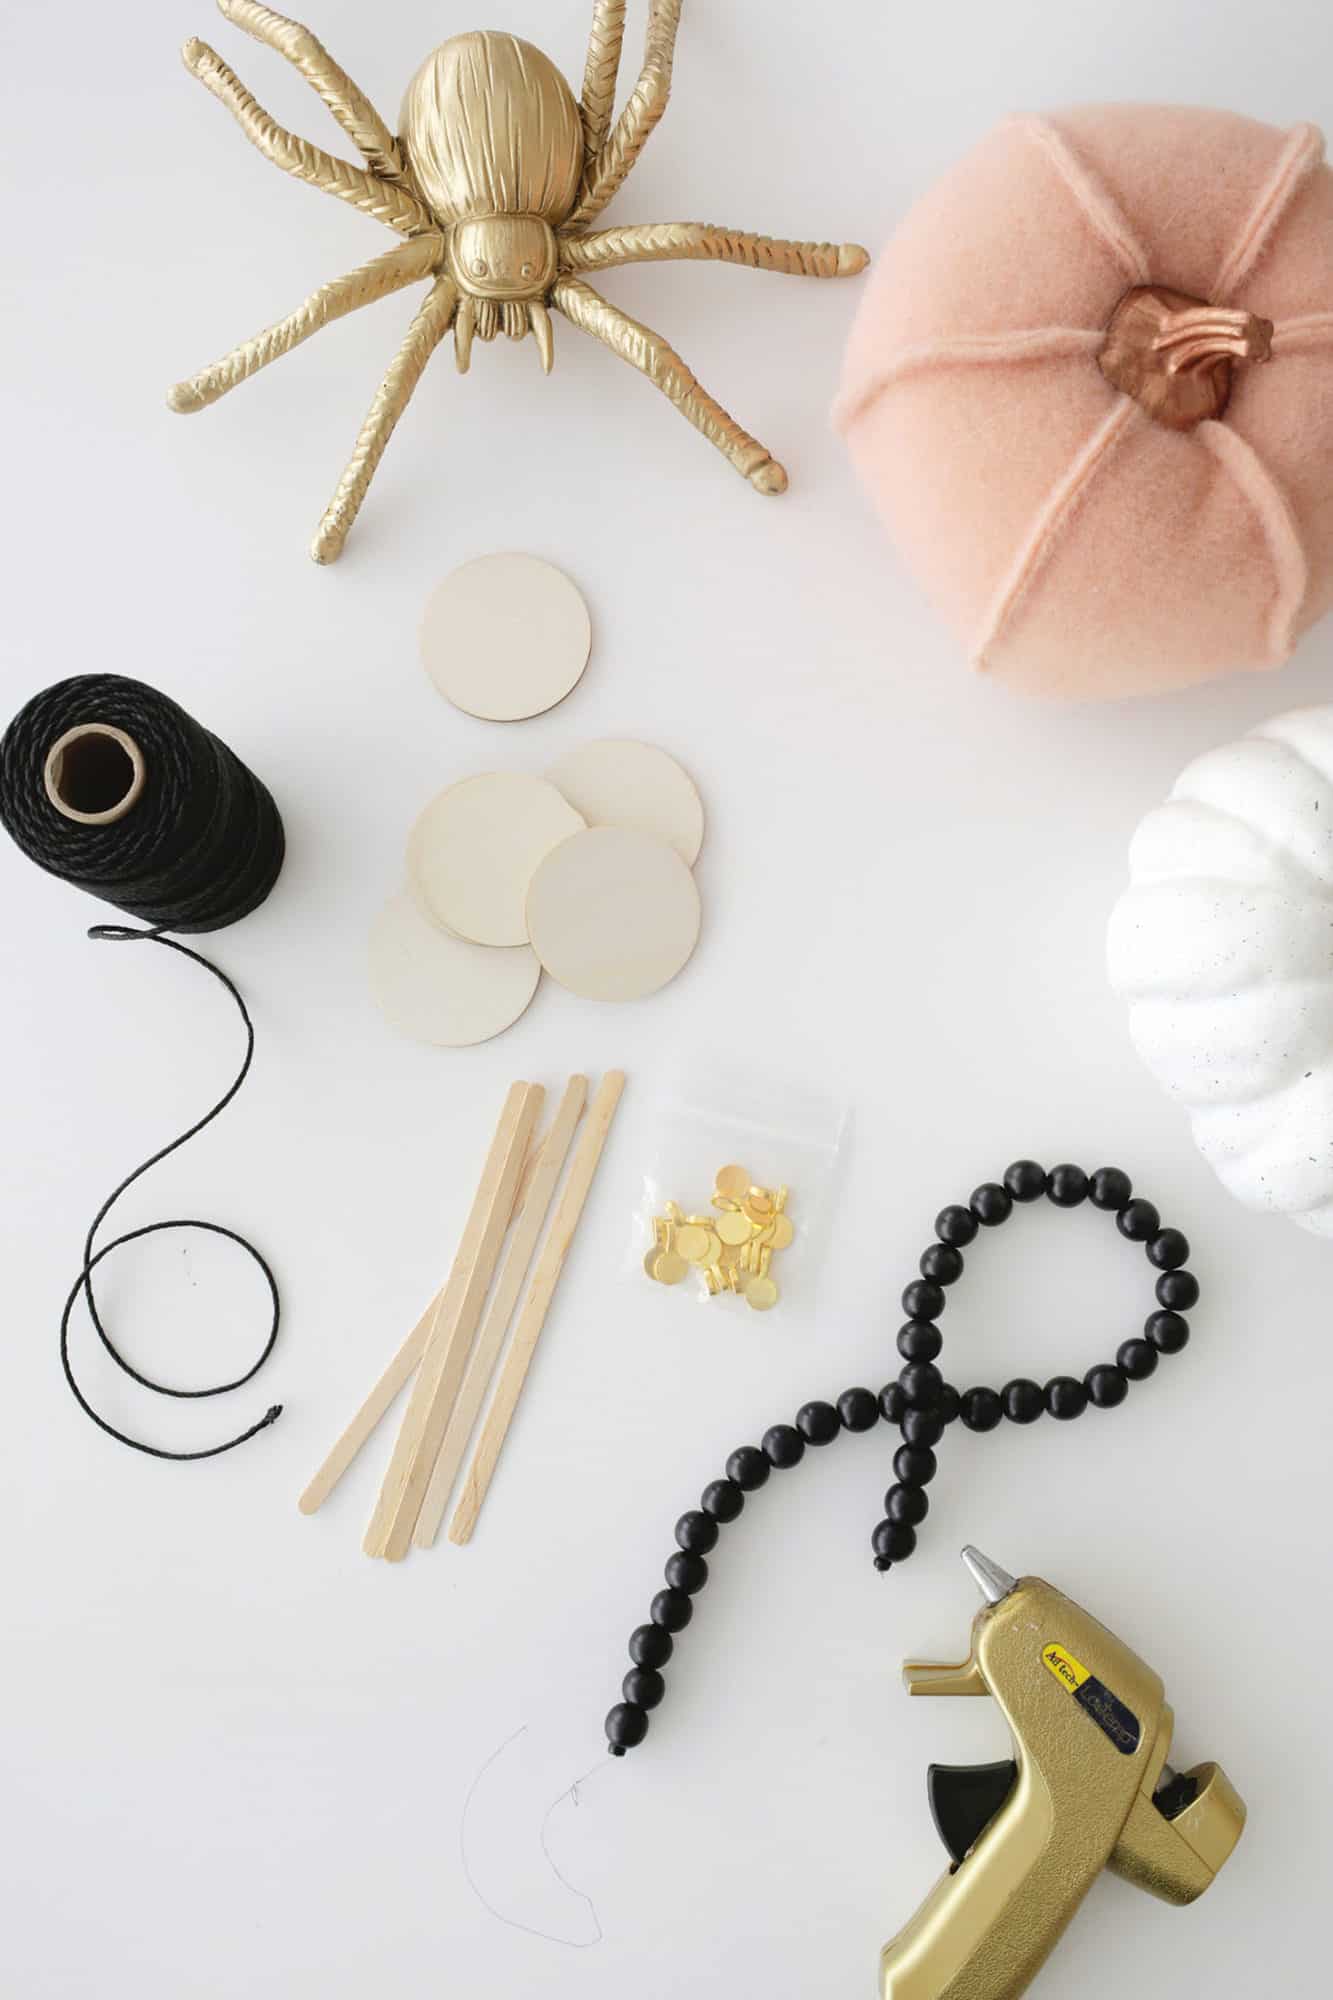
Tools Needed:
- glue gun
- scissors or wire cutters
Supplies:
- 2″ wooden circles
- wooden stir sticks or popsicle sticks
- black spray paint (I really like this one!)
- jewelry bales
- google eyes
- white paint pen
- black twine
- wooden beads (I used the 12mm size)

How To Make A Wooden Spider Garland
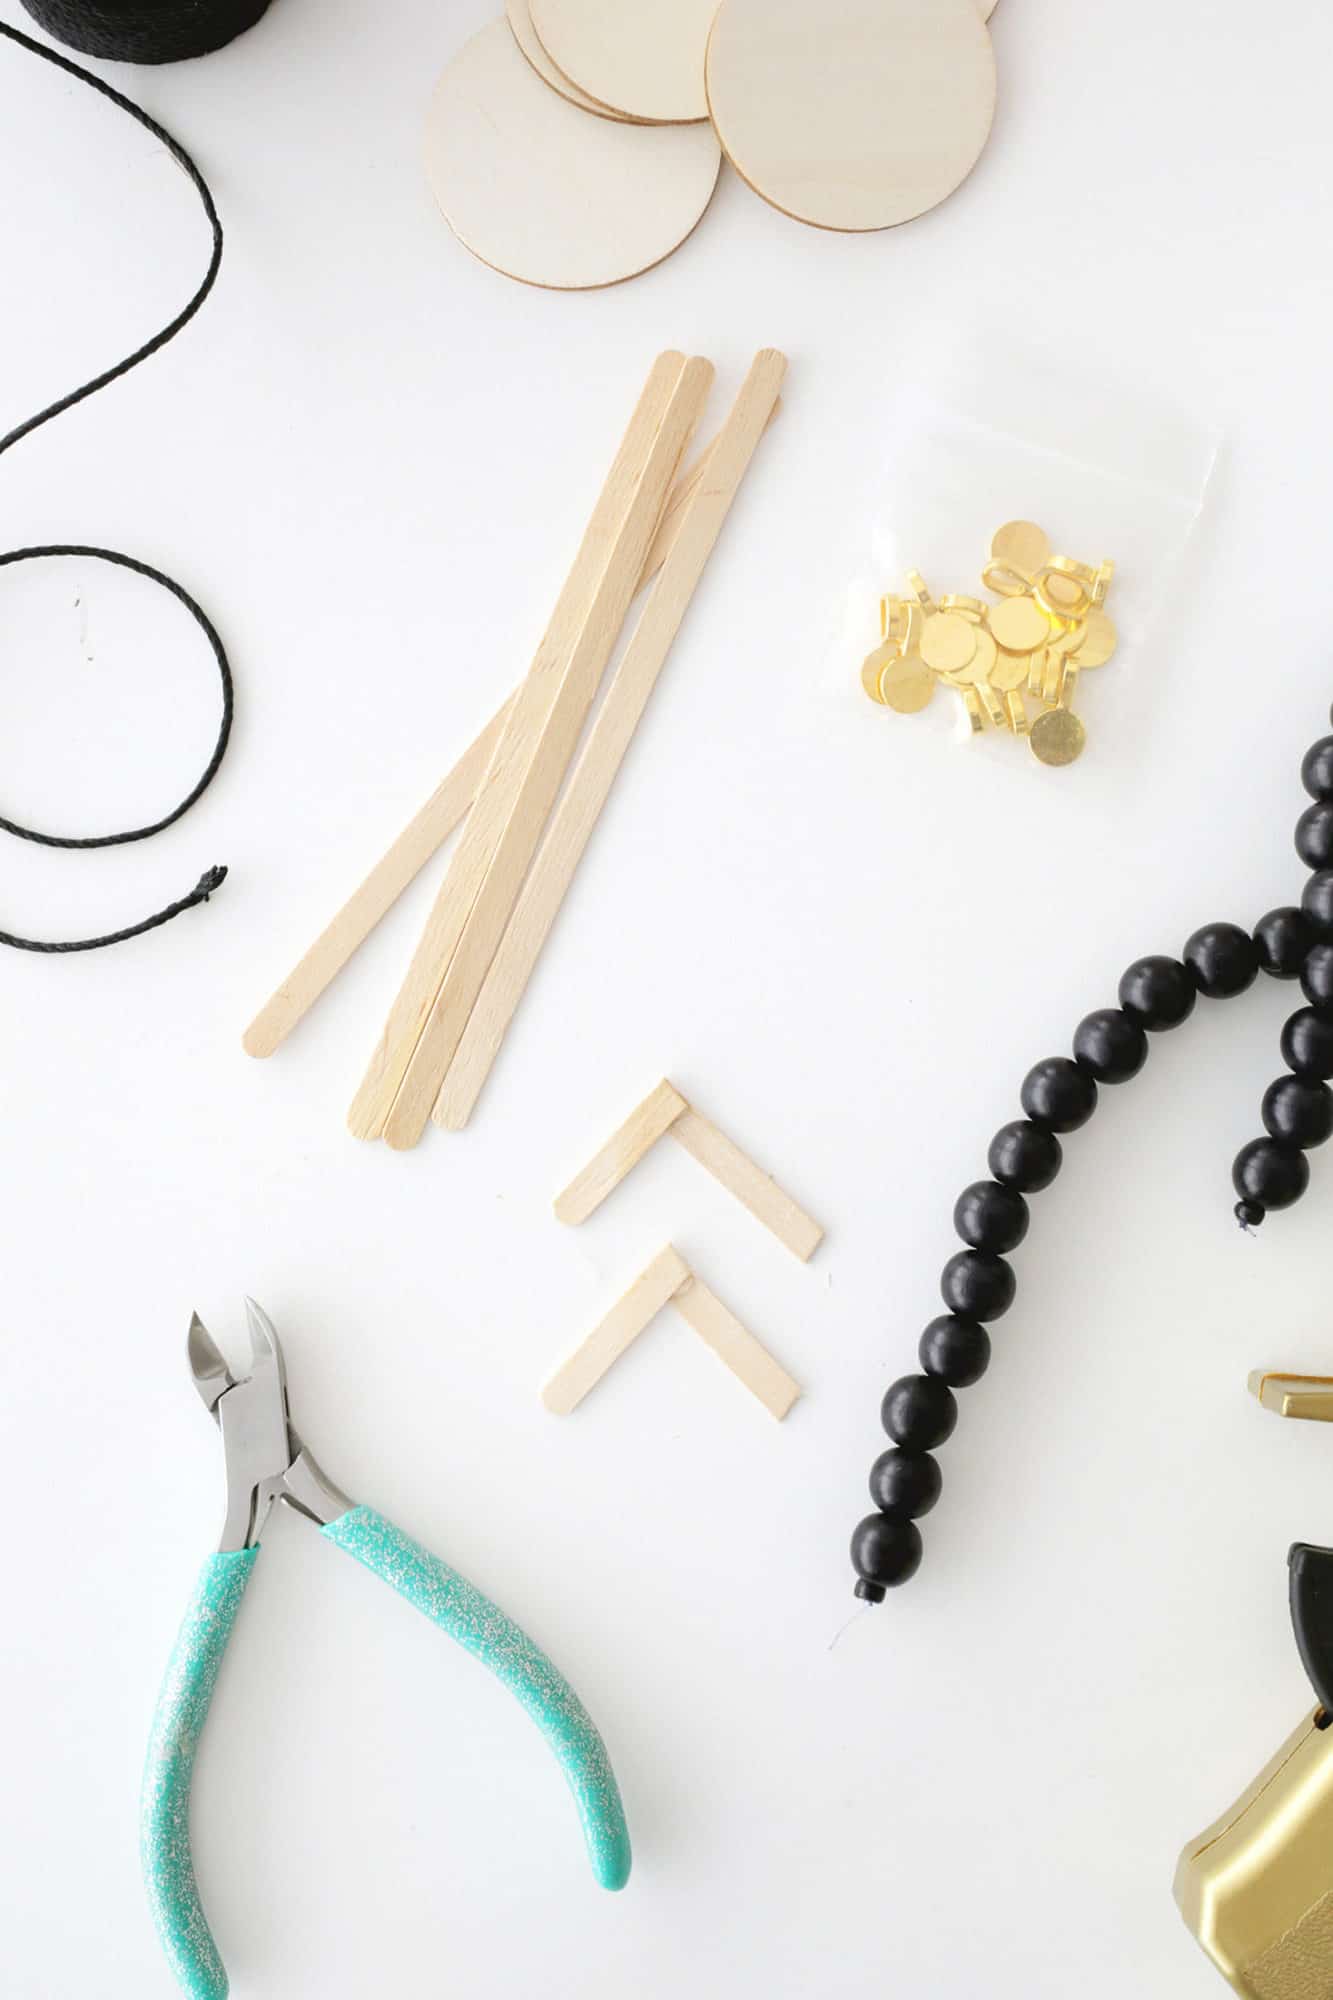
- Use scissors or wire cutters to cut a wooden stick into four equal pieces. Glue the rounded edge to a piece with straight edges at an angle to create a leg. Repeat until you have four legs per spider (you’ll want 6-8 spiders per garland).
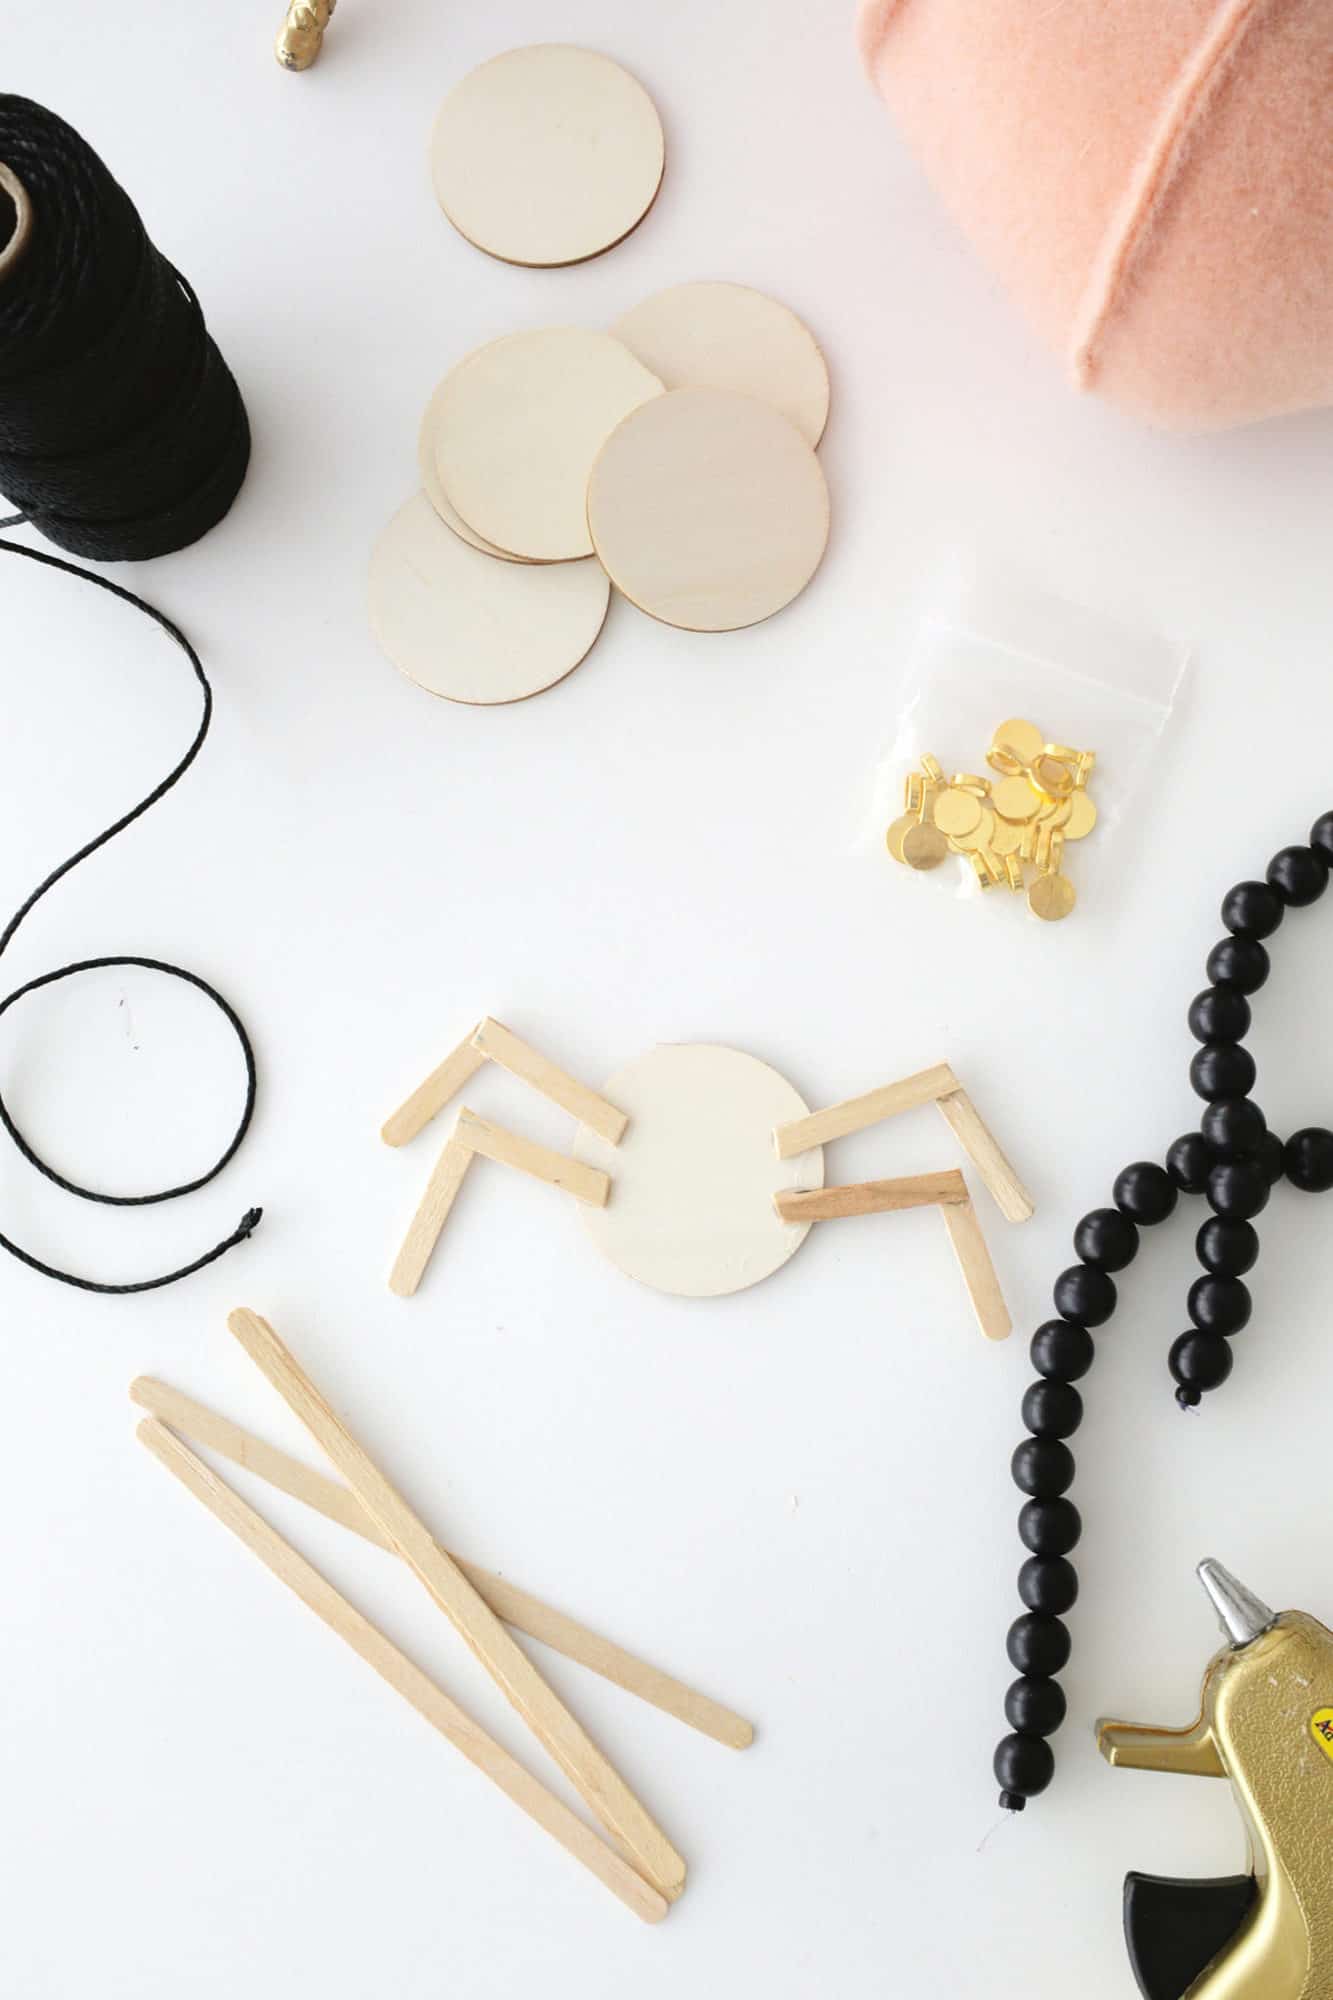
2. Glue four legs to the back of your wooden circle.
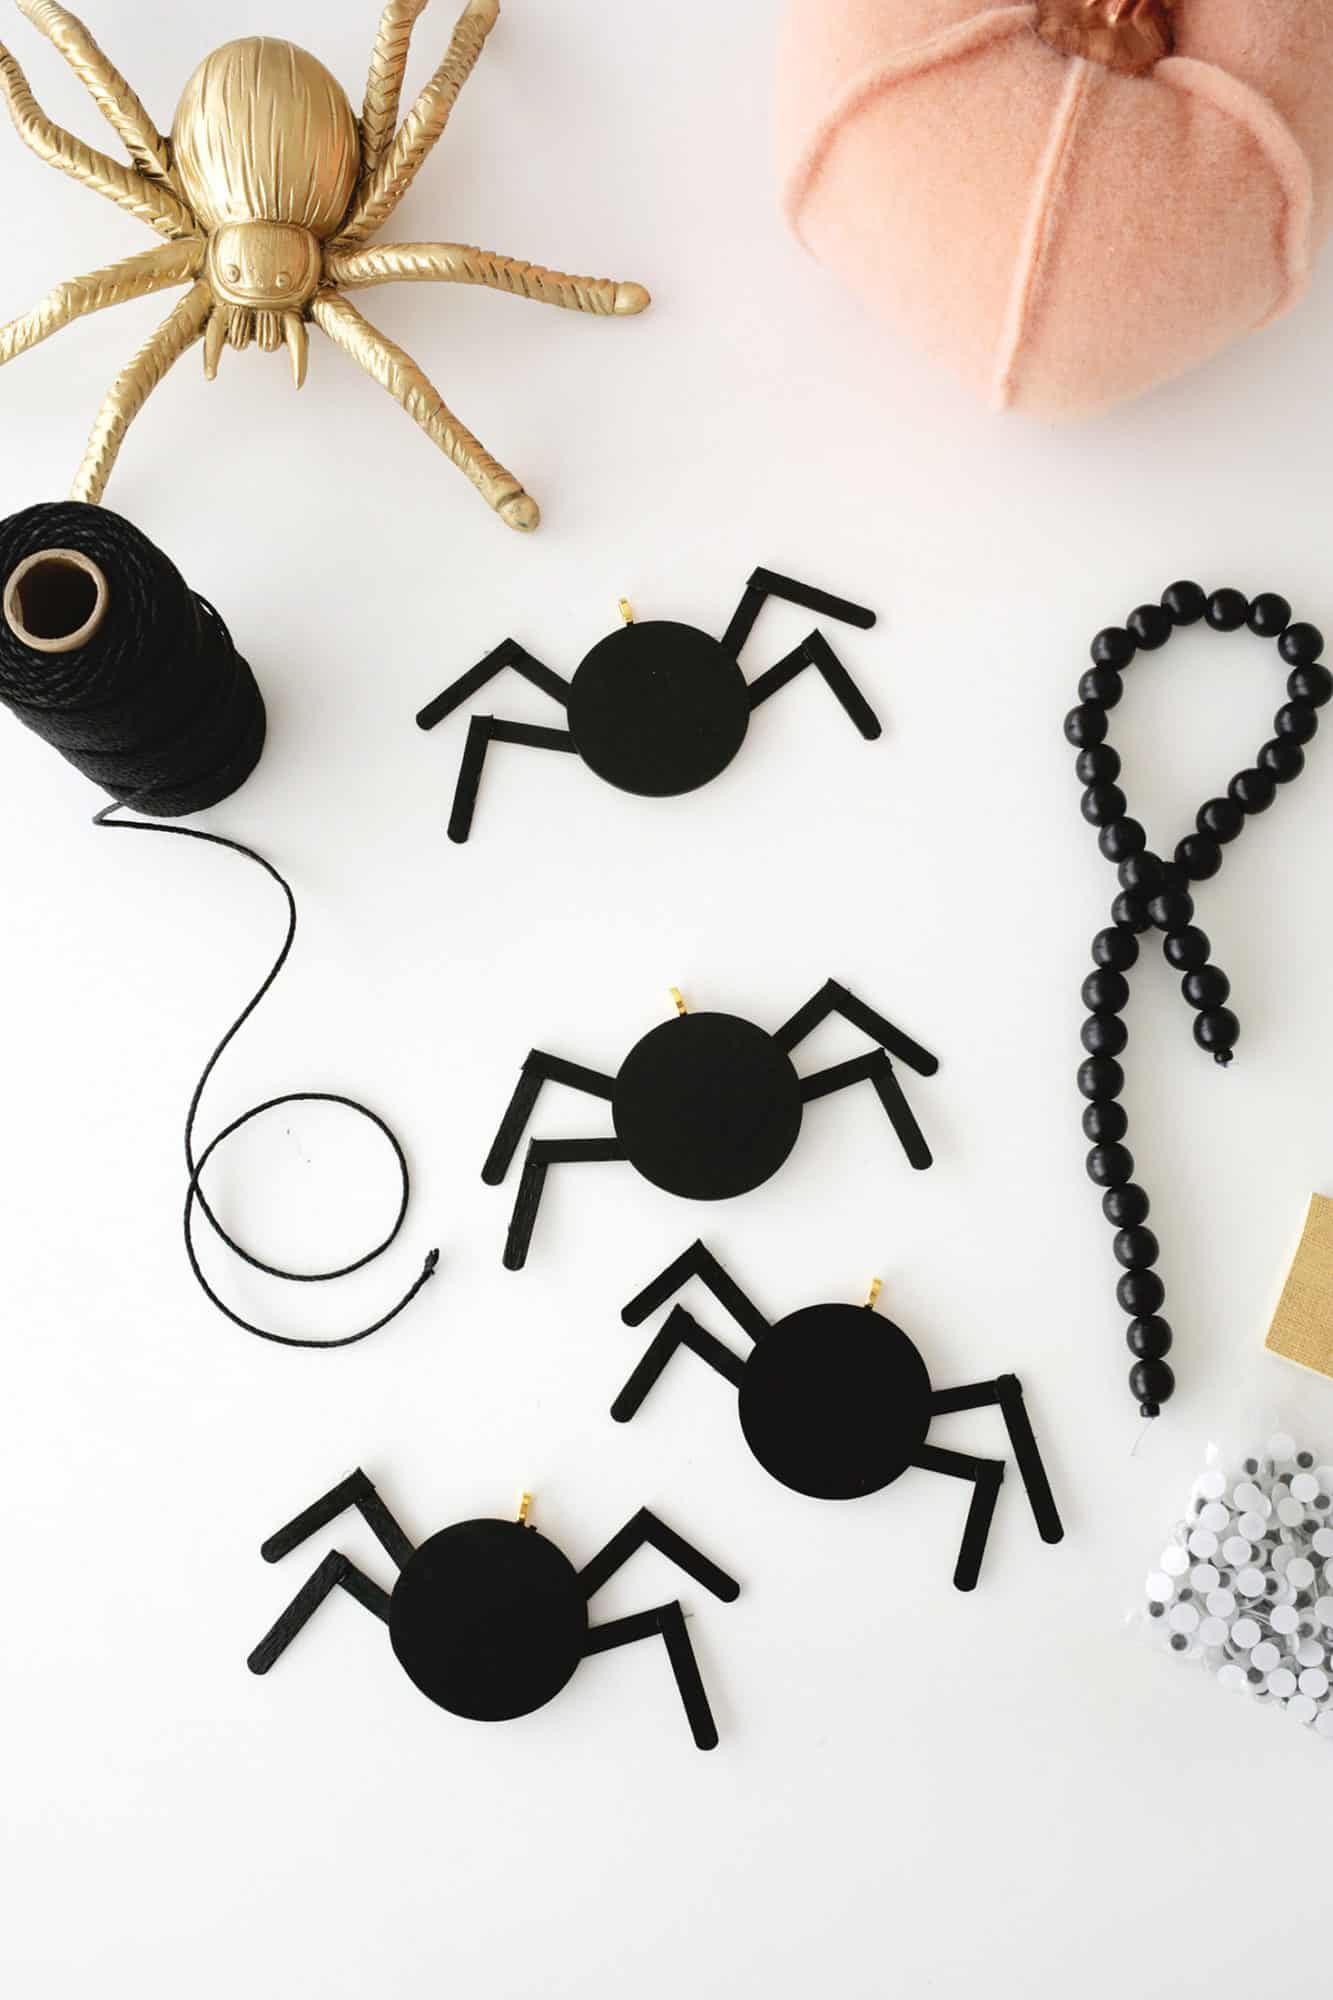
3. Spray paint your spiders black and allow paint to fully dry.
4. Glue jewelry bales onto the back of each spider above the head area.
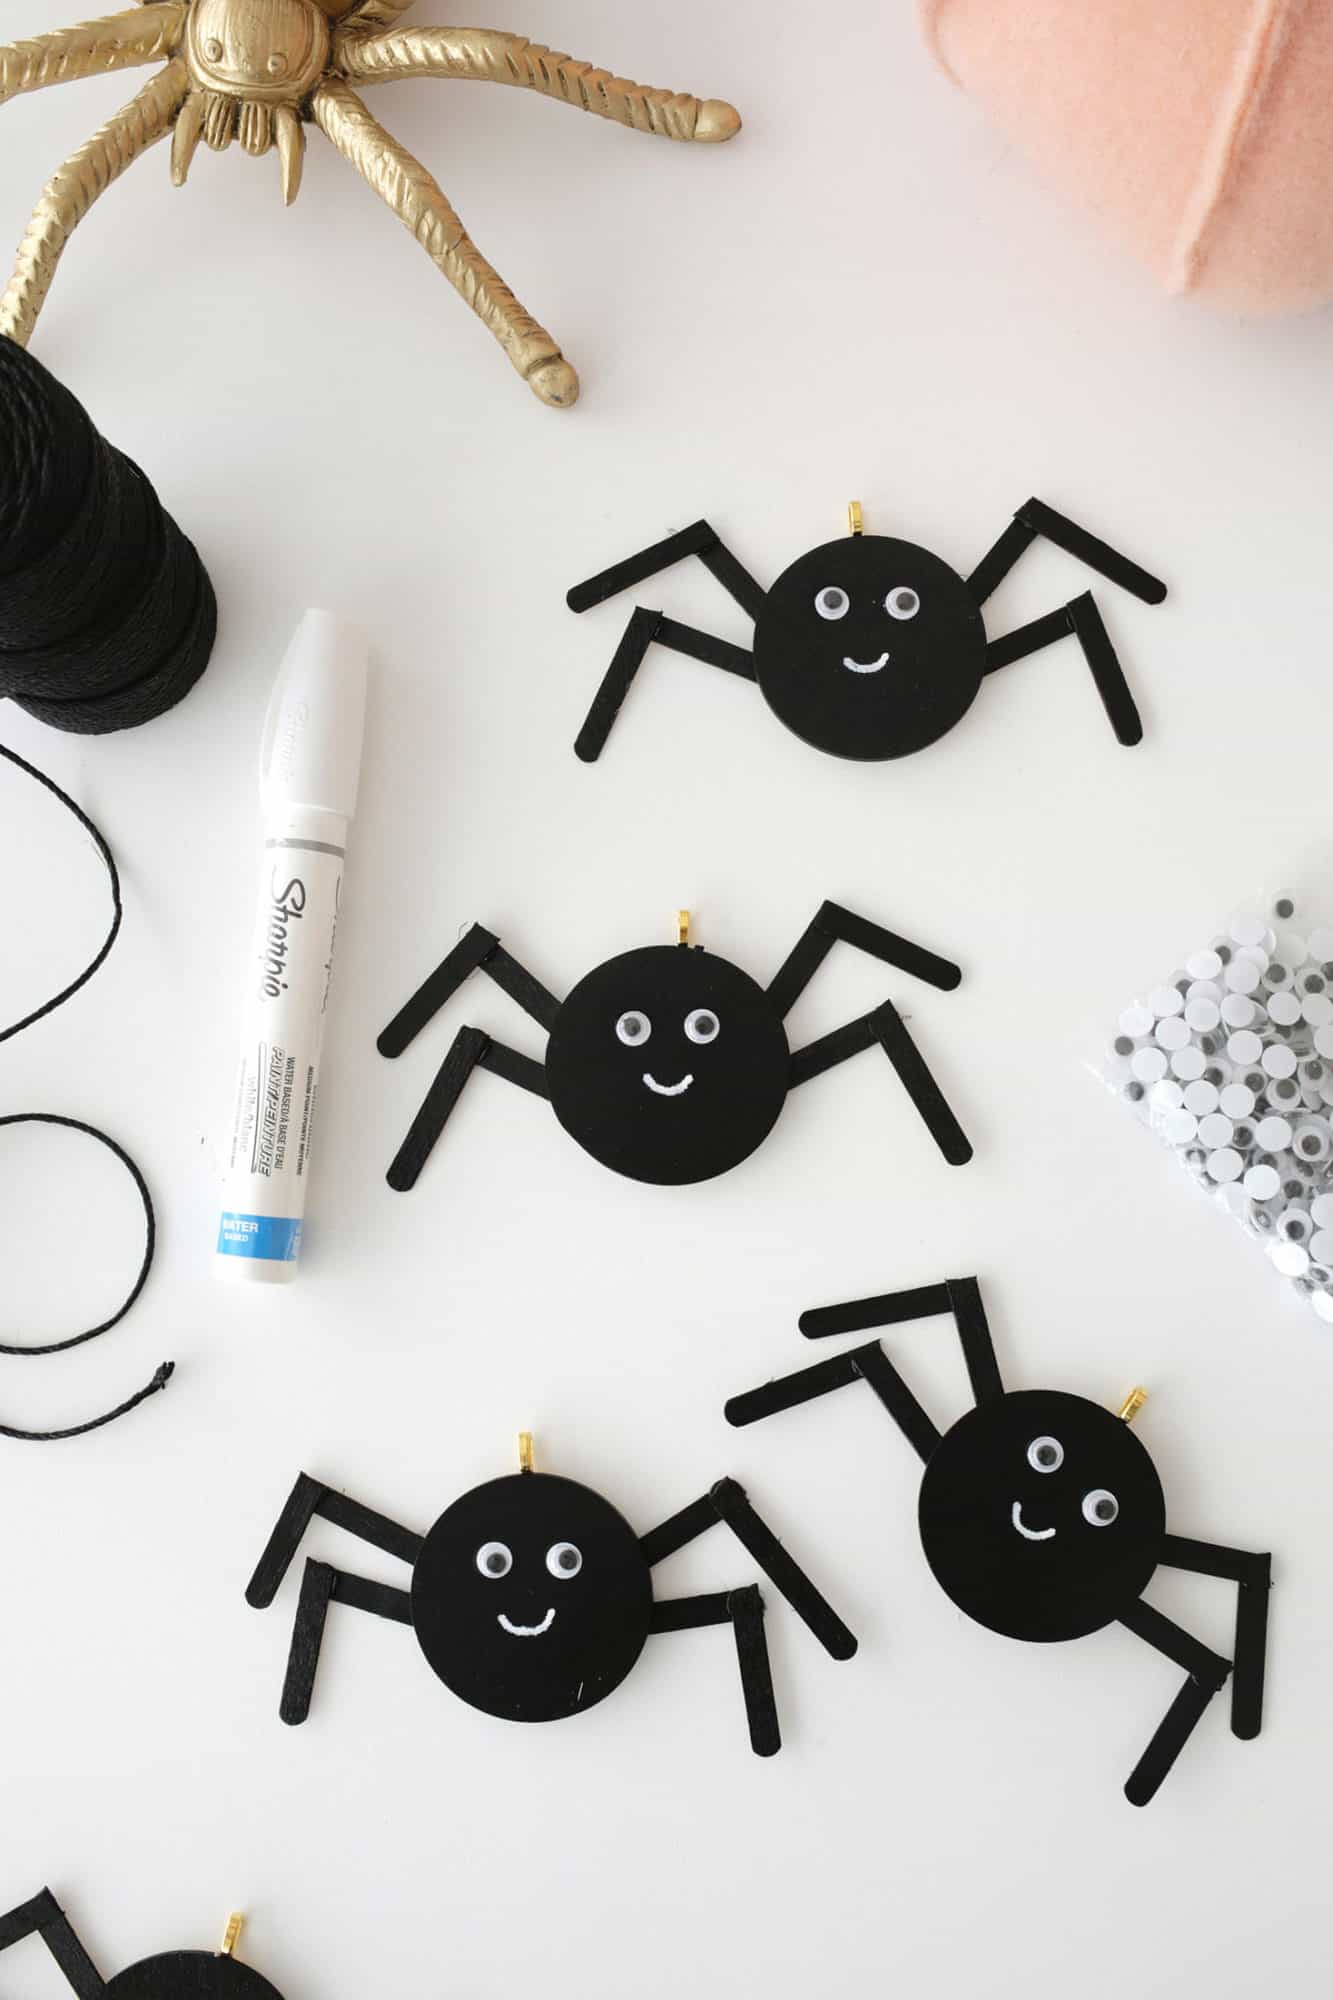
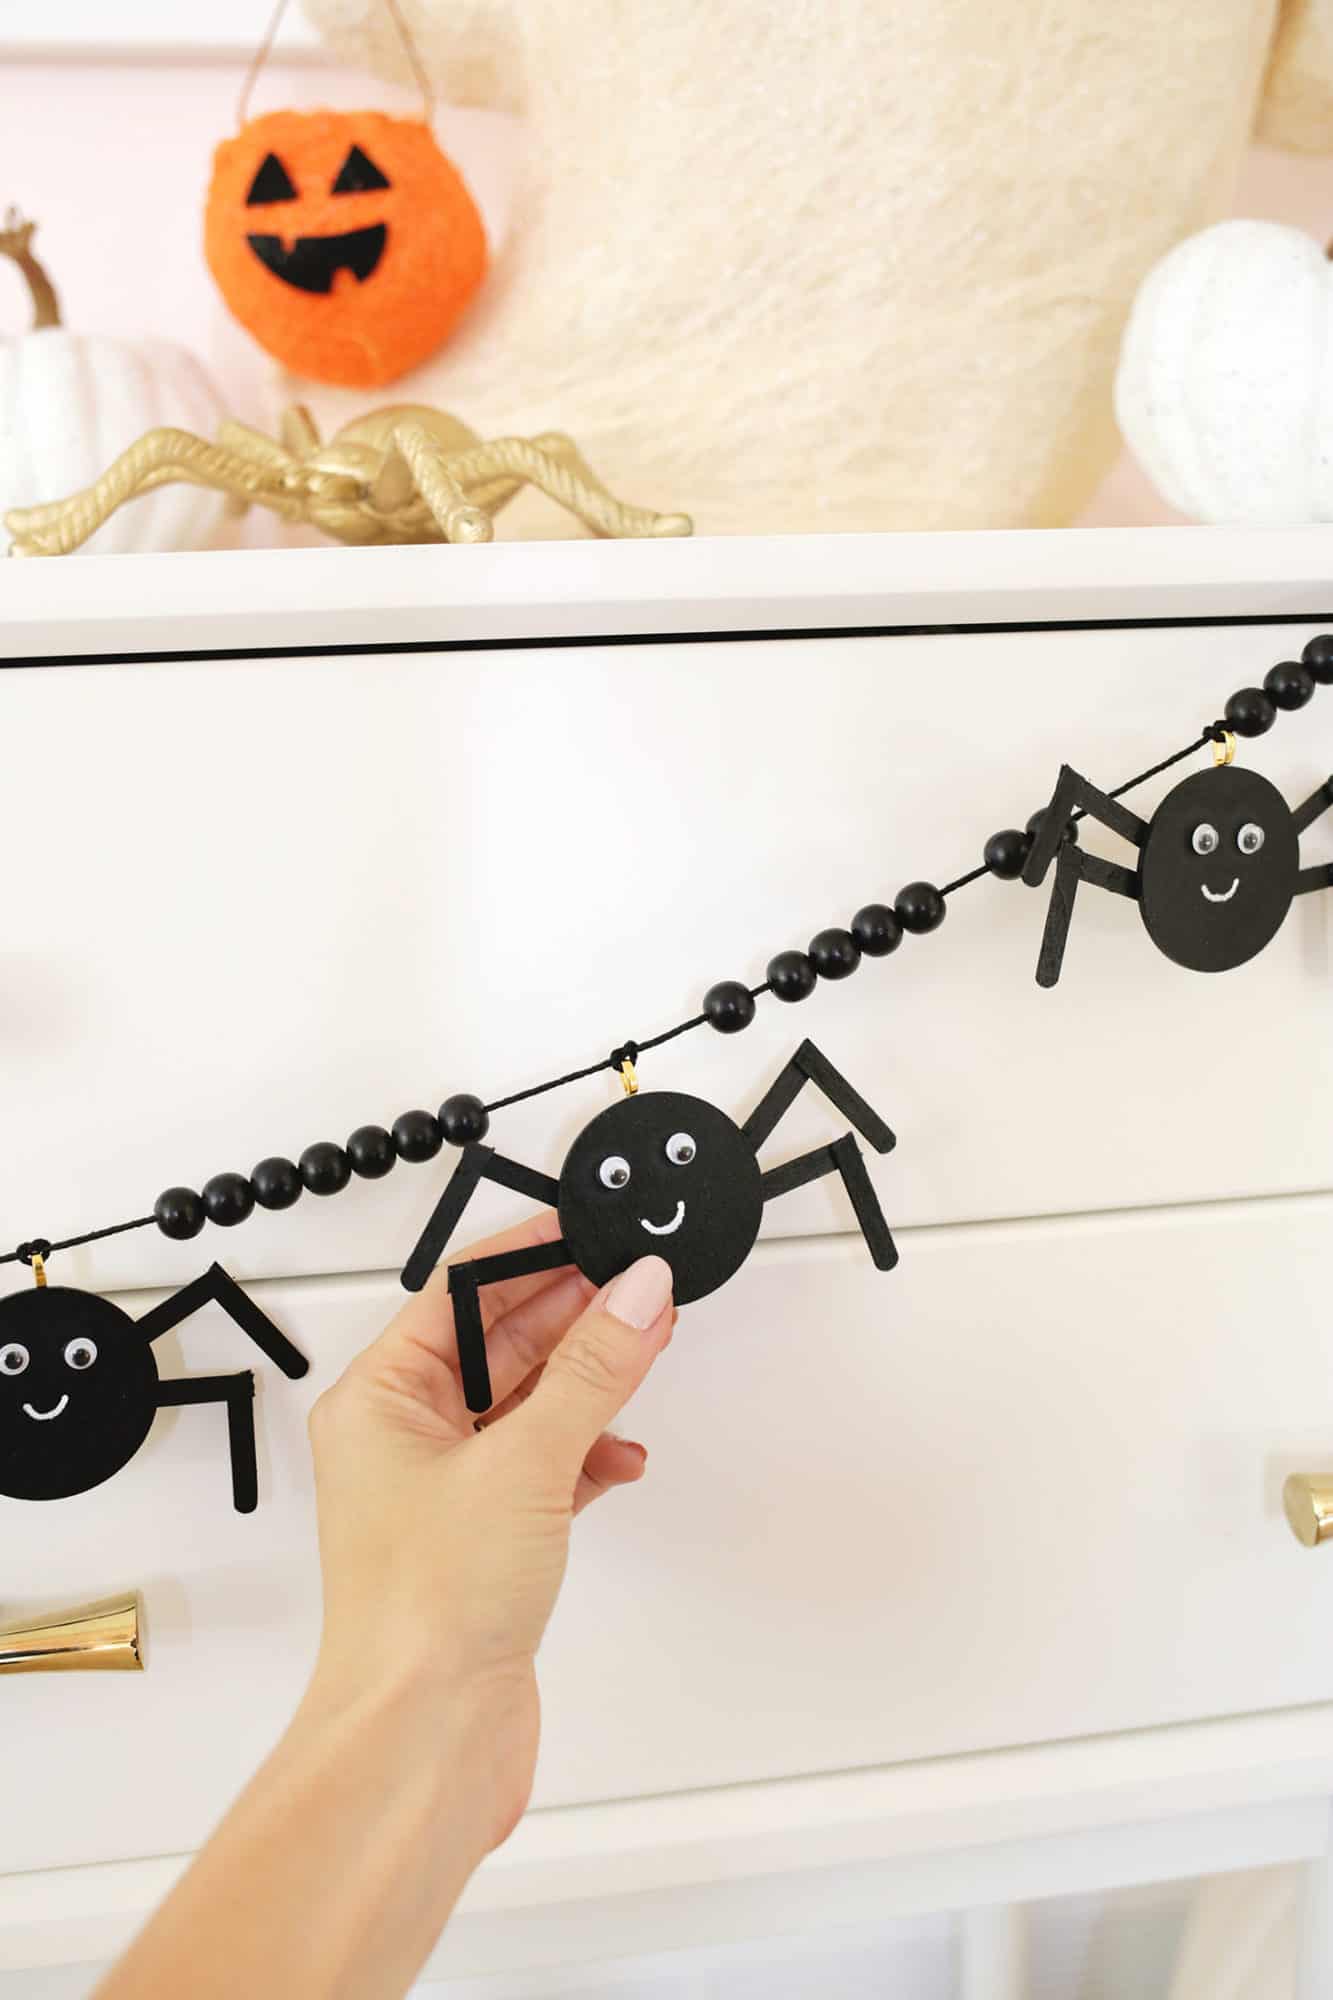
5. Glue on your google eyes and draw on a smile with your paint pen.
6. Thread your beads and spiders onto your twine (make a knot where the spiders are so they don’t slide around) and you are ready to hang your garland! I used seven beads between each spider for reference.
TIP: Thread your spiders onto your twine backwards so that they are facing front when you tie a knot!
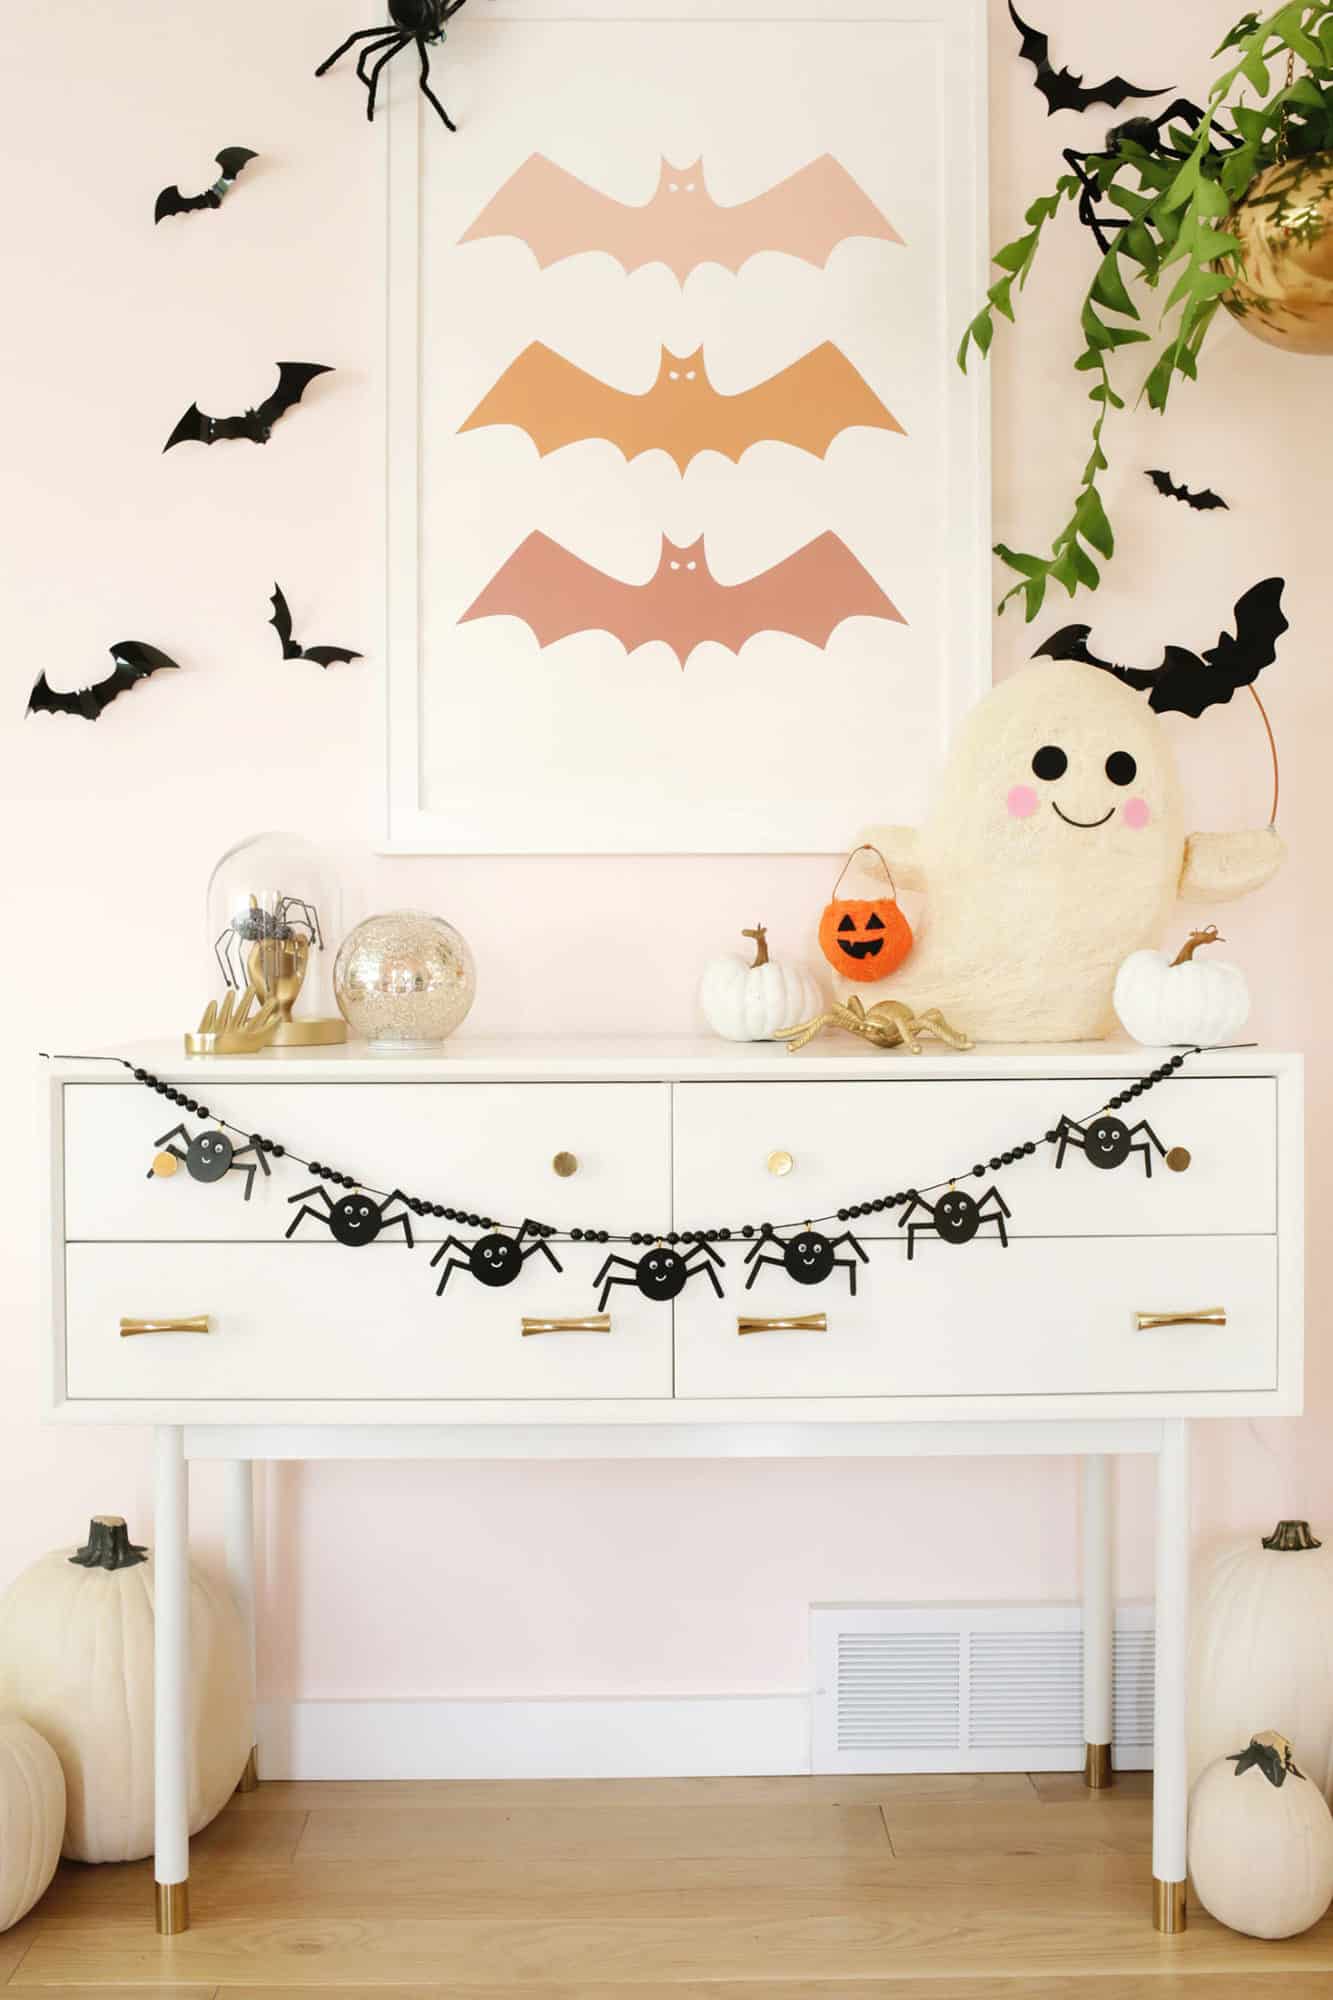
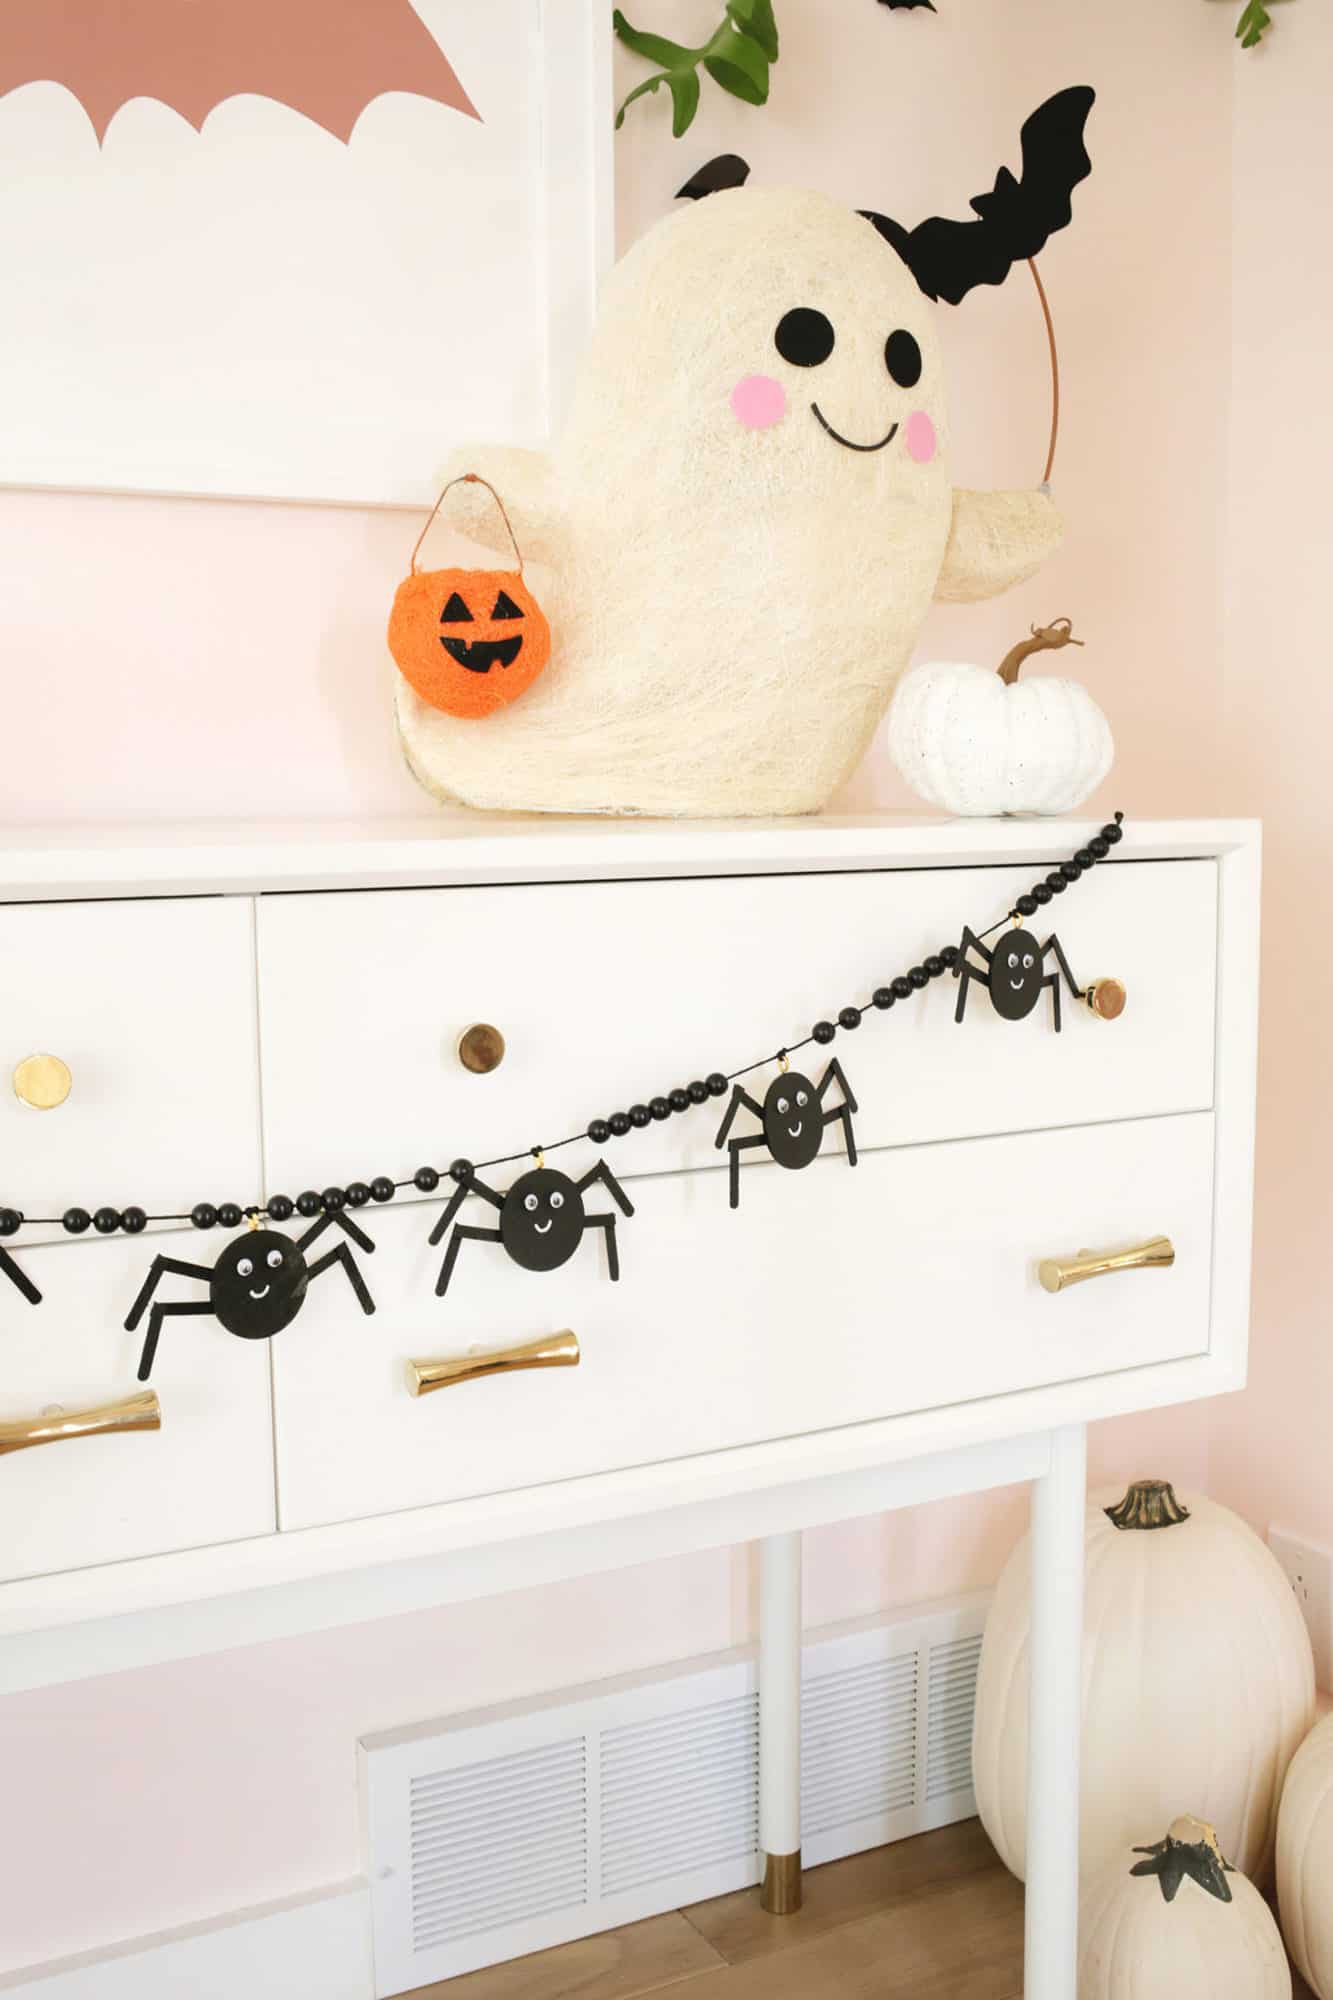
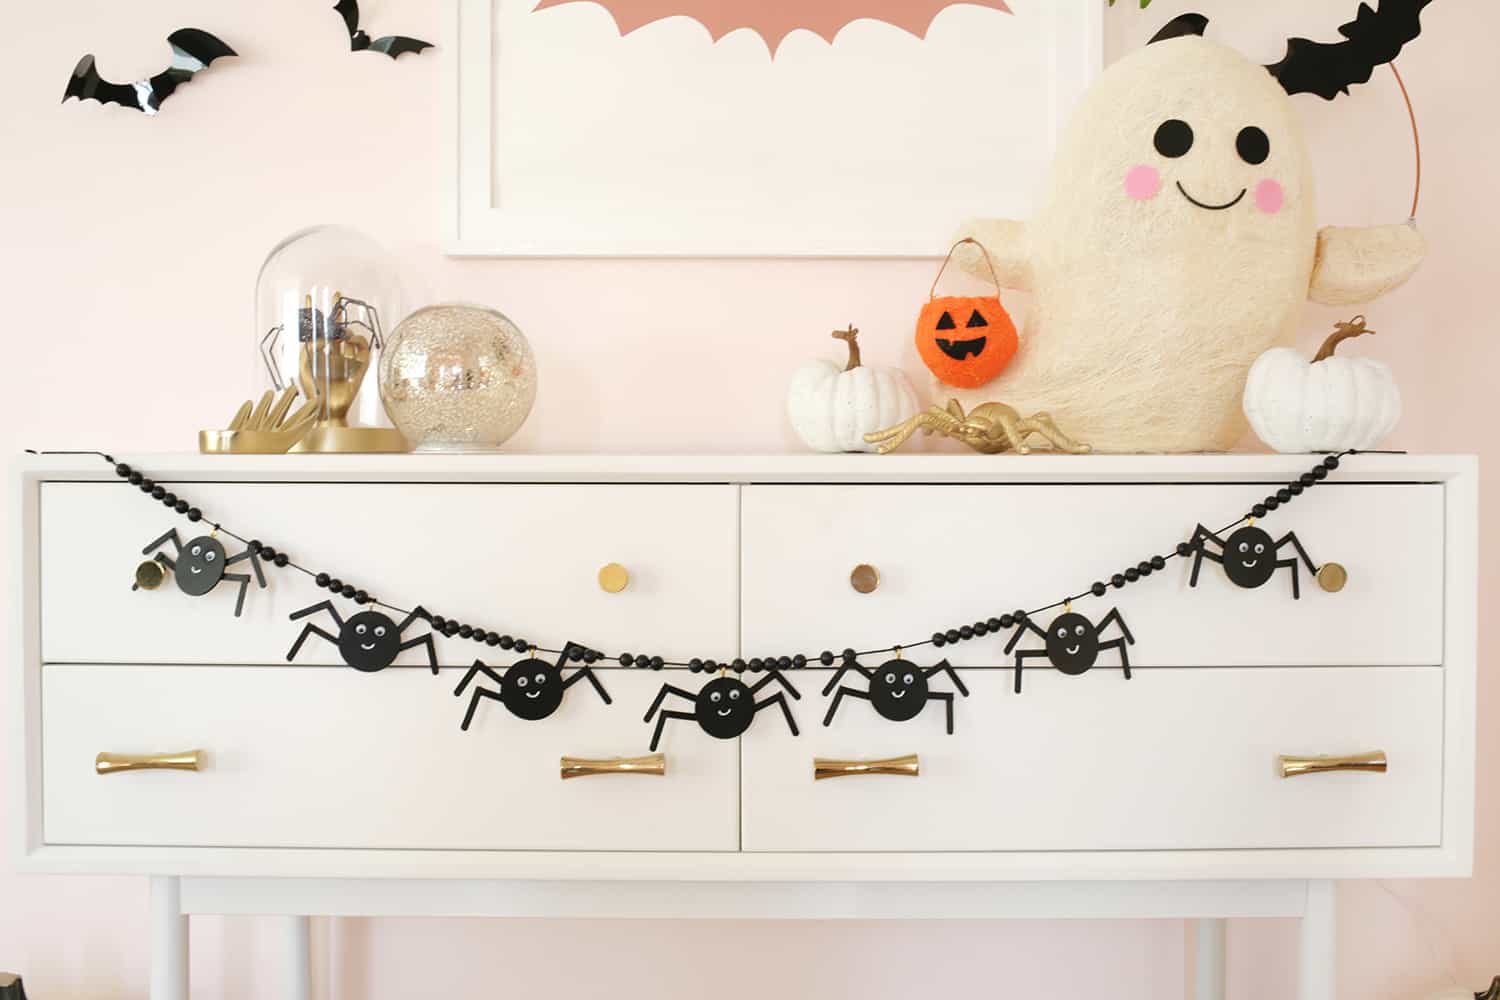
I have to say, I really love how this garland came out! It’s the perfect amount of cute, fun, and a little bit spooky, which is how I like my Halloween decor. You can totally customize this with the size of circles and legs you use, paint the spiders whatever color you like, and add different beads or tassels to the garland.
And if you are into Halloween decor, but not into DIYs, check out our ultimate list of Halloween decor for your home. Happy decorating! xo. Laura
For More Halloween DIY, Check Out These Posts:
- Super Easy Ghost Decorations
- 25+ Halloween DIYs, Costumes, and Recipes
- Halloween Countdown Calendar DIY
FAQ
If your garland is made of more hearty material and you aren’t worried about it breaking, you can simply place it in a storage bin with the rest of your holiday decor.
If the garland is more fragile, wrap it gently in tissue paper and then place it in a small box before putting it in your larger holiday storage bin to protect it from being crushed.

Wooden Spider Garland DIY
Equipment
- scissors or wire cutters
- glue gun
Ingredients
- 6-8 2" wooden circles
- wooden stir sticks or popsicle sticks four per spider
- spray paint black
- jewelry bales
- google eyes
- paint pen white
- twine black
- wooden beads make sure the bead openings are big enough to go on the twine
Instructions
- Use scissors or wire cutters to cut a wooden stick into four equal pieces. Glue the rounded edge to a piece with straight edges at an angle to create a leg. Repeat until you have four legs per spider (you’ll want 6-8 spiders per garland).
- Glue four legs to the back of your wooden circle.
- Spray paint your spiders black and allow paint to fully dry.
- Glue jewelry bales onto the back of each spider above the head area.
- Glue on your google eyes and draw on a smile with your paint pen.
- Thread your beads and spiders onto your twine (make a knot where the spiders are so they don’t slide around) and you are ready to hang your garland!
Notes
Credits//Author and Photography: Laura Gummerman.