

See the progress made on creating a beautifully organized closet in just 1 week!
Its been 1 week since I started working on my daughters closet makeover. In case you missed the plan (and awful before photos) you can see them here.
The dream is to turn this basic closet, with no really plan, into an organized closet that even my 8 year old can keep clean! But we have to do it all for only $100!
Yep, this organized closet makeover is part of the $100 Room Challenge hosted by Erin from Lemons, Lavendar & Laundry. So with a limited budget and only 1 month, we are working hard and creatively to create the dream!
What did we do in 1 Week?
So with only 7 days of work so far, what have we accomplished? Well, the closet is already starting to look more organized.
In case you didnt get a chance to see the before, I think we need it here
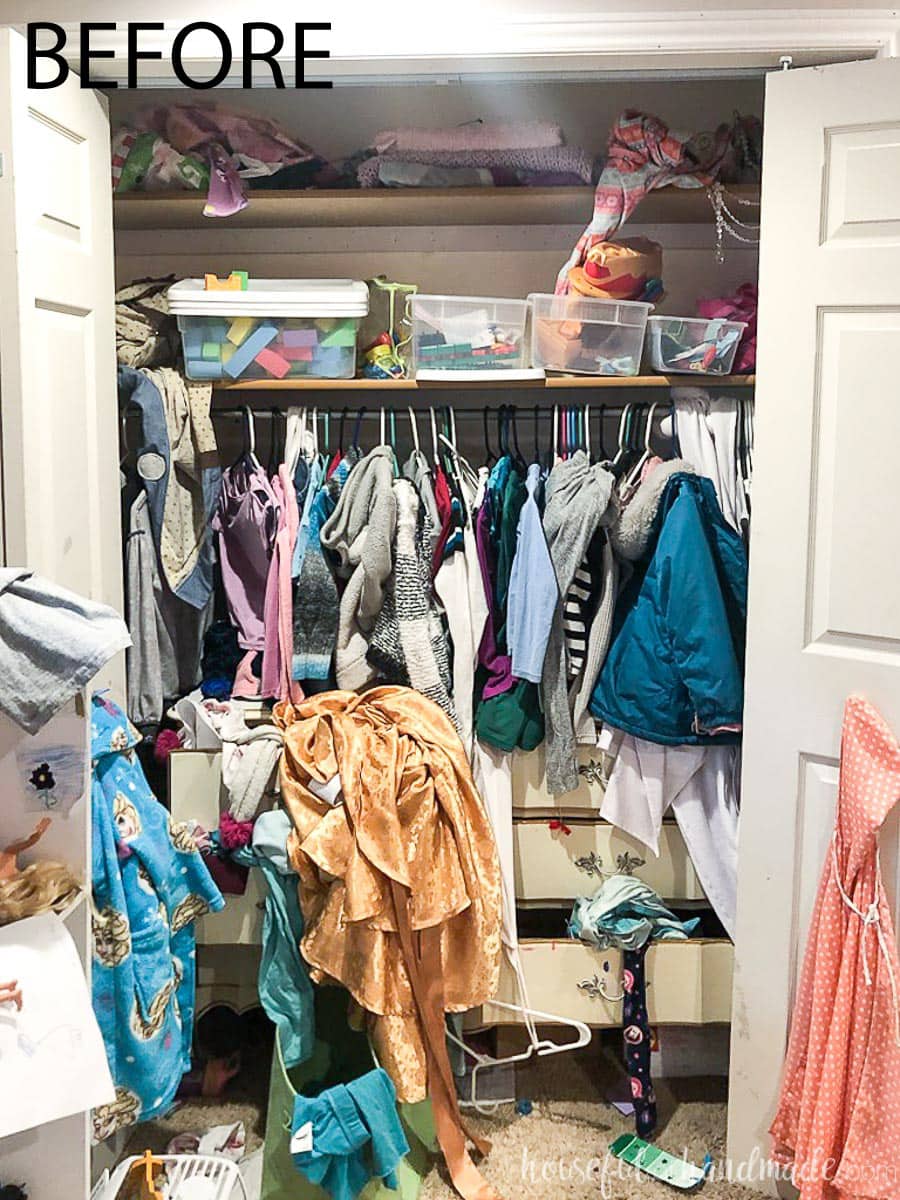
Yikes! I almost forgot how awful the before was. But it is looking way better already.
We started by going through all the clothes in the closet! Everything was removed and determined if it fit, and if she still wanted to wear it. We were able to clear out a lot of clothing which I know will help.
If you need help cleaning out and purging you closets, check out my tips for cheap & easy ways to organize the home.
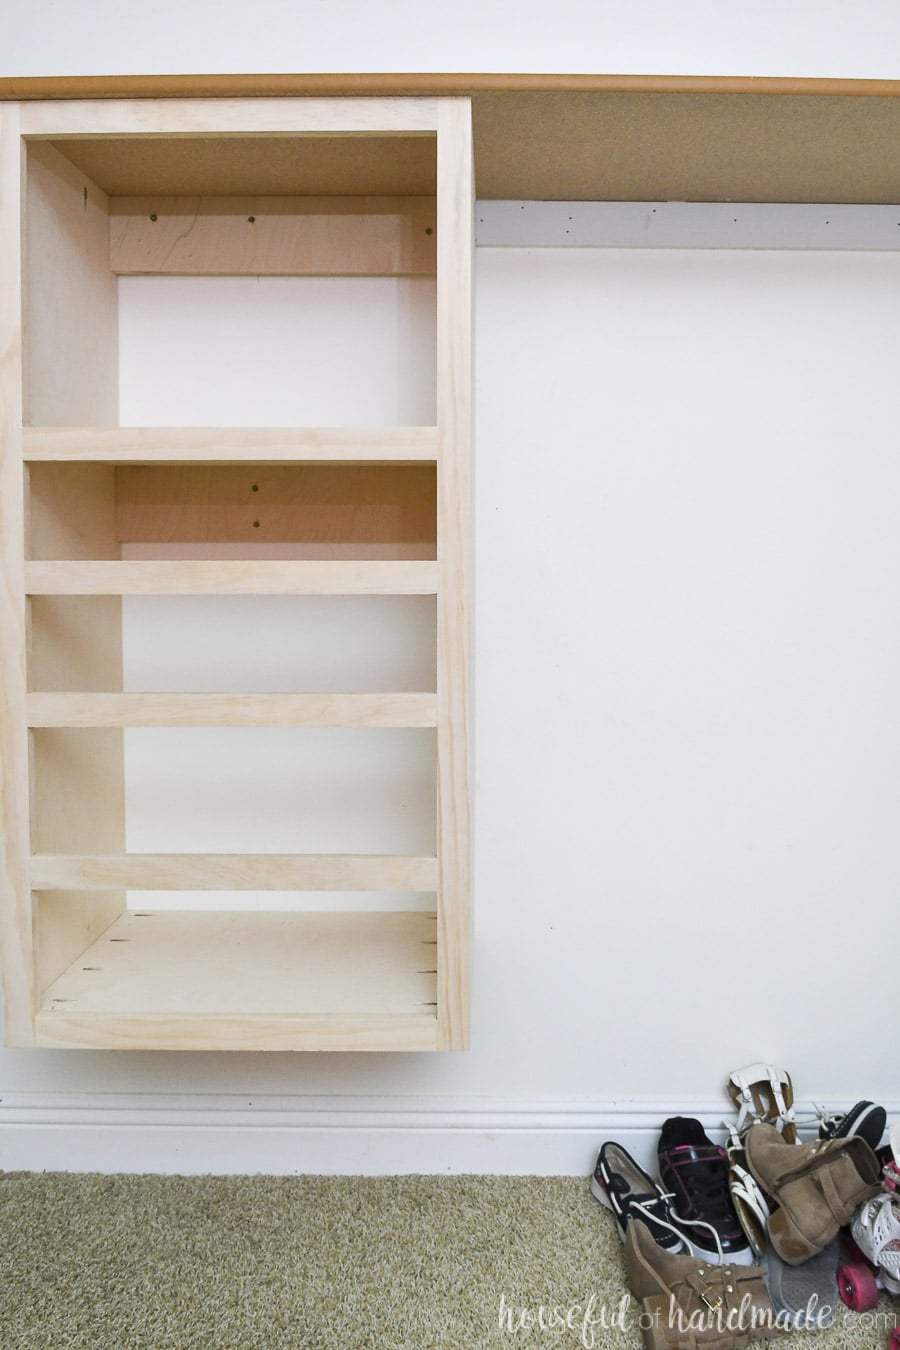
Now the closet looks like this:
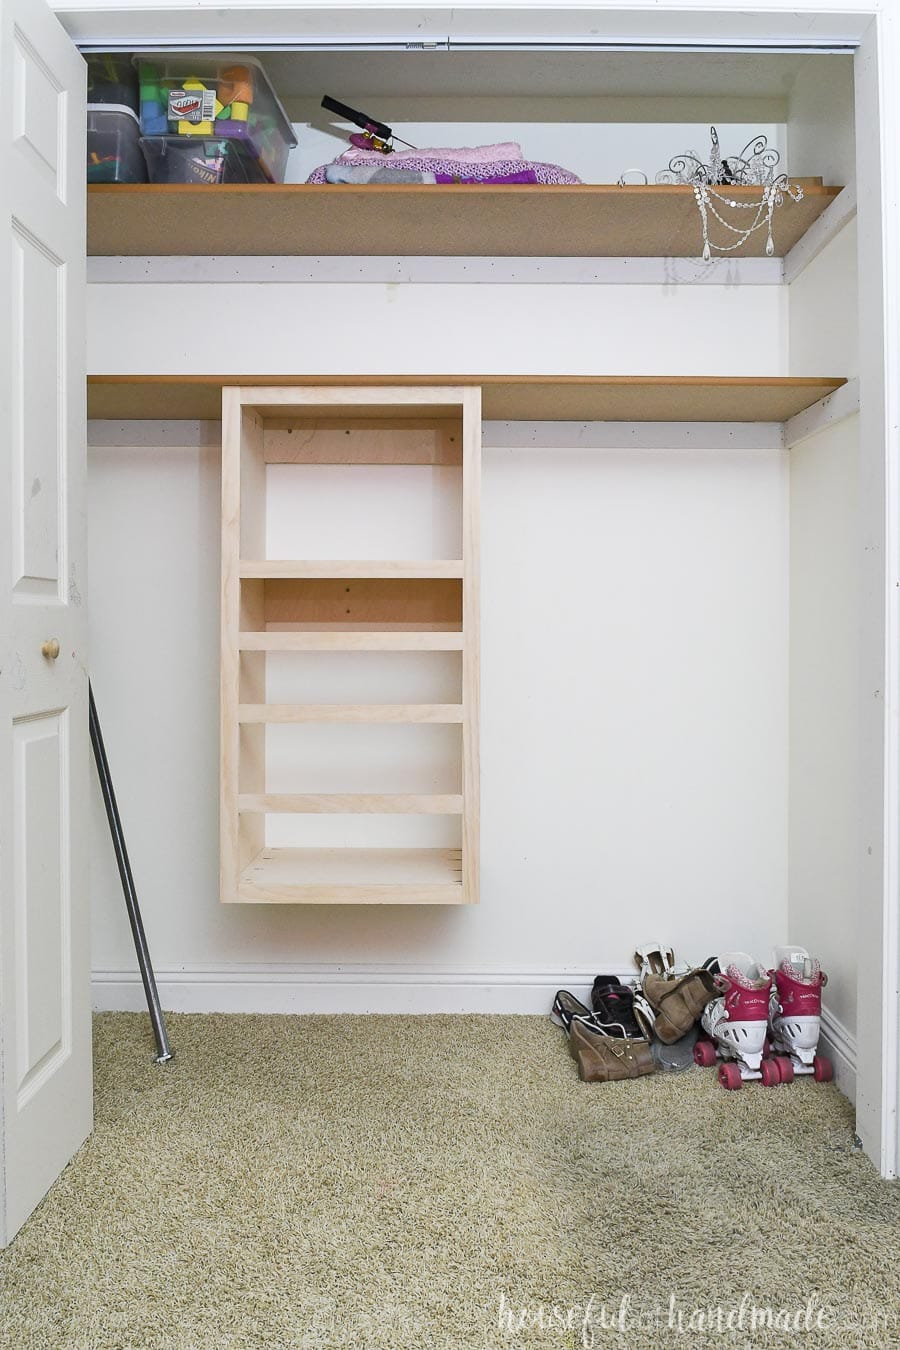
I love seeing all the open space ready for organization.
DIY Closet Organizer
The main part of this organized closet is a closet organizer!
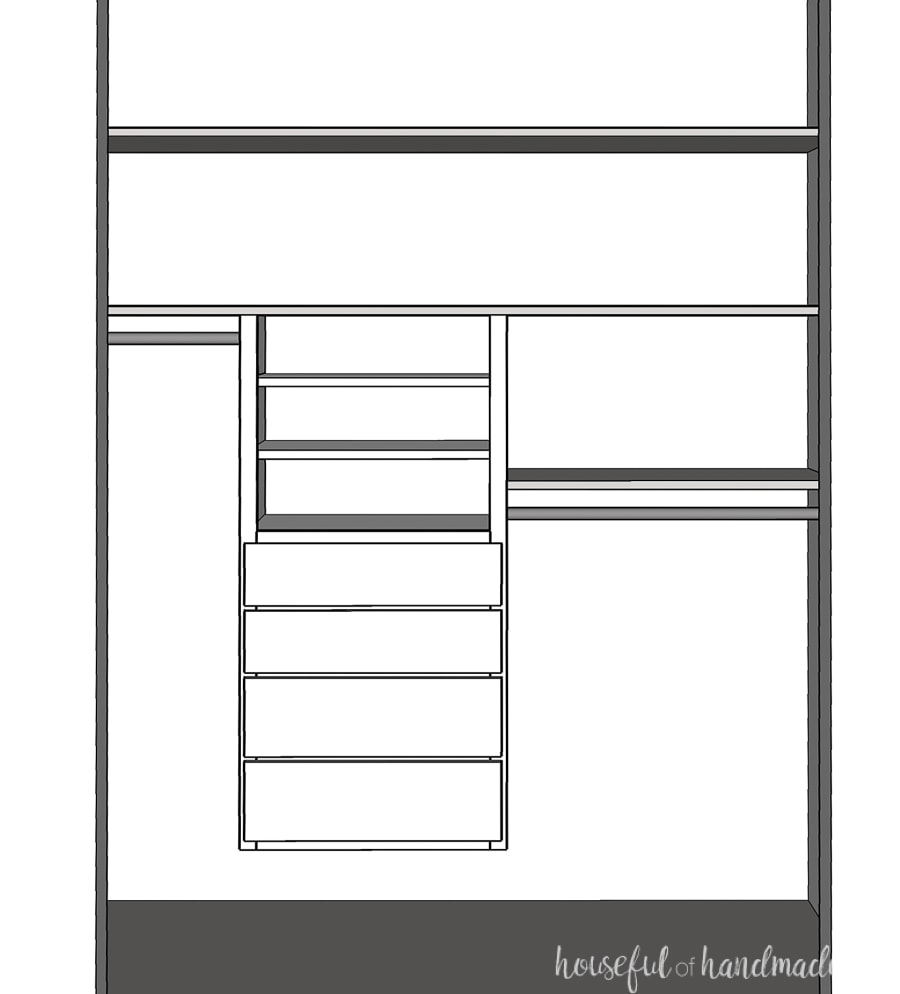
The closet organizer will break the closet up and we will add a second, lower shelf to one side to bring the hang bar lower. This will make it easier for younger kids to access hanging clothes.
Then on the other side, the hang bar will be at the higher height for long items like dresses.
The organizer will also act as a dresser eliminating the need for a dresser (that ended up being a surface for clutter anyway). Still to come are 4 drawers on the lower part of the closet organizer.
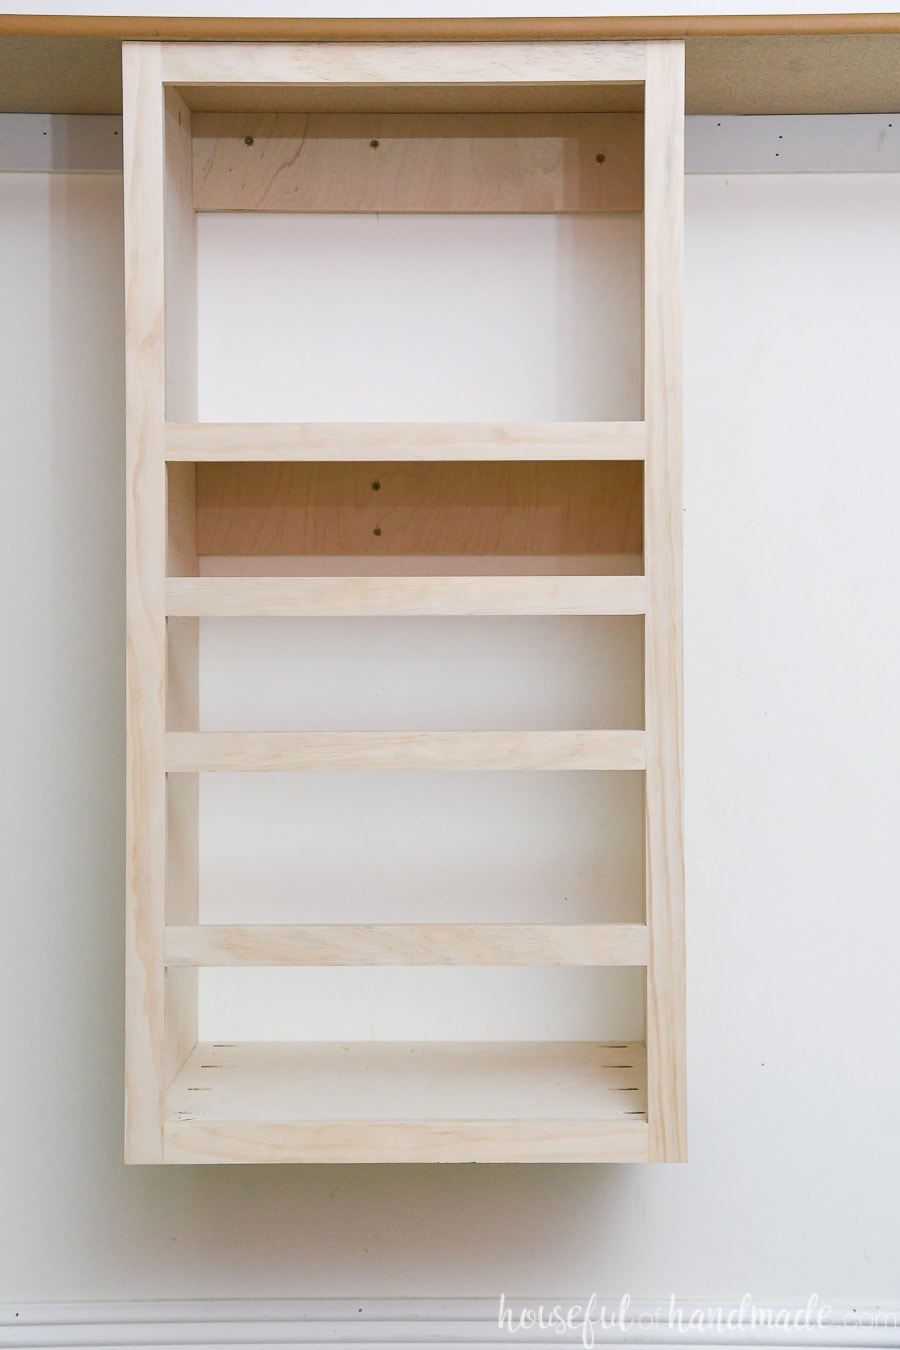
These 4 drawers will be perfect for holding underwear, pajamas, shorts and other items that were stored in her dresser.
With the purging that we did, we ended up clearing out 2 of the 6 drawers so it will be easy to fit all her clothes in the new closet.
But in case her pants may not be able to fit in the drawers, we plan on folding them and placing them on the shelf above the hang bar. This will also make it easier for her to see what clothes she has when getting ready!
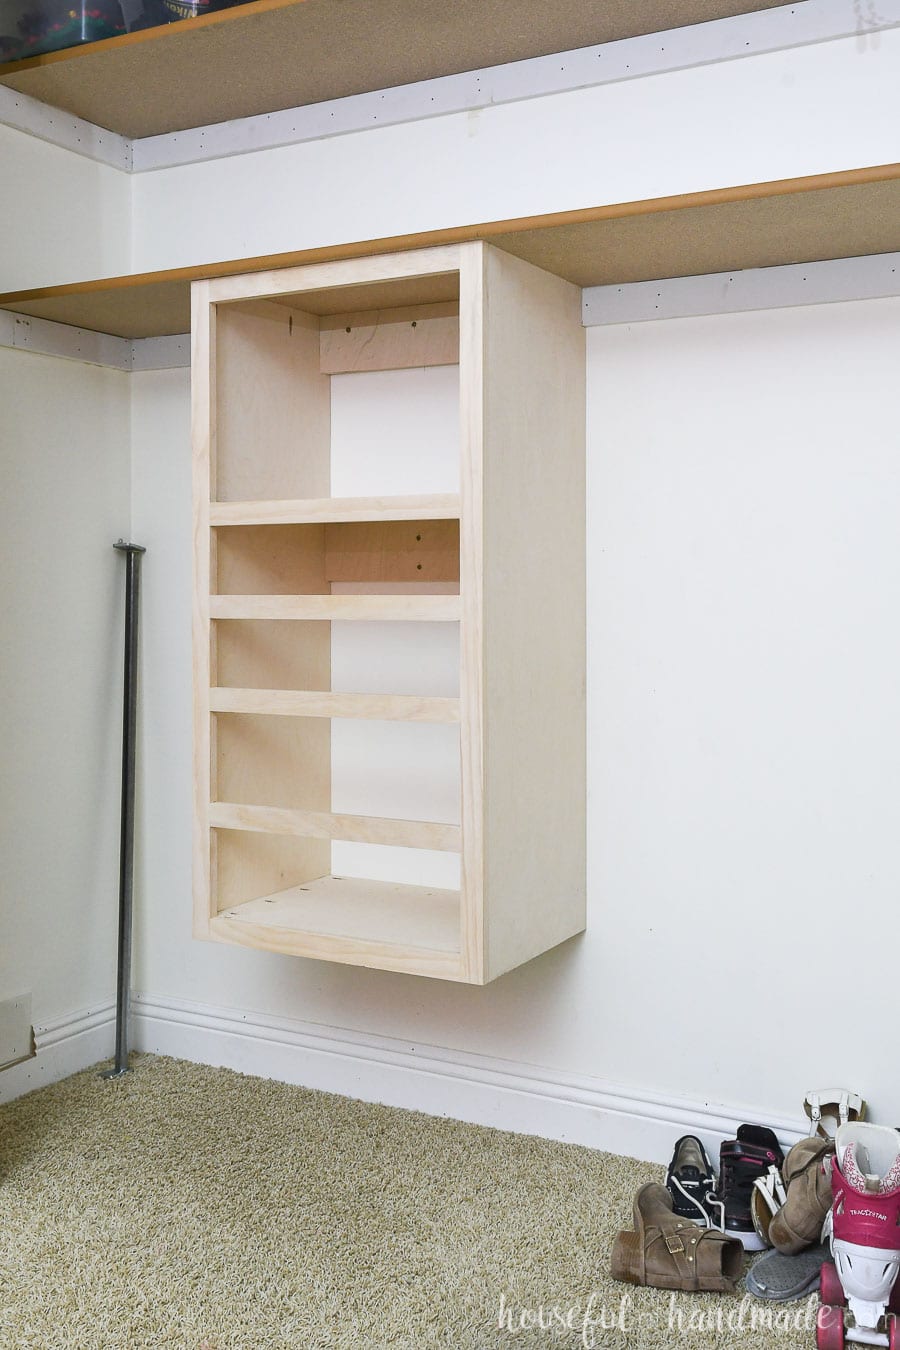
And I have big plans for the open space above the drawers in the closet organizer!
This area is going to become her beauty station. We will create places to hold her earrings, hair accessories, and all the other fun stuff that comes with a girl.
And if budget allows, we will even add a mirror in there to make it easier for her to get ready in the morning!
How much have we spent on the Closet?
Since this closet makeover must be accomplished for only $100, we need to talk budget.
First, I have only had to purchase 1 piece of wood to create the DIY closet organizer so far. The frame is made out of 14 long pieces of plywood that I was able to piece together from scraps.
But if you do not have a ridiculous amount of scrap wood in your garage, you can build the entire thing from 1/2 sheet of plywood & 3 12 boards.
So far this is what we have spent of our $100 budget:
- 1 gallon paint $32.00
- 12 select pine board $7.00
The total spent is $41.00, leaving us with just over $50 to finish the challenge.
I know drawer slides will be a big part of the remaining budget, so we will have to get creative with the rest of our storage solutions.
Organized Closet Makeover Plans
As amazing as the closet looks so far, we still have a long way to go. Here is what is left in our $100 kids closet makeover:
Sort clothes and get rid of what does not fit/want- Sort toys and get rid of what she doesnt play with anymore
- Make closet organizer with drawers (almost done, just have to make drawers!)
- Paint closet organizer and shelves
- Finish shelves in nook next to closet
- Paint nook shelves
- Paint closet doors
- Make storage solution for shoes
- Make storage boxes for toys & art supplies
- Make storage bin for stuffed animals
- Make storage solutions for earrings, hair accessories, and beauty supplies
- Find a way to add color & style to the closet!
That is still a lot to do, but I am optimistic. Make sure to follow along as I share lots more storage ideas.
Plus, I will be sharing the DIY closet organizer build plans once I get it all done! You will not want to miss that (subscribe to the email list to be notified of new posts).
And guess what? I am not the only one participating in the $100 Room Challenge this month. You can check out lot of other amazing budget room makeovers here.
You are invited to the Inlinkz link party!
Click here to enterAnd now I am off to work, lots to do in the next 3 weeks!

The post Organized Closet Makeover {Week 2} appeared first on Houseful of Handmade.