These Orange Creamsicle Dessert Bars are a zesty and elevated twist on a classic frozen treat!
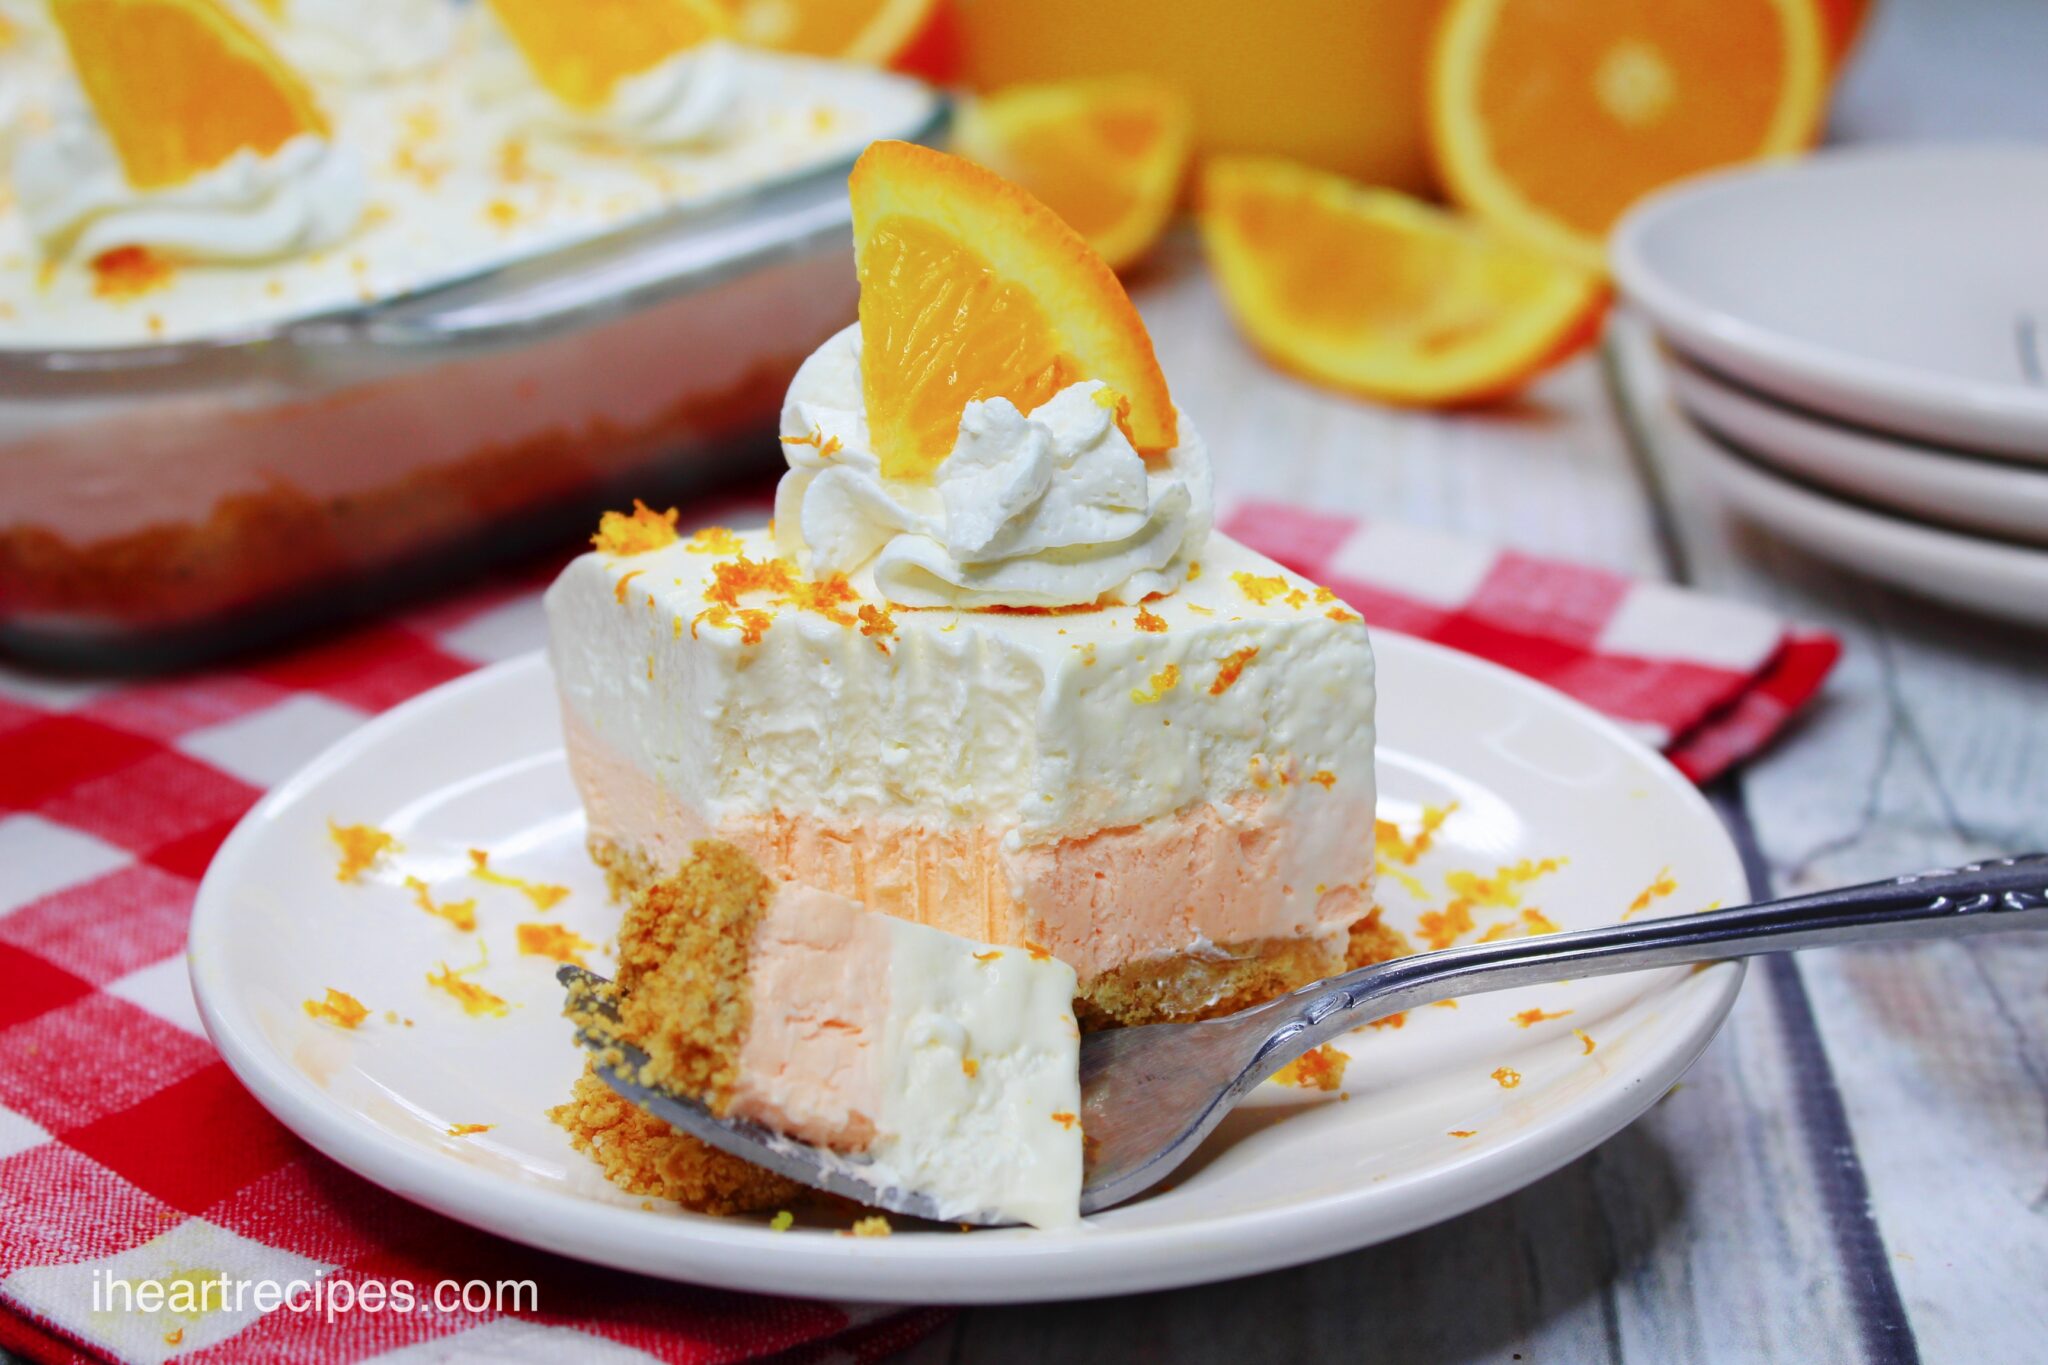
This delightful dessert tastes just like the iconic creamsicle that inspired it. It’s still frozen, but it’s easier to eat, and it can be plated to perfection. Let’s take a quick look at how and when orange creamsicles were invented, then dive into the recipe—and some delicious variations.
What Are Orange Creamsicle Dessert Bars?
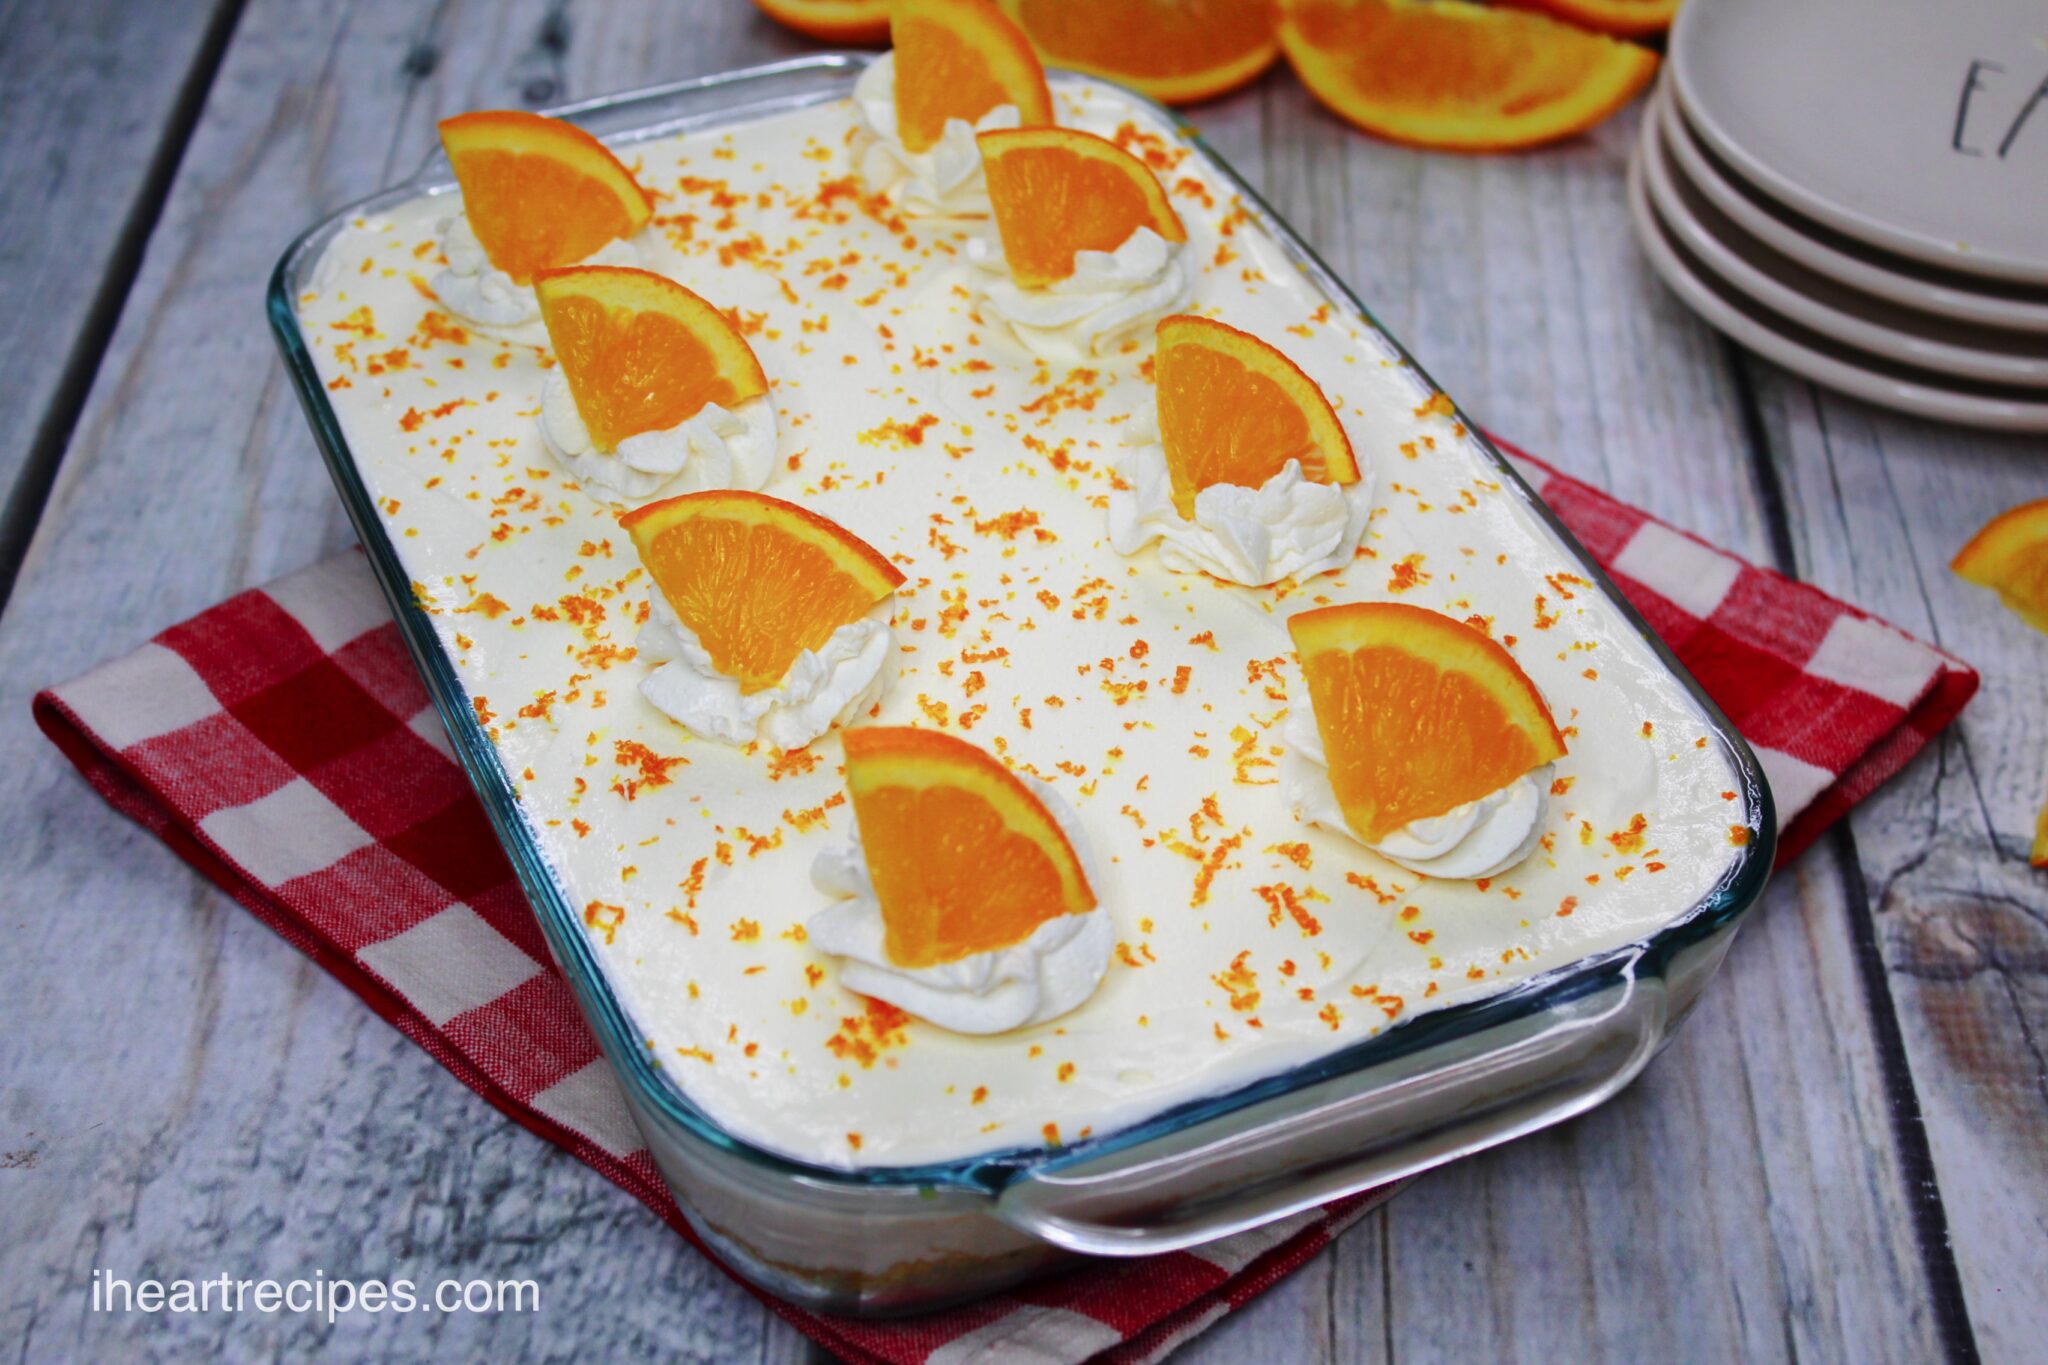
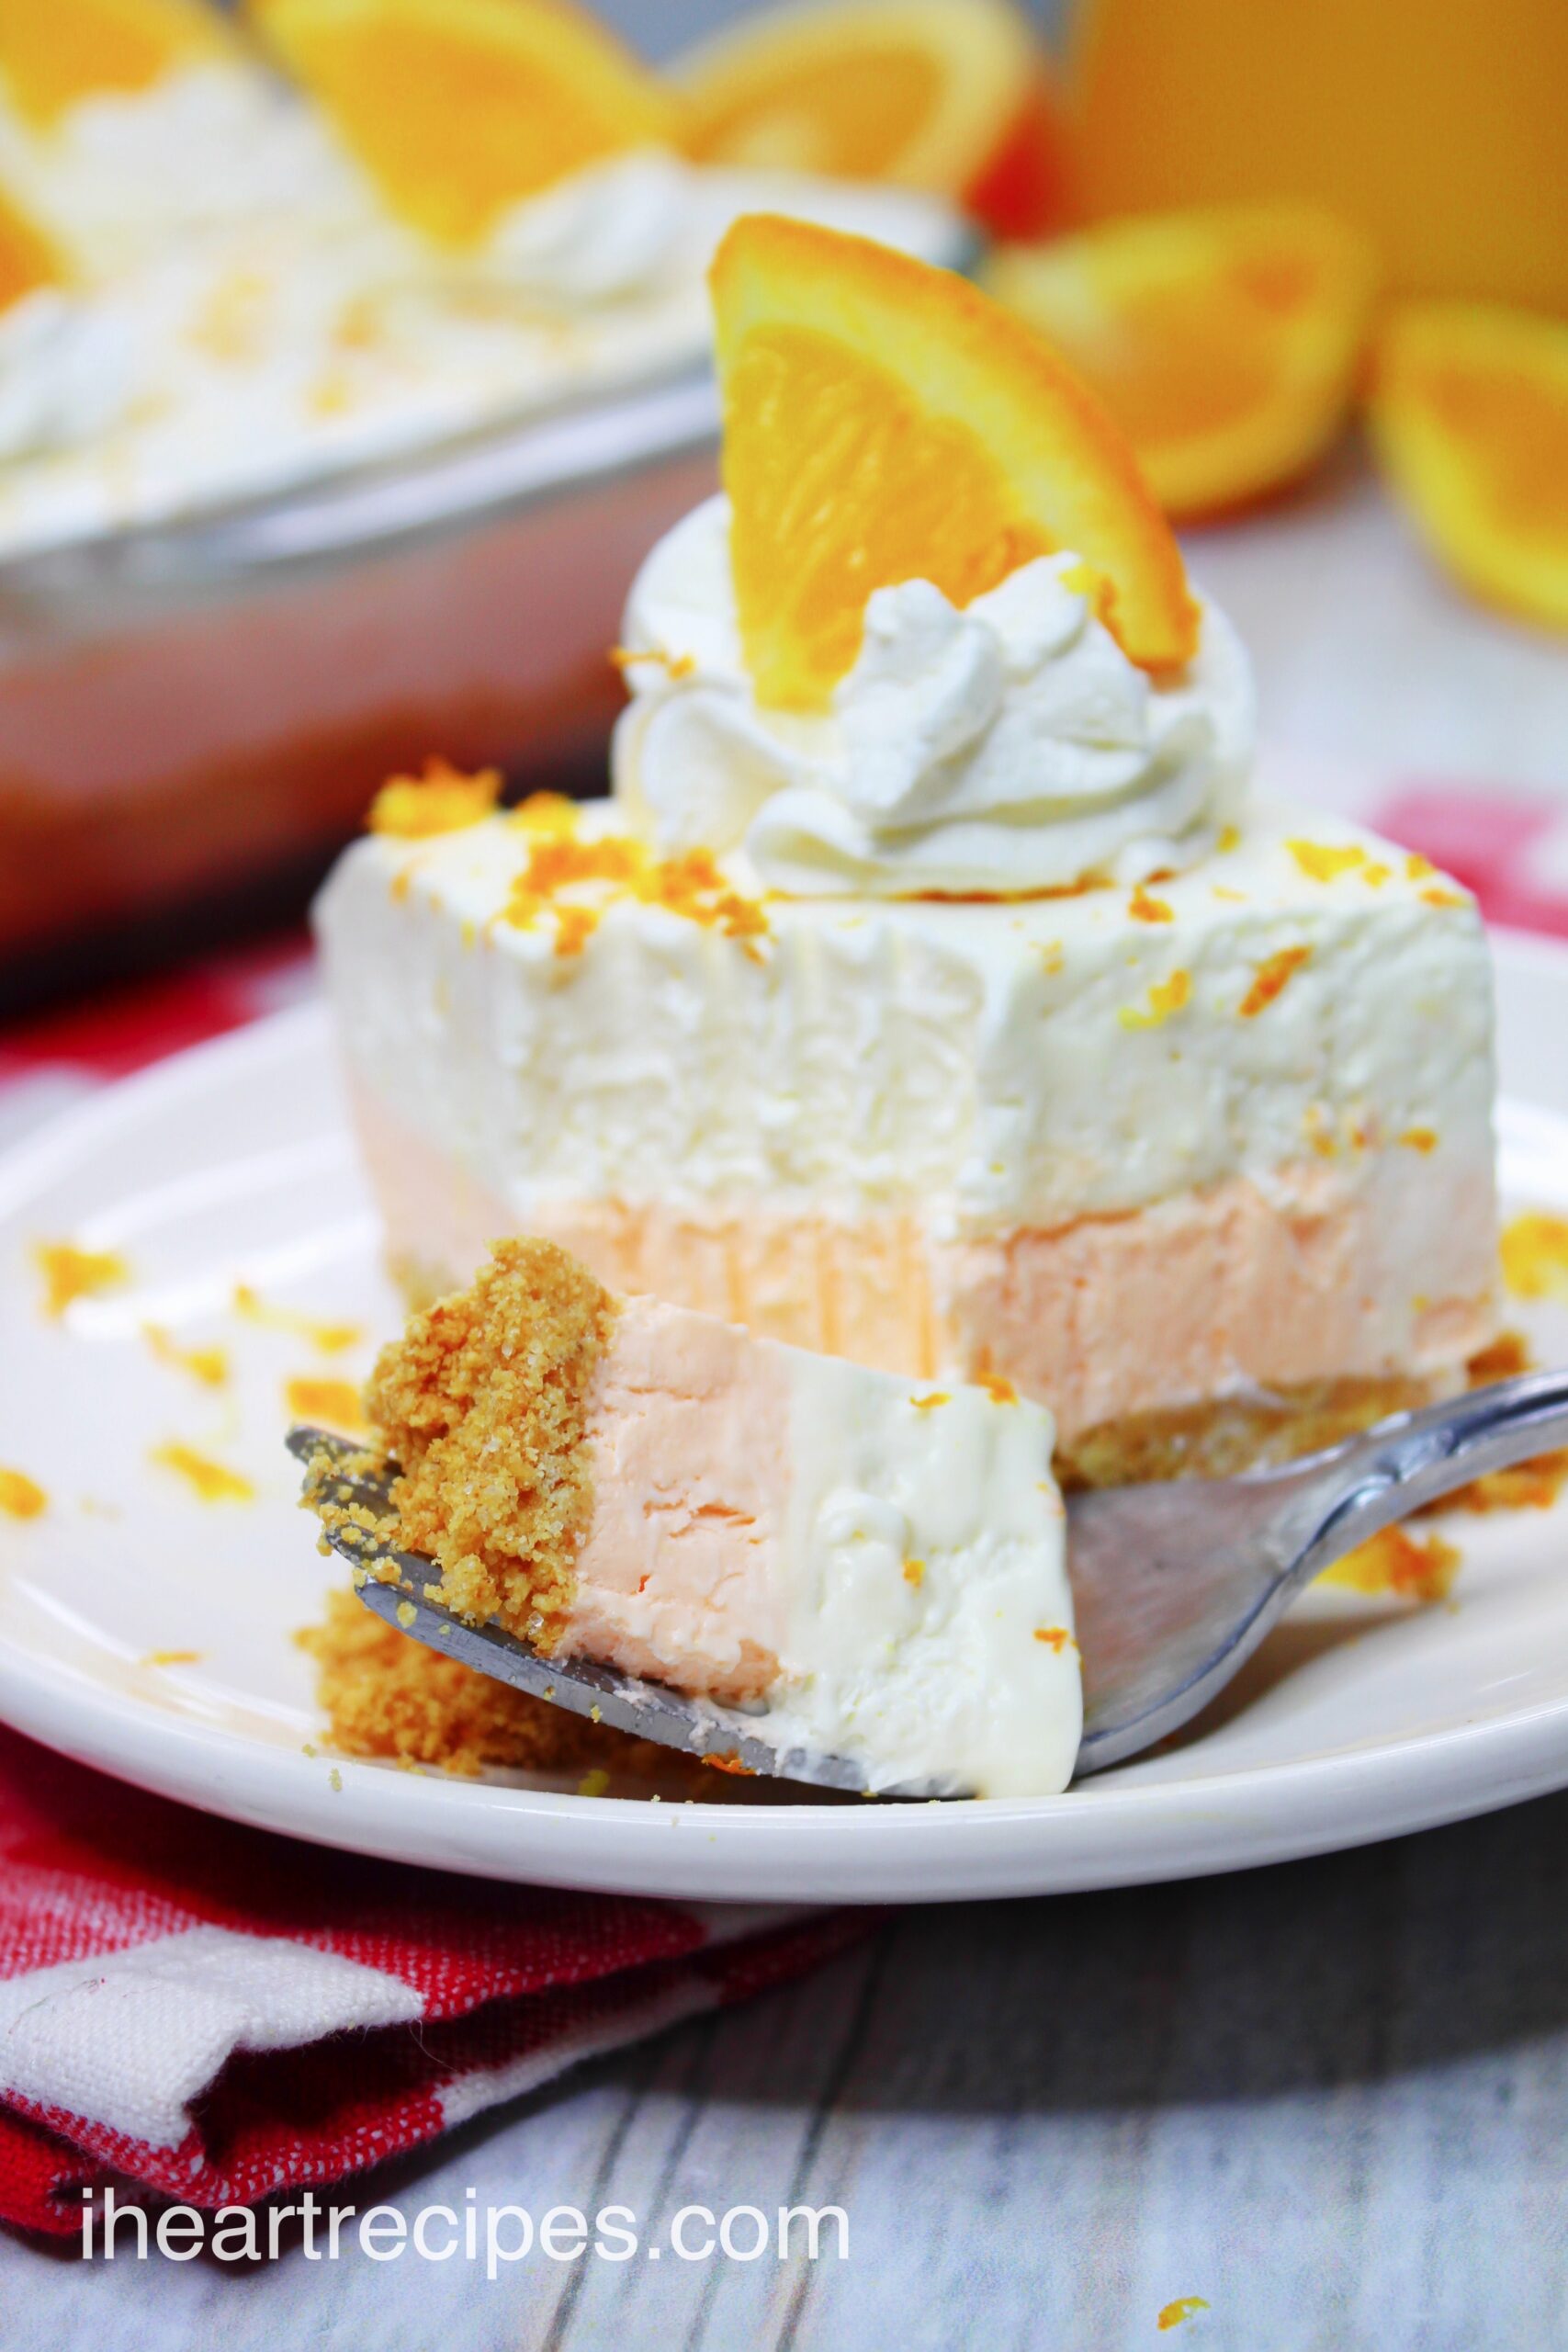
Orange Creamsicle Dessert Bars are a delicious and easy-to-make treat that will make you and your family smile. The bars are frozen, creamy, and they melt in your mouth. Enjoy them on a summer day or any time you are craving a frozen sweet treat.
The History of Orange Creamsicles
Did you know that creamsicles were invented by an 11-year-old? In 1905, Frank Epperson was experimenting with enclosing vanilla ice cream in fruit juice. He named his frozen invention the “episicle”, which is now referred to as the dreamsicle or creamsicle. It was also the earliest version of a popsicle.
The classic creamsicle is orange and vanilla, but you can also find them in grape, cherry, lime, and more. This dessert sticks with classic orange but can be modified to create other flavors.
Ingredients and Shopping List
- Graham cracker crumbs—2 cups of crumbs for the crunchy crust.
- Unsalted sweet cream butter—you don’t want the salt to interfere with the flavor profile.
- Orange—one medium-sized orange for zest and garnish.
- Orange juice—essential for a bright orange flavor.
- Orange flavor gelatin—more orange flavor and gelatin for texture.
- Cream cheese—2 packages softened and divided.
- Cool Whip—defrost it so that it mixes well, then it will freeze back to perfection.
- Cold milk—your milk of choice.
Supplies
- Measuring cups
- Medium mixing bowl
- Medium heat-safe bowl
- Large mixing bowl
- Small saucepan
- Mixing spoons
- Hand beater, blender, or food processor
- Orange zester, grater, or microplane for orange zest
- 9 x 13 baking dish
- Disposable piping bag with star tip
How to Soften Cream Cheese?

If the cream cheese isn’t soft, it won’t mix well with the orange liquid. Soften with one of the methods below:
- On the countertop: pull your cream cheese out of the fridge about 1 hour before you begin making this recipe.
- Cutting board: speed up the softening time by placing your cream cheese on a cutting board and cutting it into 1-inch cubes. This will decrease softening time to 20 or 30 minutes.
- Water bath: remove your cream cheese from the box but keep the foil on. Place it in a bowl of warm, not hot, water. Let it sit for about 30 minutes.
- Mixer, food processor, or blender: mix, blend, or process your cream cheese for about 2 minutes. Then let it sit for 10 minutes and check to feel if it has softened. If not, mix it again for 2 more minutes and let it sit for another 5 minutes.
- Microwave: microwave heat speeds vary greatly, so keep a close eye. If your cream cheese melts, you won’t be able to reverse the chemical process. It will remain a liquid. Never place aluminum foil in the microwave. Remove the cream cheese from its box and foil and place it on a microwave-safe plate. Microwave on low for 10 seconds. Flip it over and microwave it for 10 more seconds. If it’s still not soft, flip it over once more and microwave it for 5 to 10 more seconds.
Why I use a blender or food processor for this recipe?
While I love my countertop mixer, I suggest using a blender or food processor to mix the cream cheese into the juice and gelatin mixture. Even when softened, the contrast between the orange liquid and cream cheese will splash, which can make quite a mess. By using a blender or food processor I eliminate this mess.
What if I only have whole graham crackers?
Whether you forgot to buy crumbs or you have some whole graham crackers you want to use up, you can easily create your own crumbs! One sleeve of graham crackers is approximately 1 cup, but you may need a tiny bit more.
- Blender—pop half a sleeve in at a time and pulse until you have crumbs. You may need to pulse in batches depending on your blender’s speed and ability.
- Food processor—same as using a blender, add half a sleeve at a time and pulse in batches until you have 2 cups of crumbs.
- Zip-top bag—pop a sleeve or so of graham crackers into a freezer bag, squeeze out the air, and seal. Then, roll over the sealed bag with a rolling pin. You can also create crumbs with the backside of a measuring cup or large spoon.
How to zest an orange?
While you don’t usually eat the orange peel, orange zest provides flavor, texture, and an aromatic finish. To zest your orange, use an orange zester, microplane, or a small cheese grater.
Lemons, limes, and other citrus fruits can also be zested for both sweet and savory recipes.
Orange isn’t your only option!
If you are feeling adventurous, make these orange creamsicle dessert bars your own with the tips below:
- Drizzle—drizzle with chocolate sauce or syrup of any kind. Just make sure the sauce isn’t too hot or it will melt your bars.
- Top—top with chopped nuts, coconut, sprinkles, cookie crumbs, graham cracker crumbs, or anything else you like.
- Swap the juice, fruit, and Jello—instead of orange juice and orange Jello use cherry juice and Jello, or blackberry, blueberry, grape, mango, peach, or cranberry for a sweet-tart treat.
Other Cups, Trifles, and No Bake Recipes
If baking isn’t your thing or you are looking for other fast and easy no-bake desserts, consider the options below. A few require the stovetop, but none require an oven.
- Strawberry Banana Pudding Trifle
- Vanilla Wafer Banana Pudding
- No Bake Pina Colada Cheesecake
- No Bake Lemon Cheesecake
- No Bake Butterfinger Pie
- No Bake Oreo Cheesecake
- No Bake Strawberry Cheesecake Lasagna
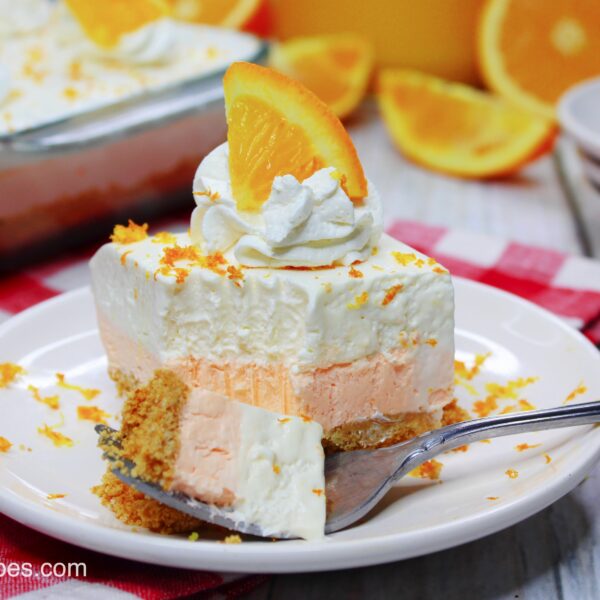
Orange Creamsicle Dessert Bars
Ingredients
- 2 cups graham cracker crumbs
- 6 tbsp unsalted sweet cream butter melted
- 1/2 cup orange juice
- 3 oz package Jell-O Orange Flavor Gelatin
- 16 oz package cream cheese softened, divided
- 16 oz thawed Cool Whip divided
- 1 cup half & half milk
- 1 3.4 oz package instant cheesecake pudding
- 1 medium orange cut in half to zest and garnish
Instructions
- Combine the graham cracker crumbs and melted butter In a medium mixing bowl. Mix until it resembles wet sand.
- Sprinkle in, and press the graham cracker mixture into a 9×13 baking dish.
- Cover, and place the baking dish into the freezer until you are ready to add the first layer.
- In a small pot, bring the orange juice to a slow boil over medium heat, the pour into a heat safe bowl.
- Whisk in the orange gelatin, and mix until completely dissolved.
- Add in 8 oz cream cheese into the mixture, and mix in with a handheld mixer until well incorporated.
- Once everything is well combined, pour it into a large bowl.
- Scoop 1 cup of the cool whip into the piping bag and place into the fridge until ready to decorate the top of the dessert.
- Gently fold in about 2 cups of thawed cool whip .
- Spread the orange mixture onto the crust and place into the freezer for 2 hours.
- Combine the cream cheese and half & half in a large mixing bowl.
- Mix until well incorporated then add in the pudding mix, and mix until well combined.
- Gently fold in remaining Cool Whip.
- Next, spread the cream cheese mixture evenly on top of the orange layer .
- Zest the half of an orange, and sprinkle it over the white layer.
- Cover, and place the dessert into the freezer for about 2 hours.
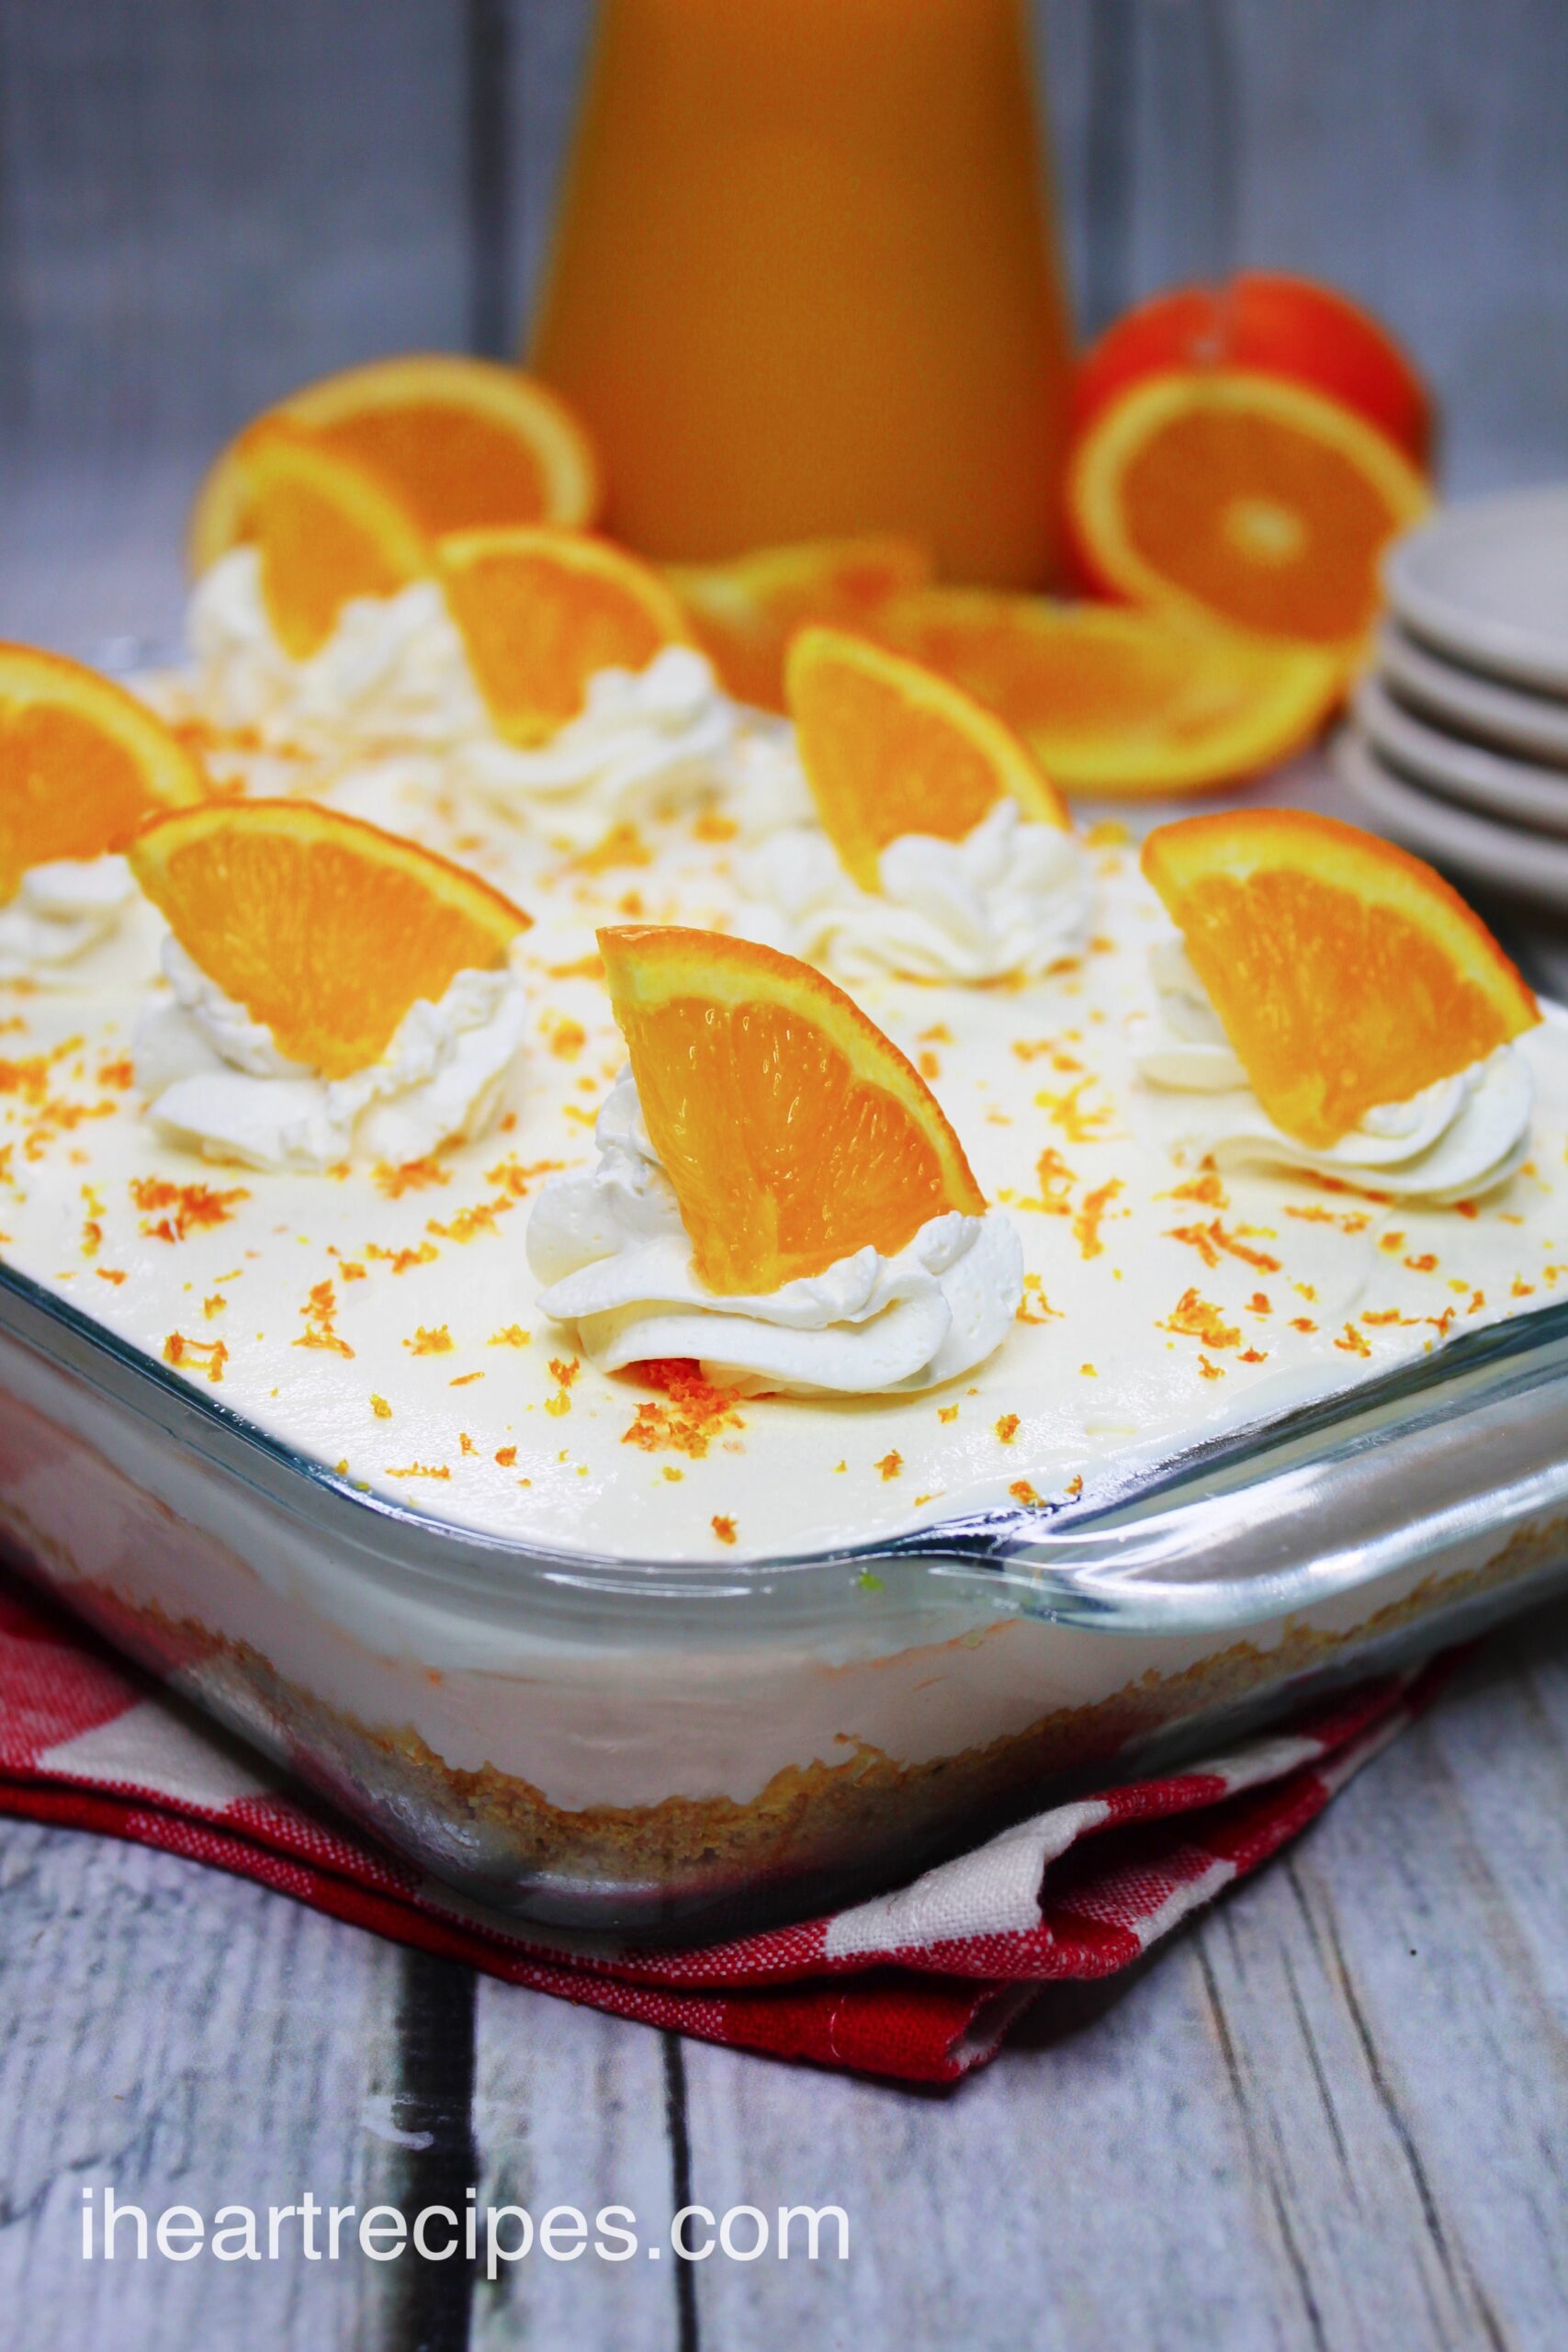
- Pipe dollops of cool whip on top of the dessert, and garnish with orange slices.
- Serve & enjoy
